When organizing your event, your Partners, Sponsors, or Media Patrons are extra support for you. Make sure to highlight their presence and role by creating their profiles in the event app.
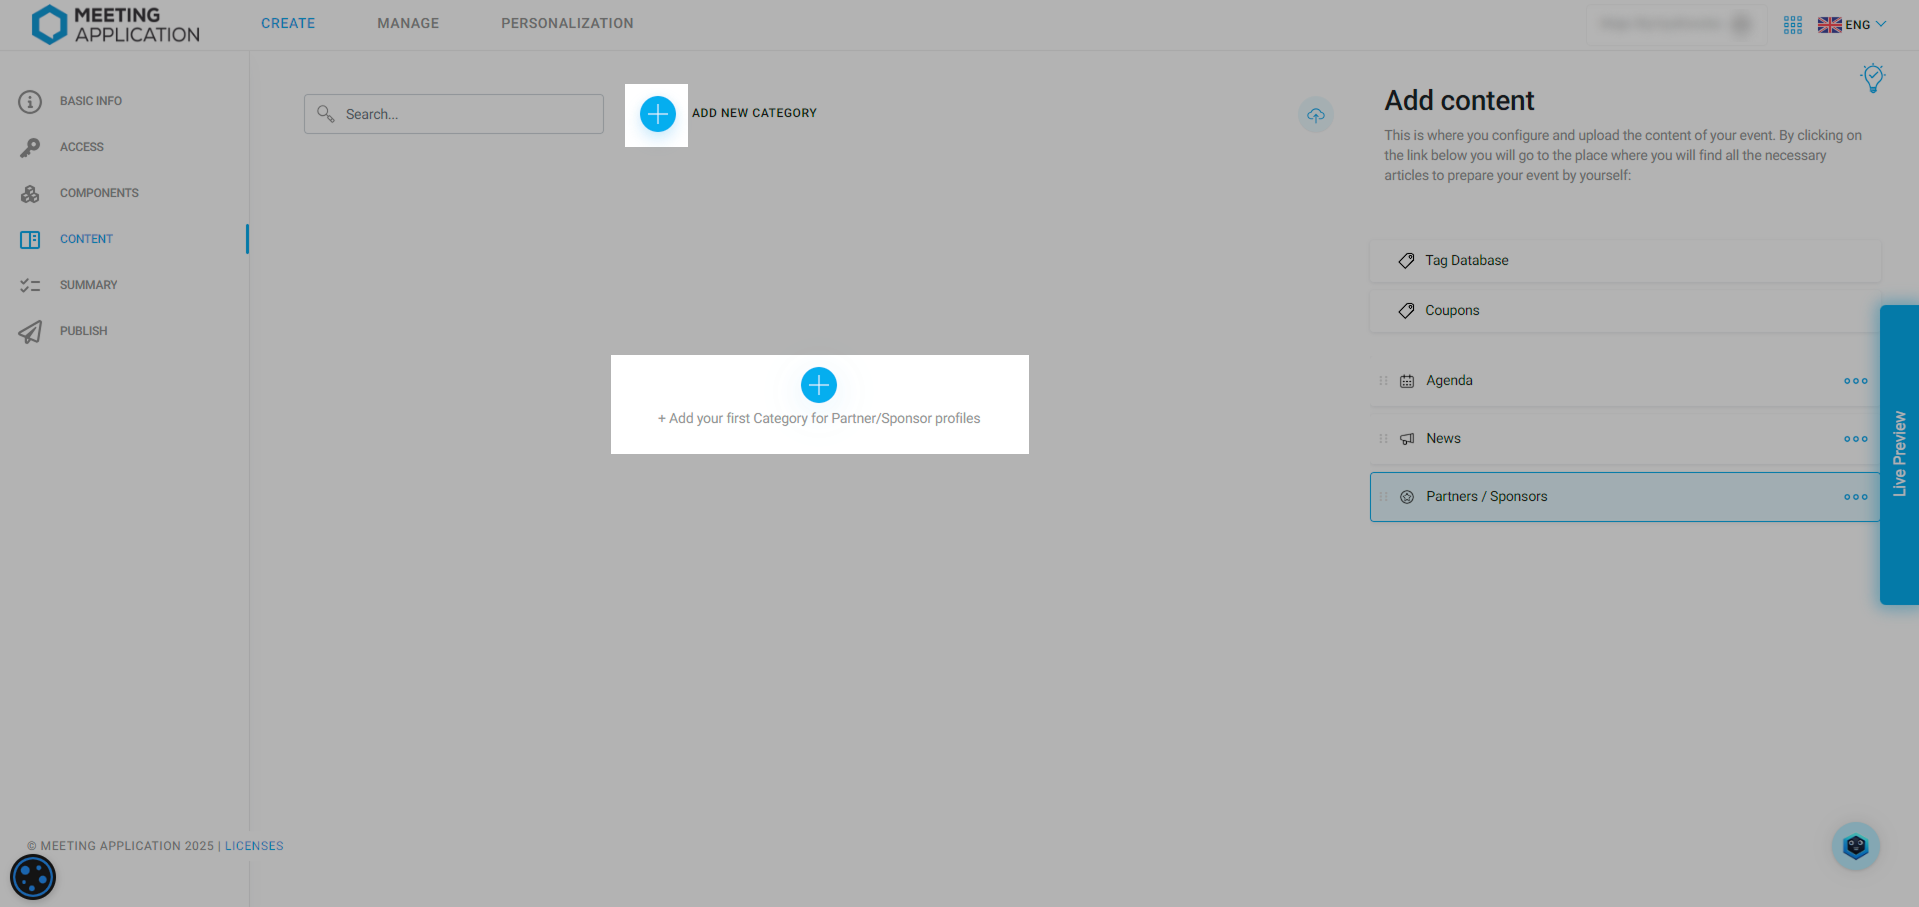
If you want to add new partners to the list, pick the Content tab from the top menu, then in the side menu choose the Partners / Sponsors module. Next, at the bottom of the page, select (+) Add your first category for Partners/Sponsors and enter the name that the partner group will be visible under.
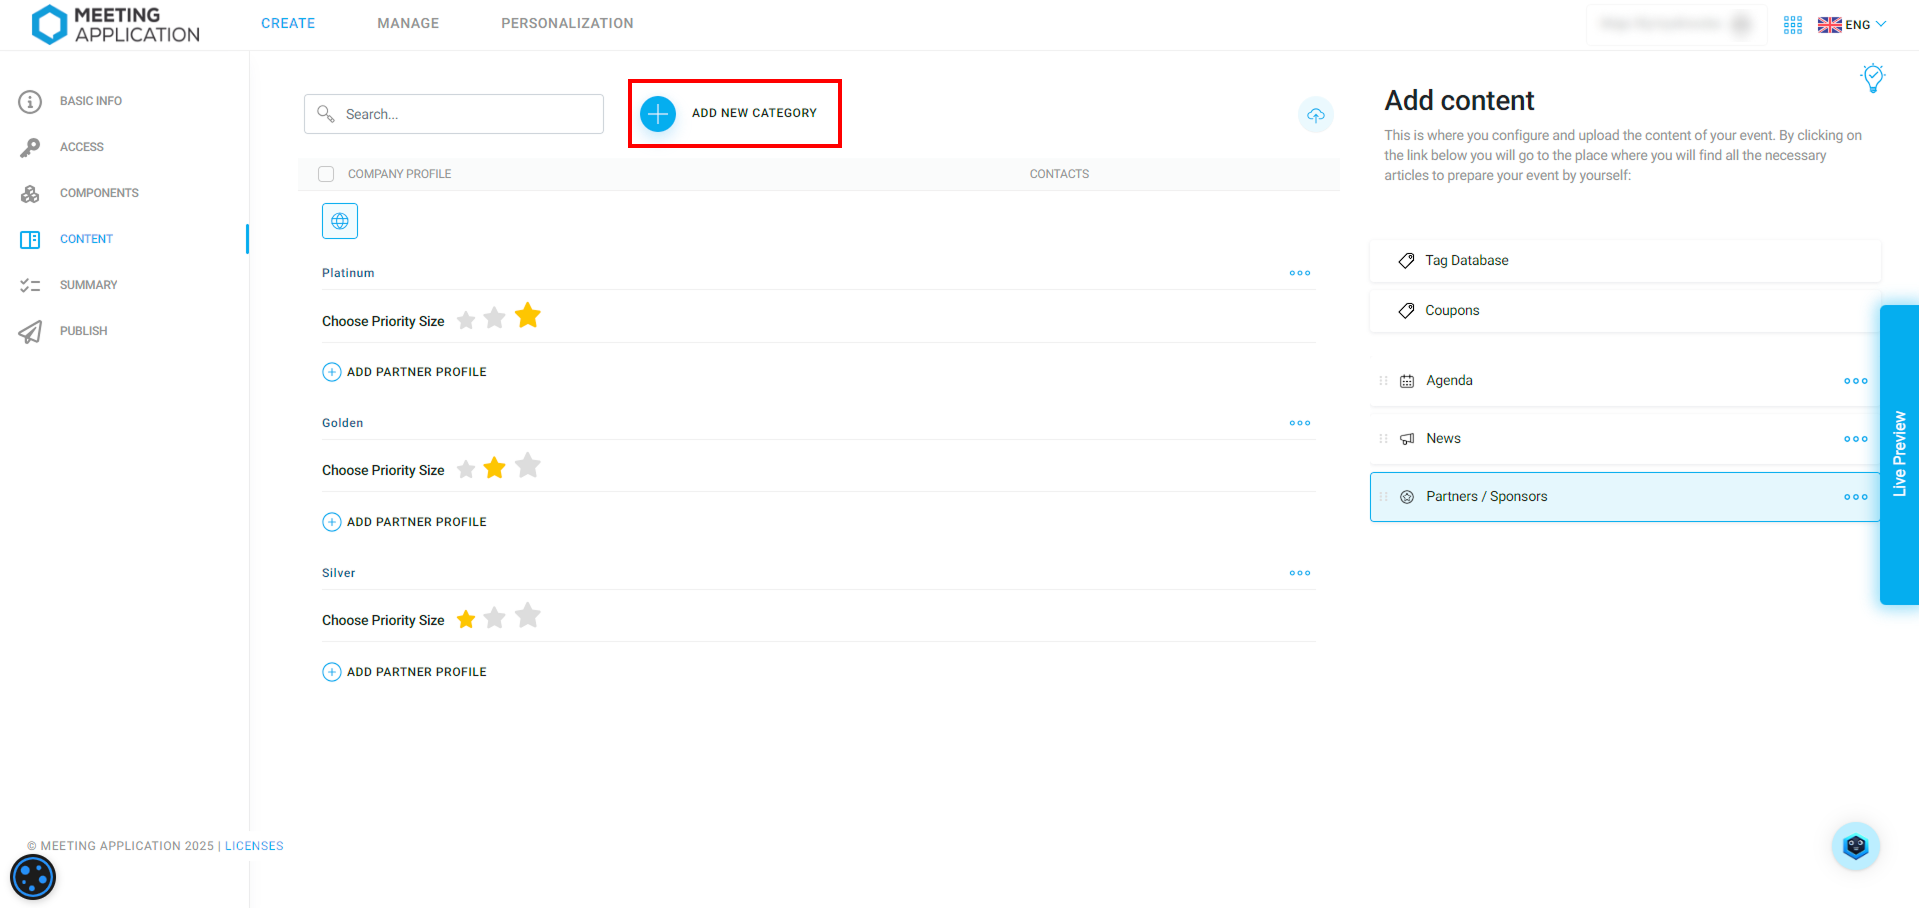
Created categories let you split up sponsors and partners into any groups you like, for example: gold, silver, media patron, honorary patronage. The name of the category will be visible to event guests, so make sure it sounds representative:
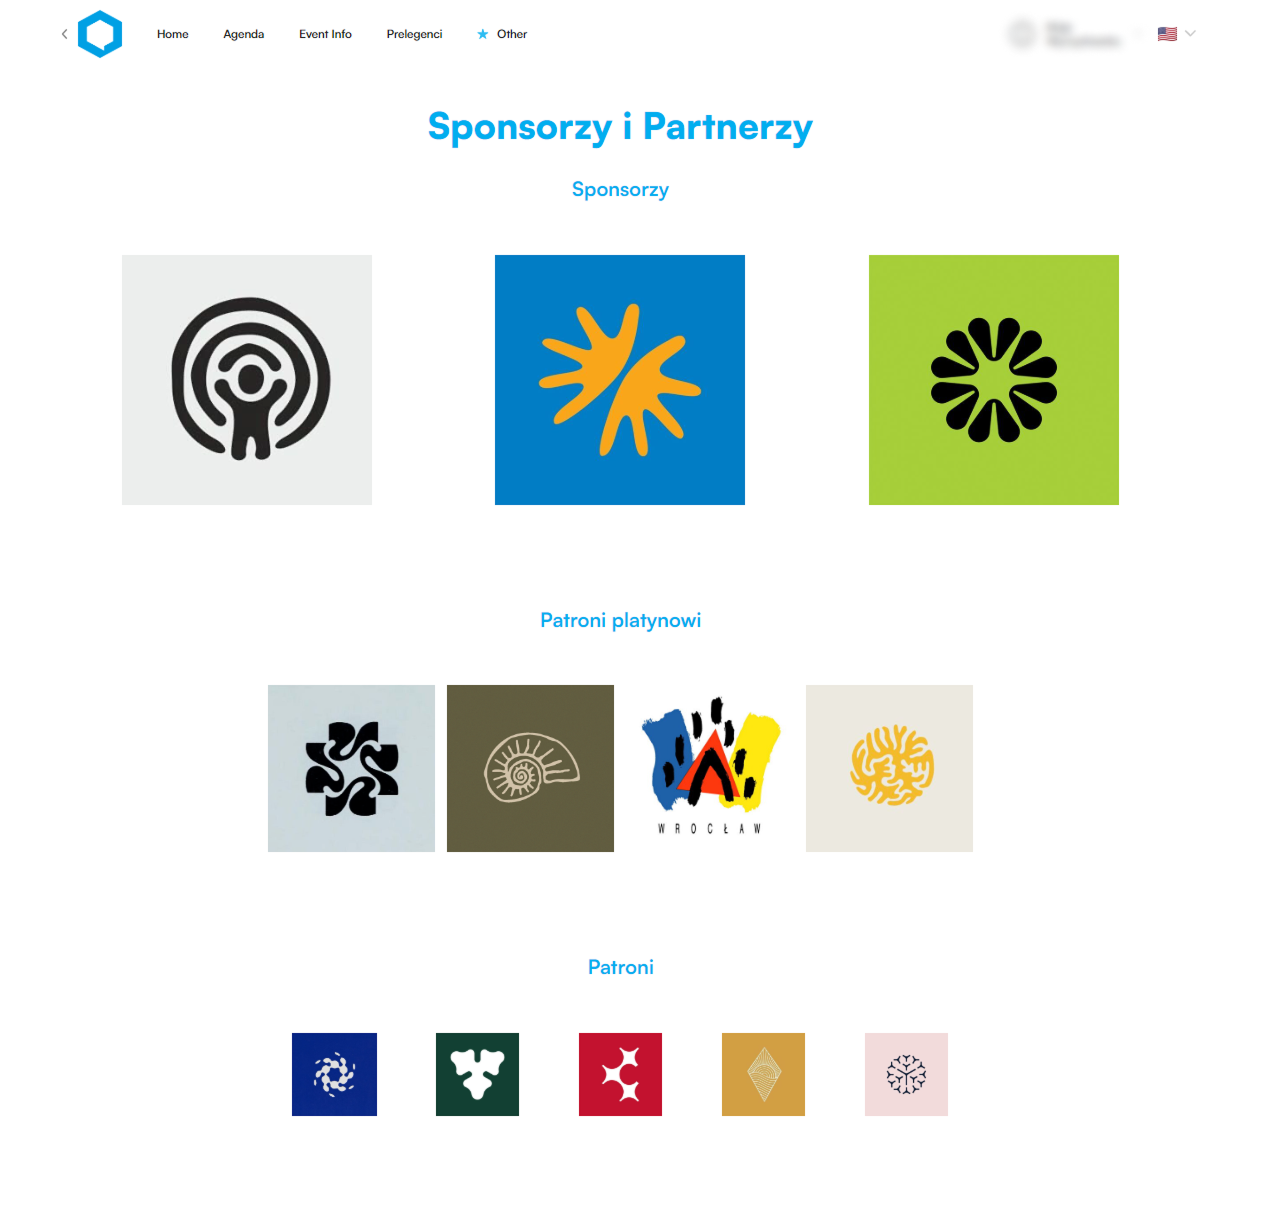
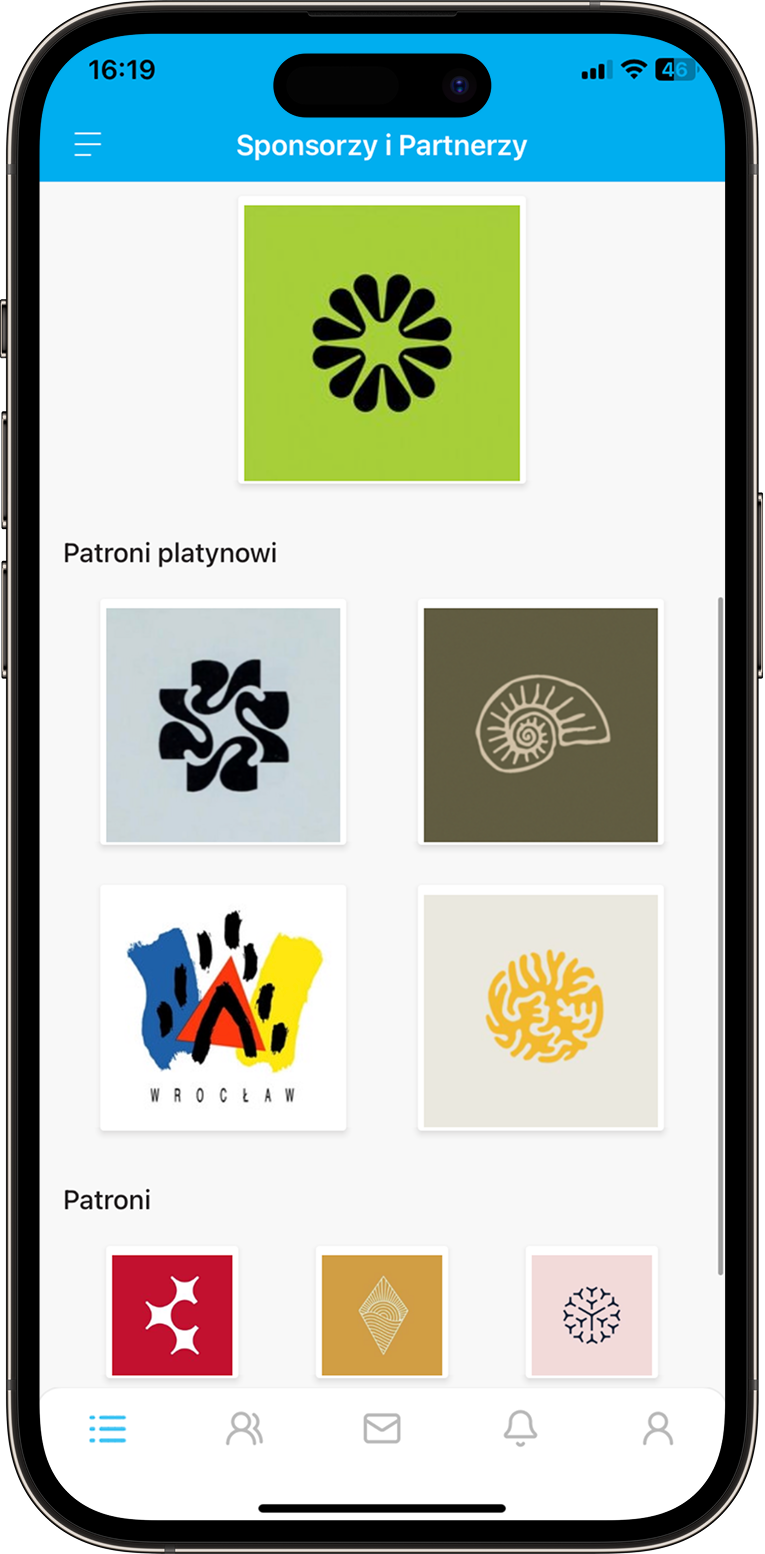
With the stars below the category name, Choose priority size you decide the logo sizes in that category. The bigger the star you pick, the more prestigious the partner group is, and their logos also show up bigger on the Landing Page and in the App.
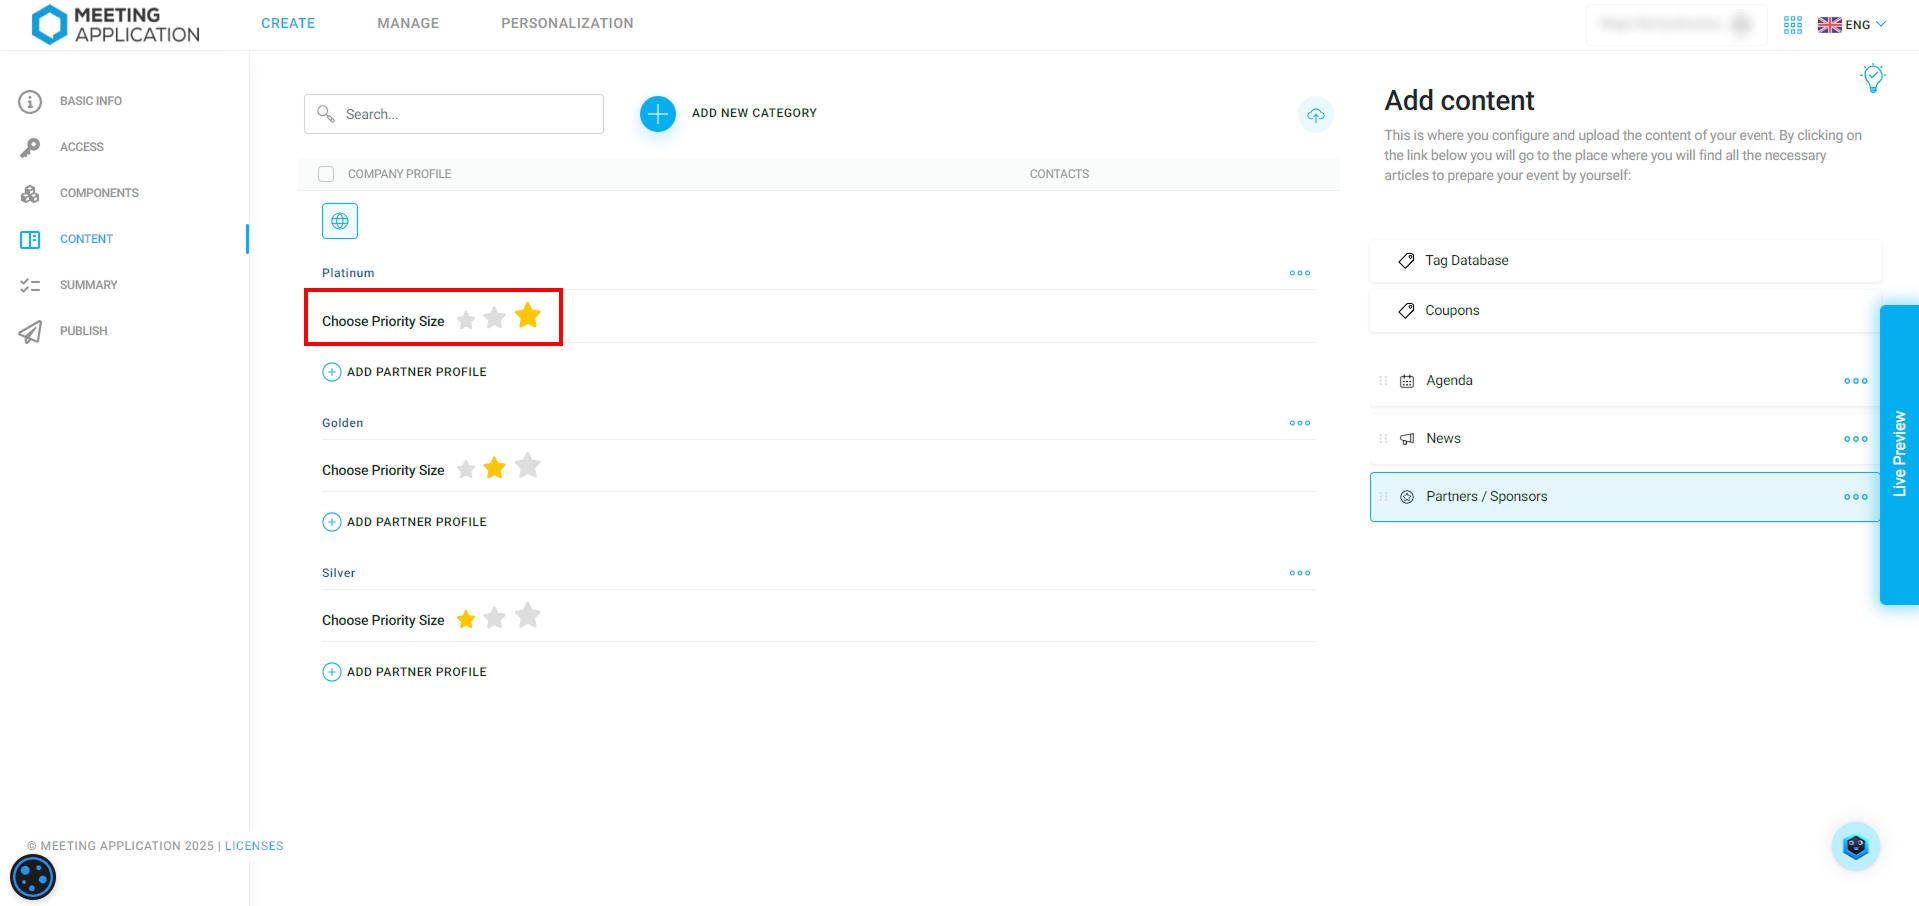
The biggest star means a logo that's half the module width for Partners/Sponsors and it automatically shows one profile per row at size 260×260px, the middle star is a logo at 210×210px and you get two logos next to each other, and the smallest star is a logo at 170×170px and three partner profiles side by side in one row.
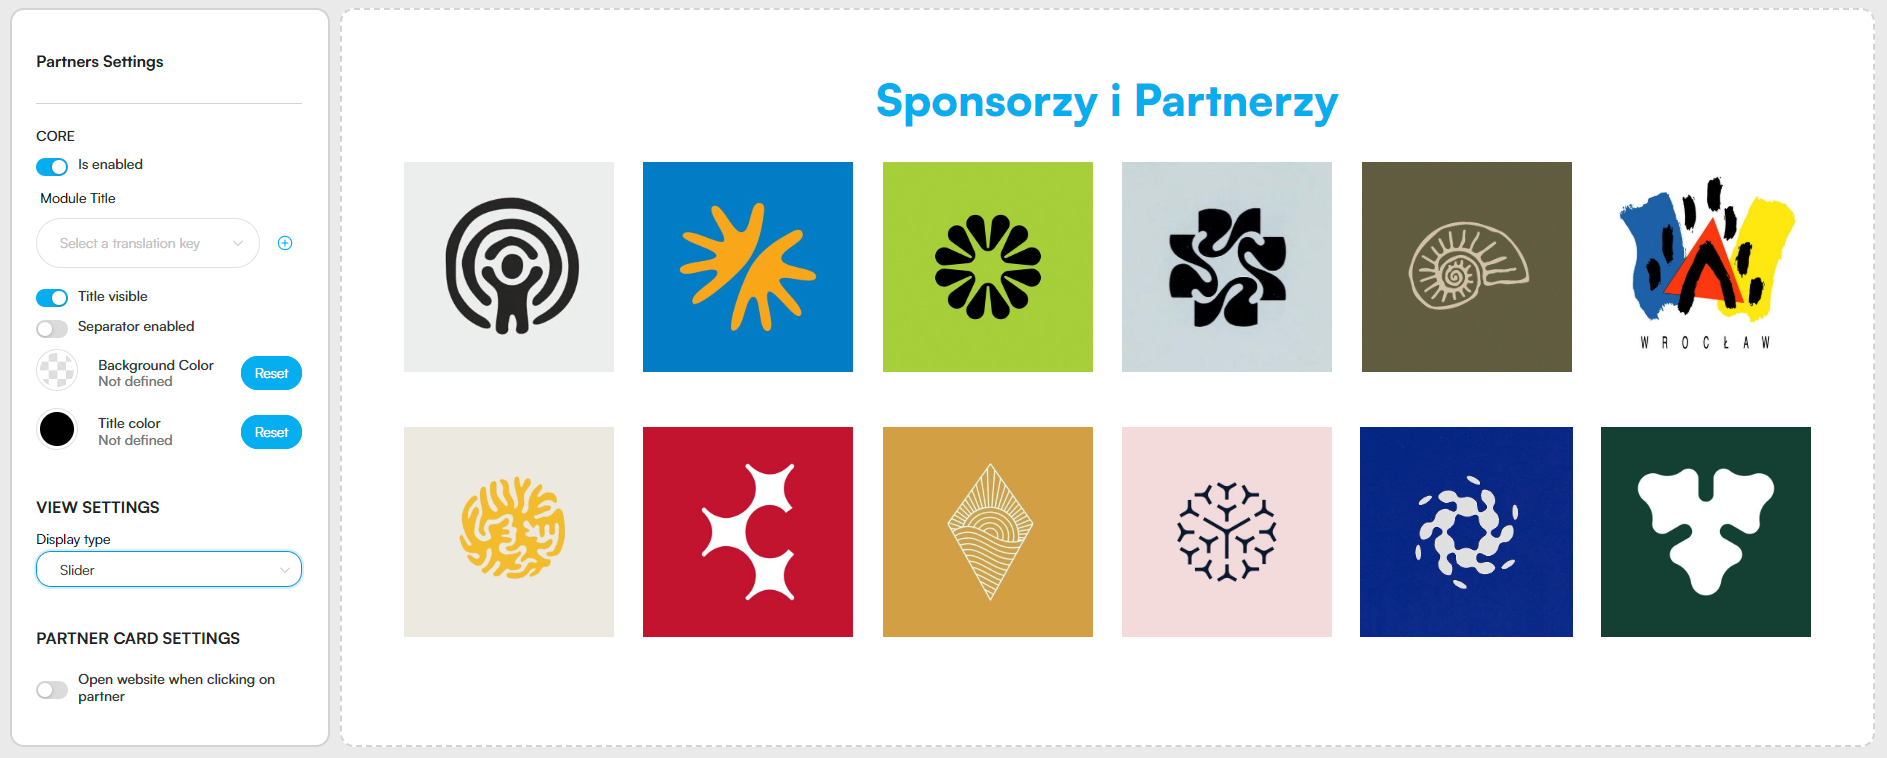
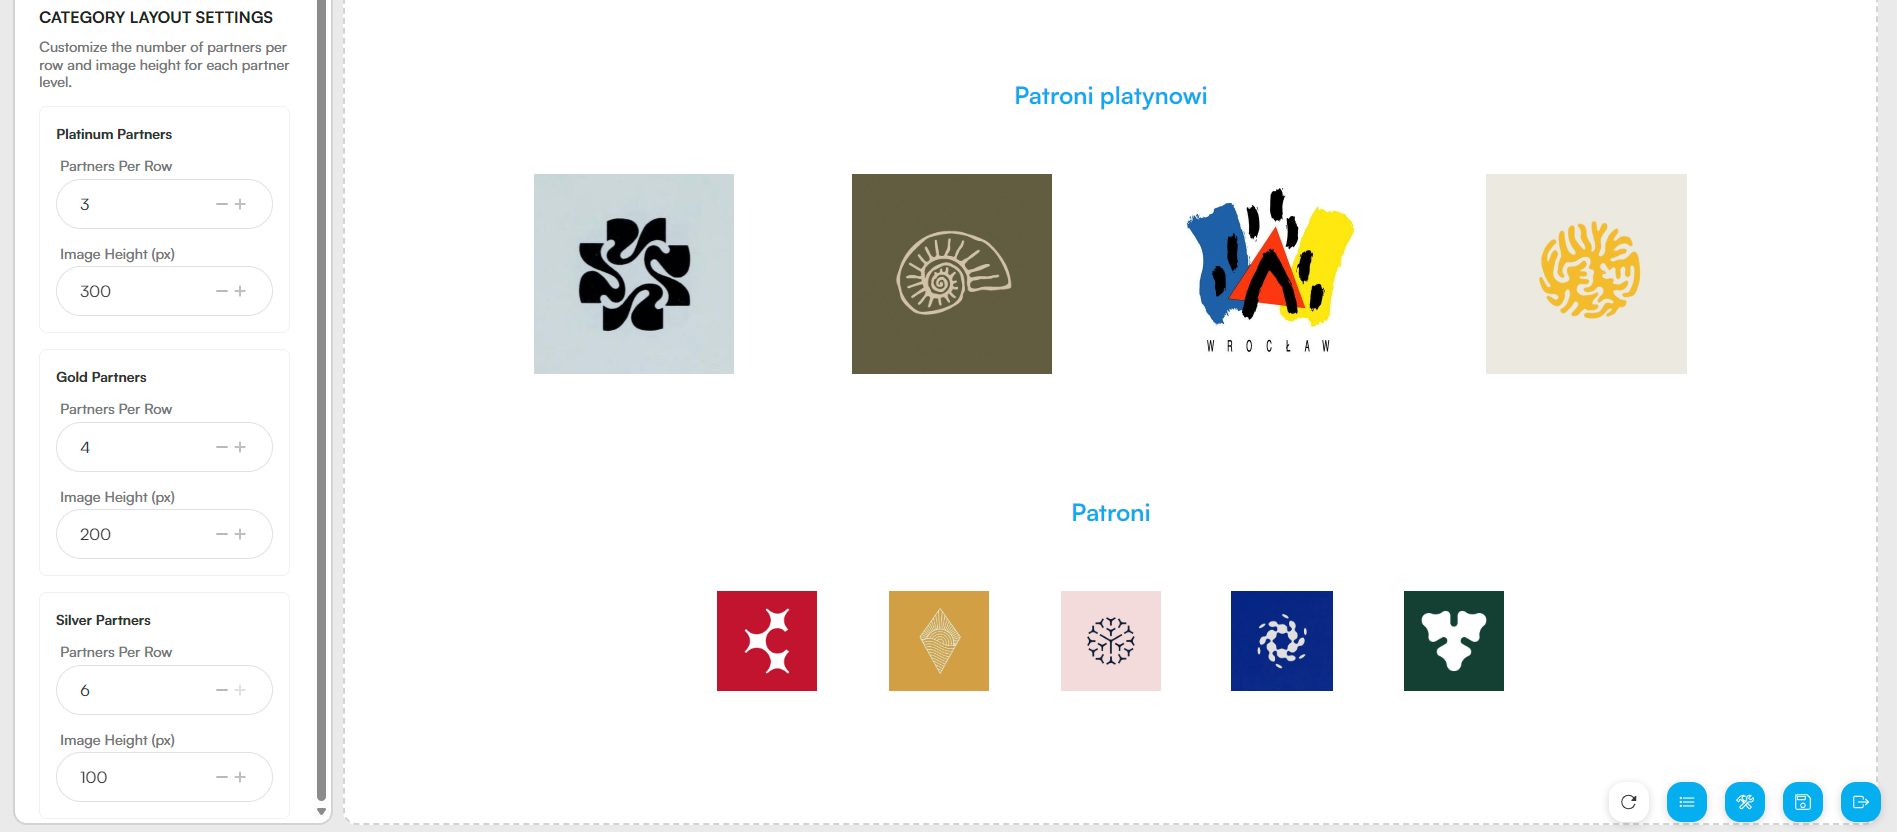
You can adjust the logo sizes for each category yourself using the LP Editor - while in the configurator, scroll down to where the Partners/Sponsors section is on your LP, and in the view settings you can change the display mode (by Category or Slider - this displays all logos side by side in the same size, without category division), and in Category Layout Settings you can set the number of logos per row and the logo height in pixels.
This gradation lets you adjust the partner benefits and show them the right way on the Landing Page and in the App:

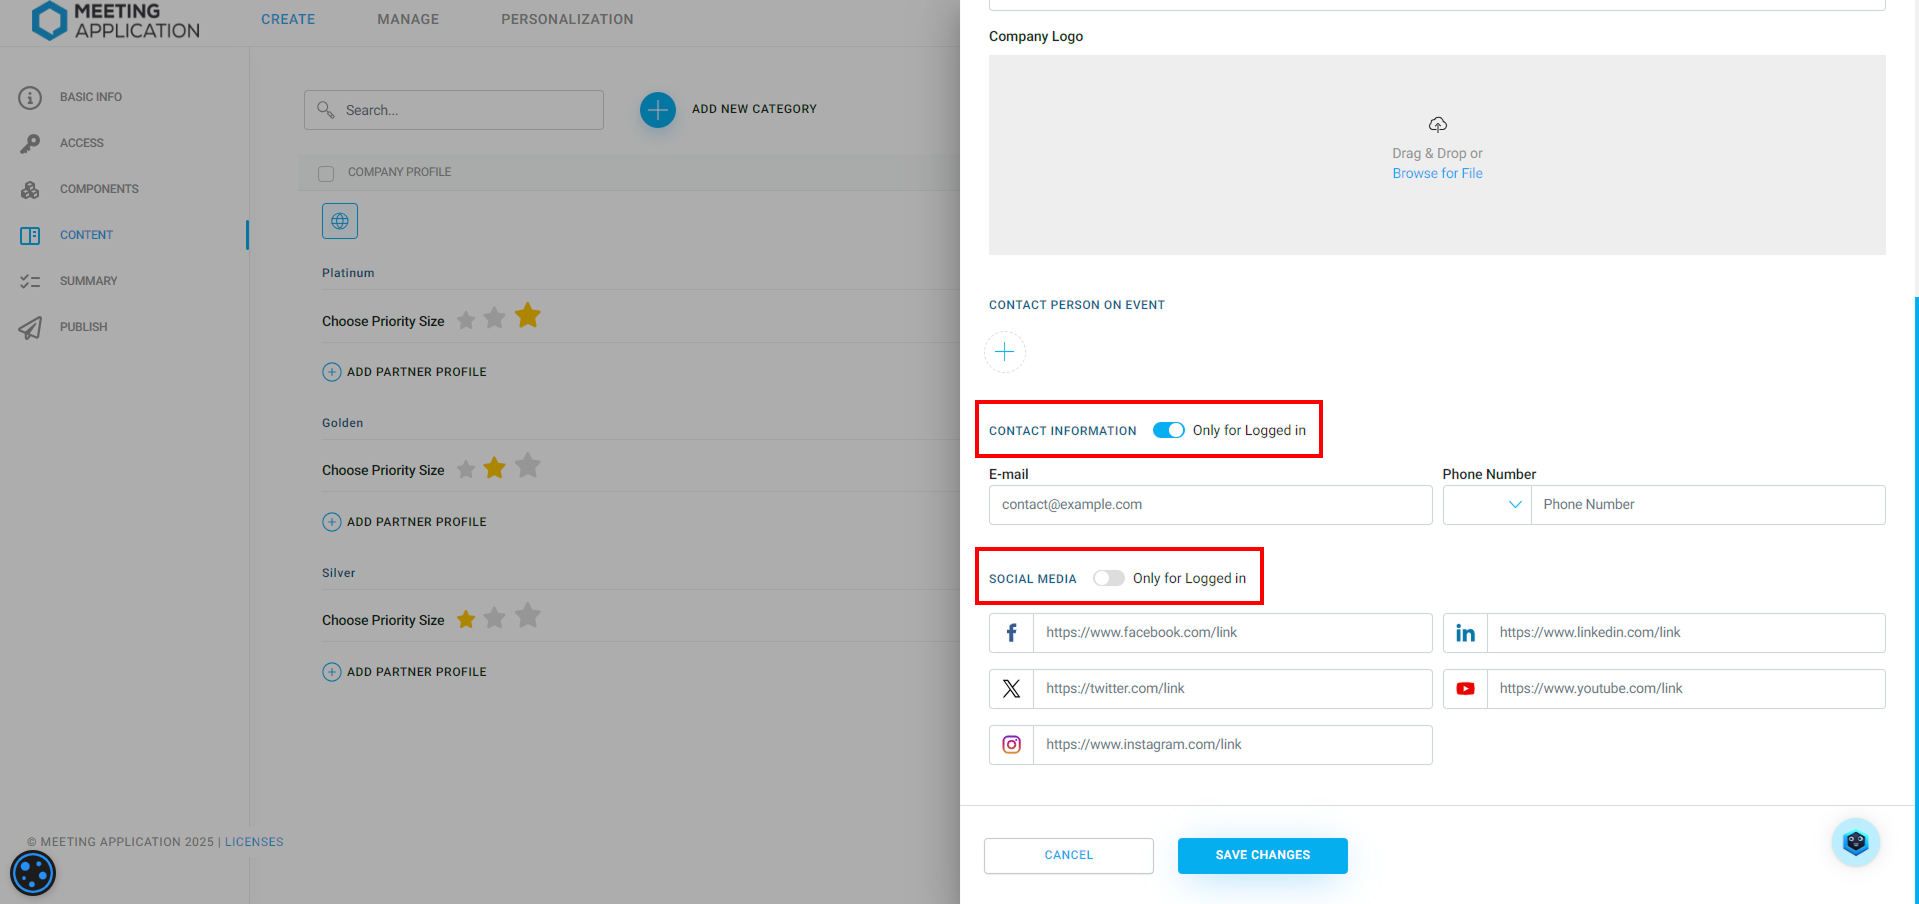
Under the right category, choose (+) Add partner profile to create a new profile. Only the name is required to create it. The rest of the fields are optional, but it's a good idea to add more info, like a description, website, and especially a logo.
CONTACT PERSON AT THE EVENT – by choosing the (+) icon for this option, you go to creating a partner representative's profile. Besides first and last name, you can also add contact details, a description, and a photo:

CONTACT INFORMATION – you can add general contact info for the company by putting the email address or phone number in this section. You can also decide if these details should be public. Choosing the Logged-in only button will make them visible only to people logged in to the event.
SOCIAL MEDIA – add links to your partner's social media profiles. You can also decide if you want to show these links only to logged-in participants. In that case, selecting the Only for logged in option will make them visible only for logged-in event participants.

Want to boost the visibility of some Partners and Sponsors?
Use other available features of our product for that, like:
The Banner module lets you add promo banners in selected modules, and you can send users to an external website.
The Push Notifications module – get everyone's attention by sending a notification with your partner's message. It can also include a redirect to specific content – like a promo code, an invite to a booth or info about a dedicated action or zone.
If you want to highlight extra info or really want a sponsor's banner to show up alongside their logo, you can use the Exhibitors module.
Have a great event with Meeting Application!
