This is the most flexible module in the app, so you can tweak it to fit your needs. The built-in HTML/CSS editor gives you lots of options for creating content with a dedicated look. It’s all up to you and your creativity. You can set up categories to split your content by type, topic, or even access for specific groups. This module also lets you add links that redirect users to external sites, like ads or info pages. For each category you add, you can create a page written in HTML or a link to an external site.
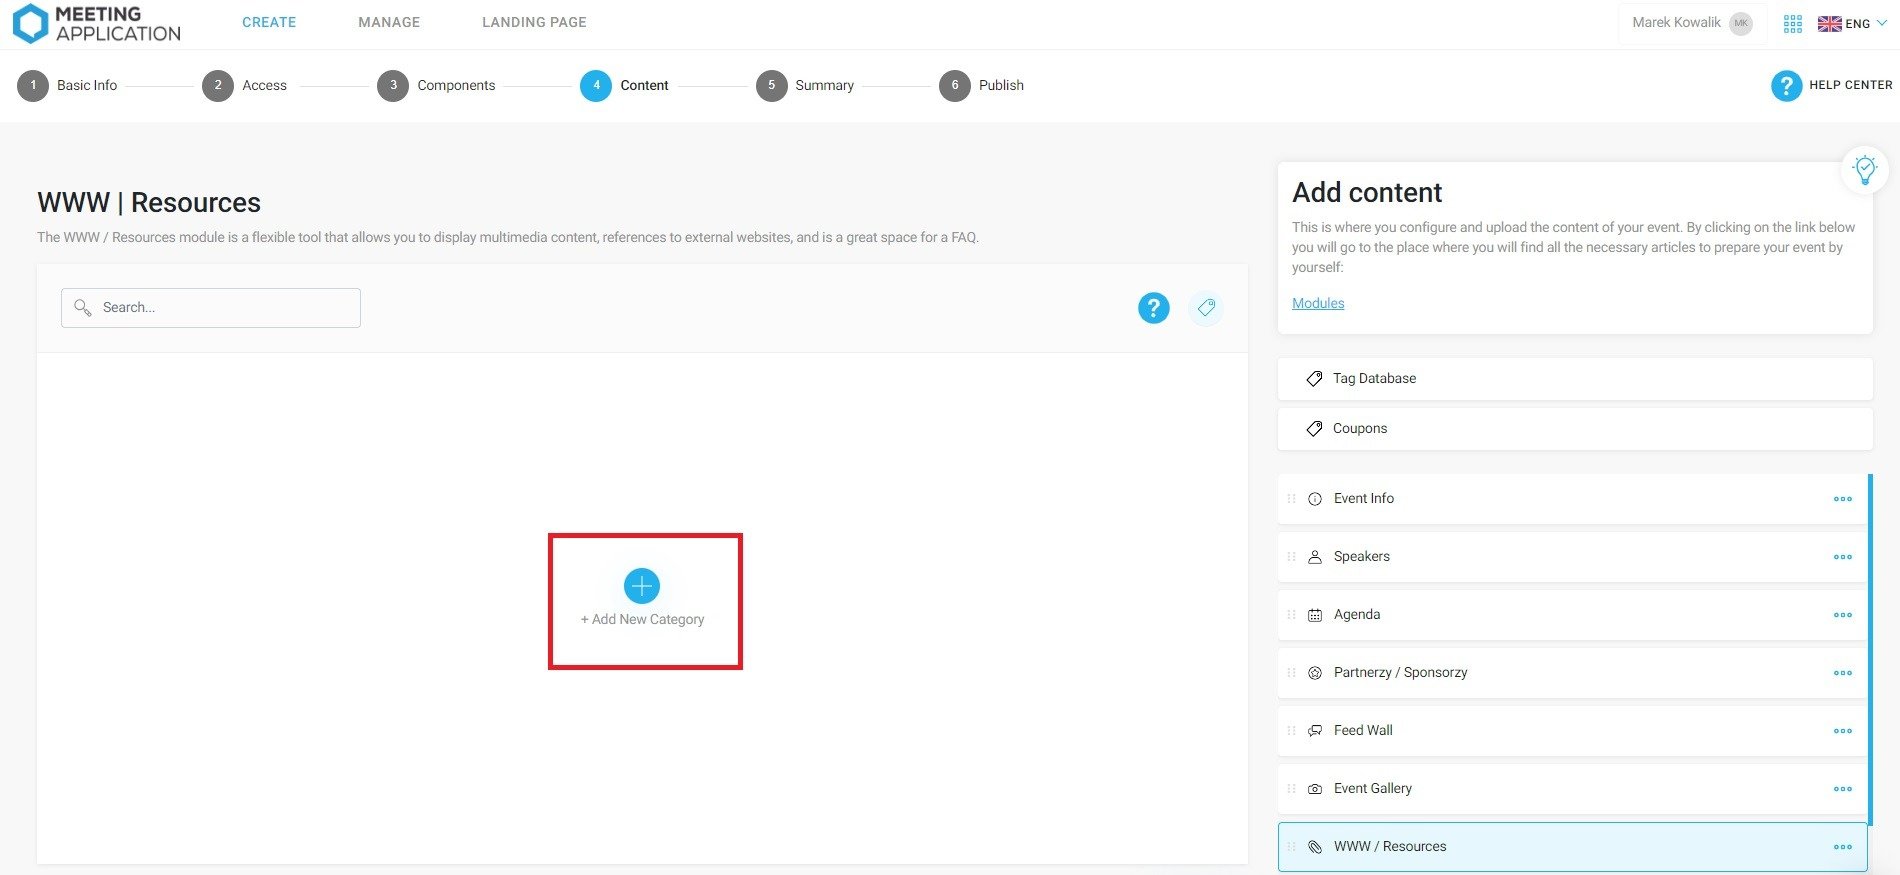
To add a new HTML page in a category, go to Create > Content in the sidebar menu and choose the HTML / Web Editor module, then click (+) Add new category. Give your new category a name, then select (+) Add HTML page.
You have to name the page when you create it. This name shows up on the list of all the HTML sheets you've made, if you add more than one page in the module. If there's only one page, when you pick that module in the menu, users will be taken straight to where they can see the content you made.
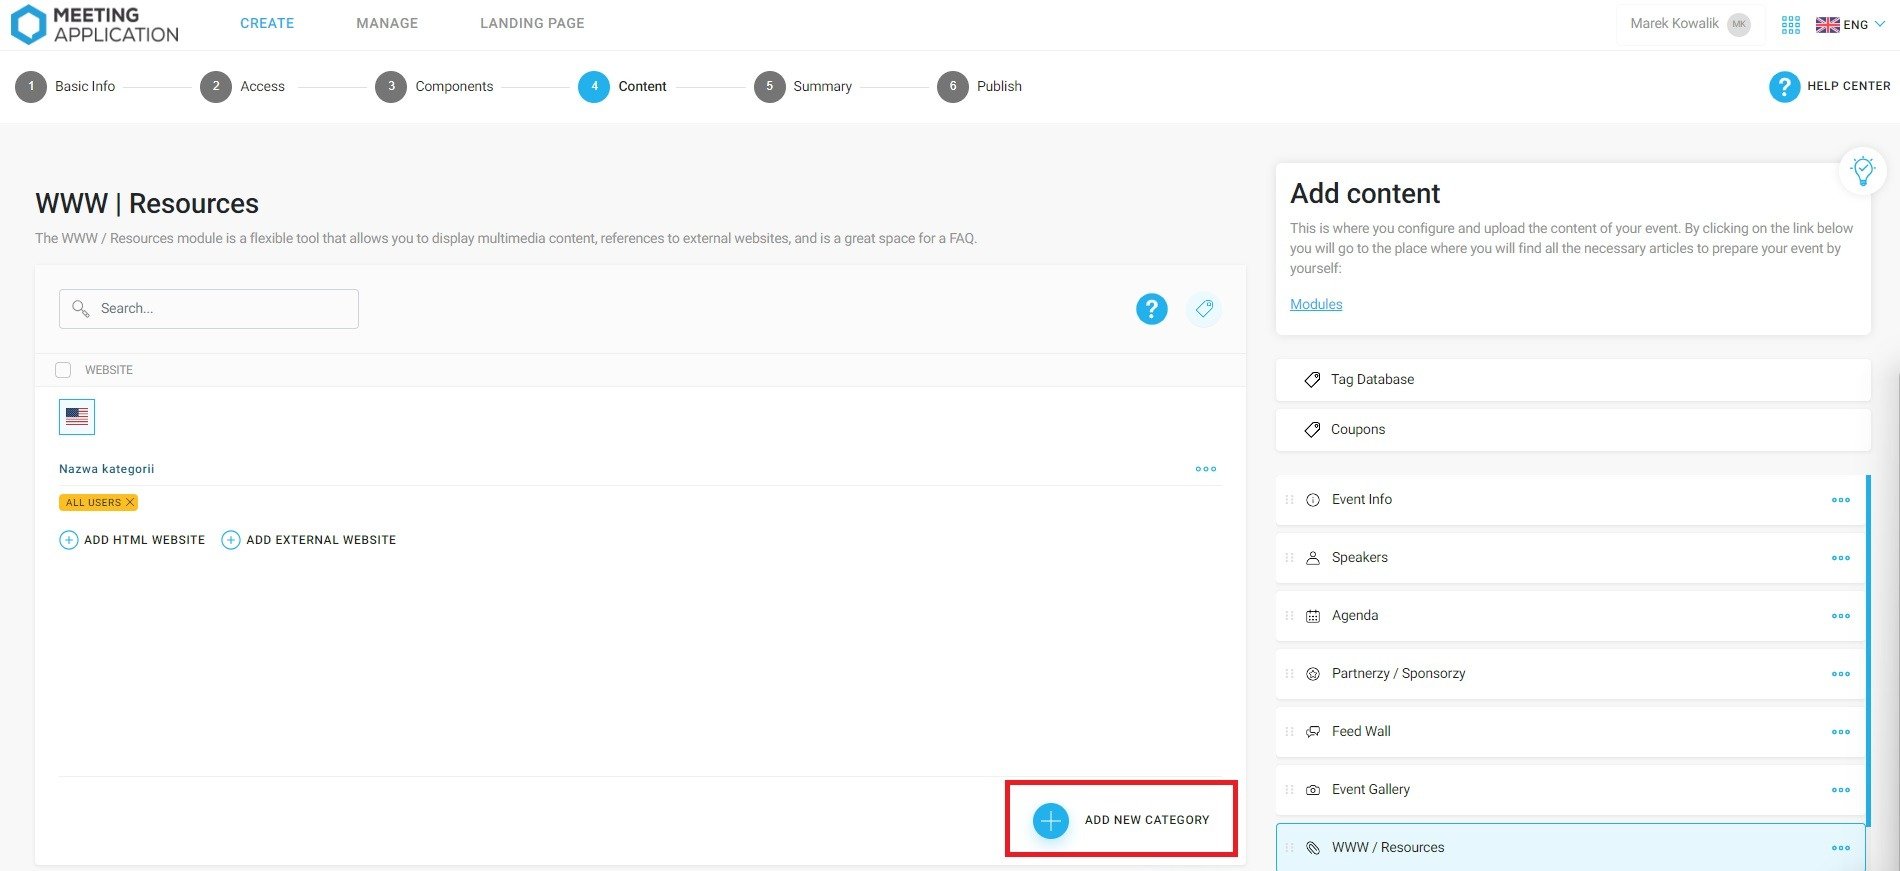
After you create your first category, the button to add more will show up at the bottom of the page instead of in the center.
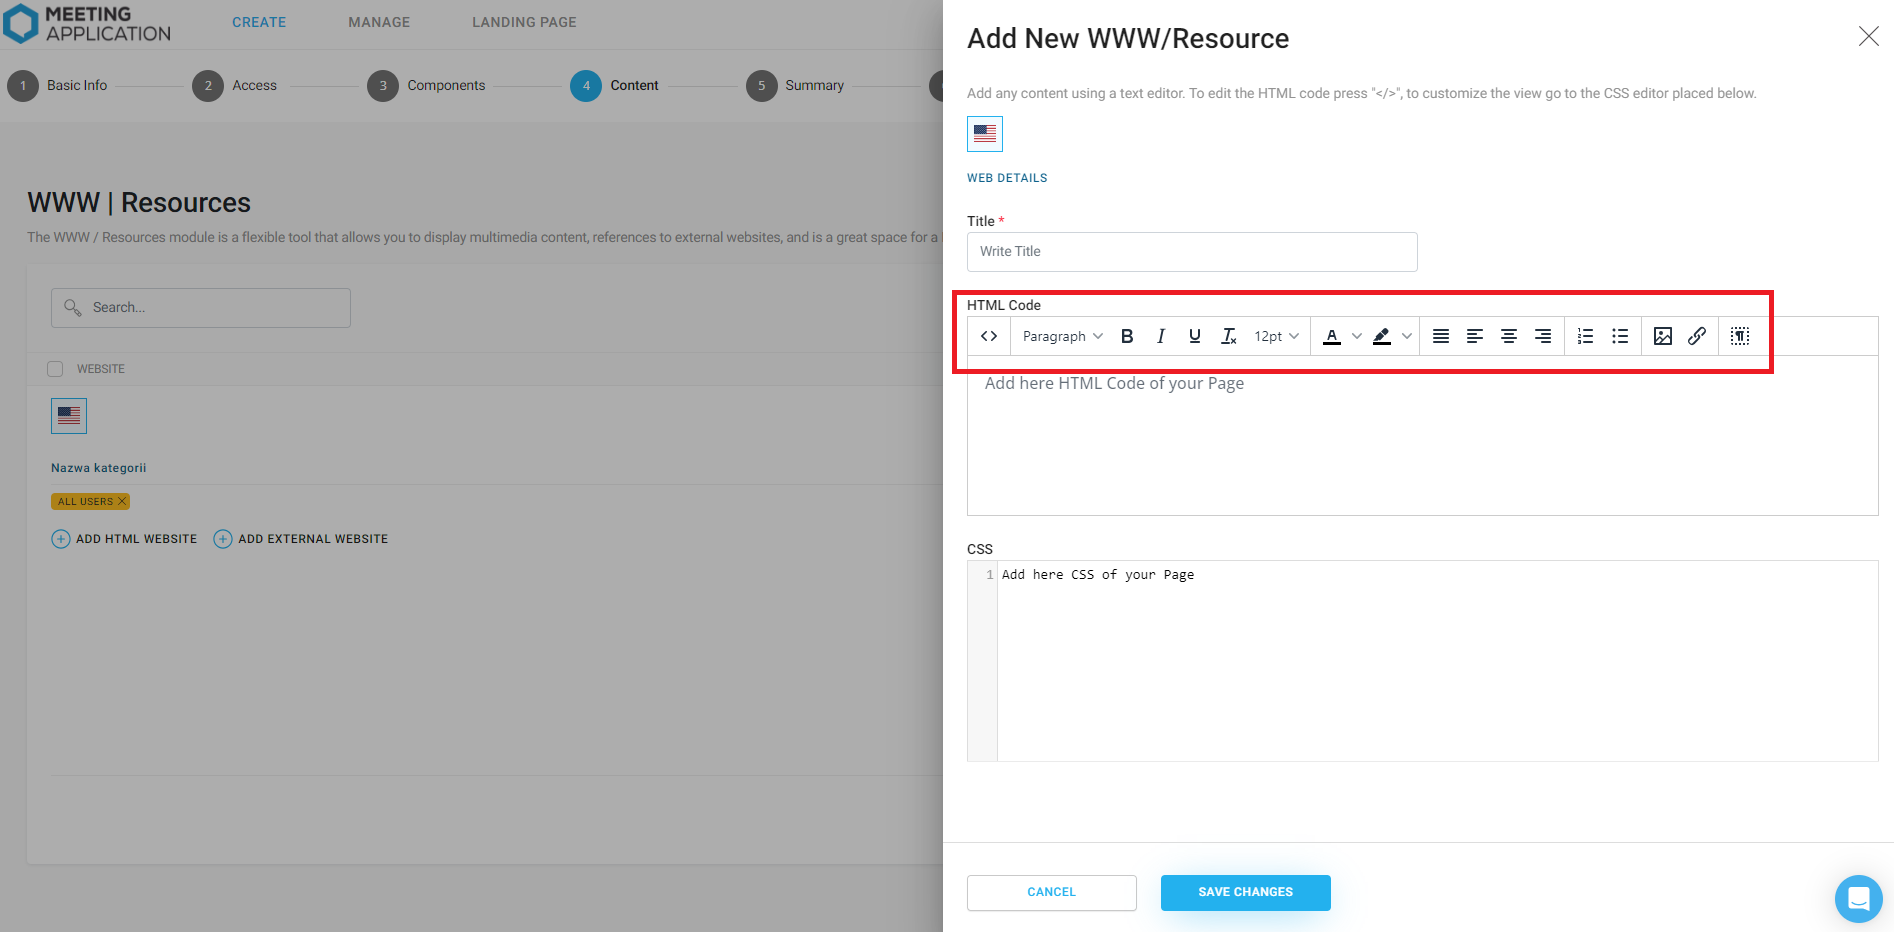
In the Add new www window, at the top of the panel, you’ll see a text editor full of formatting tools and the option to add images too.
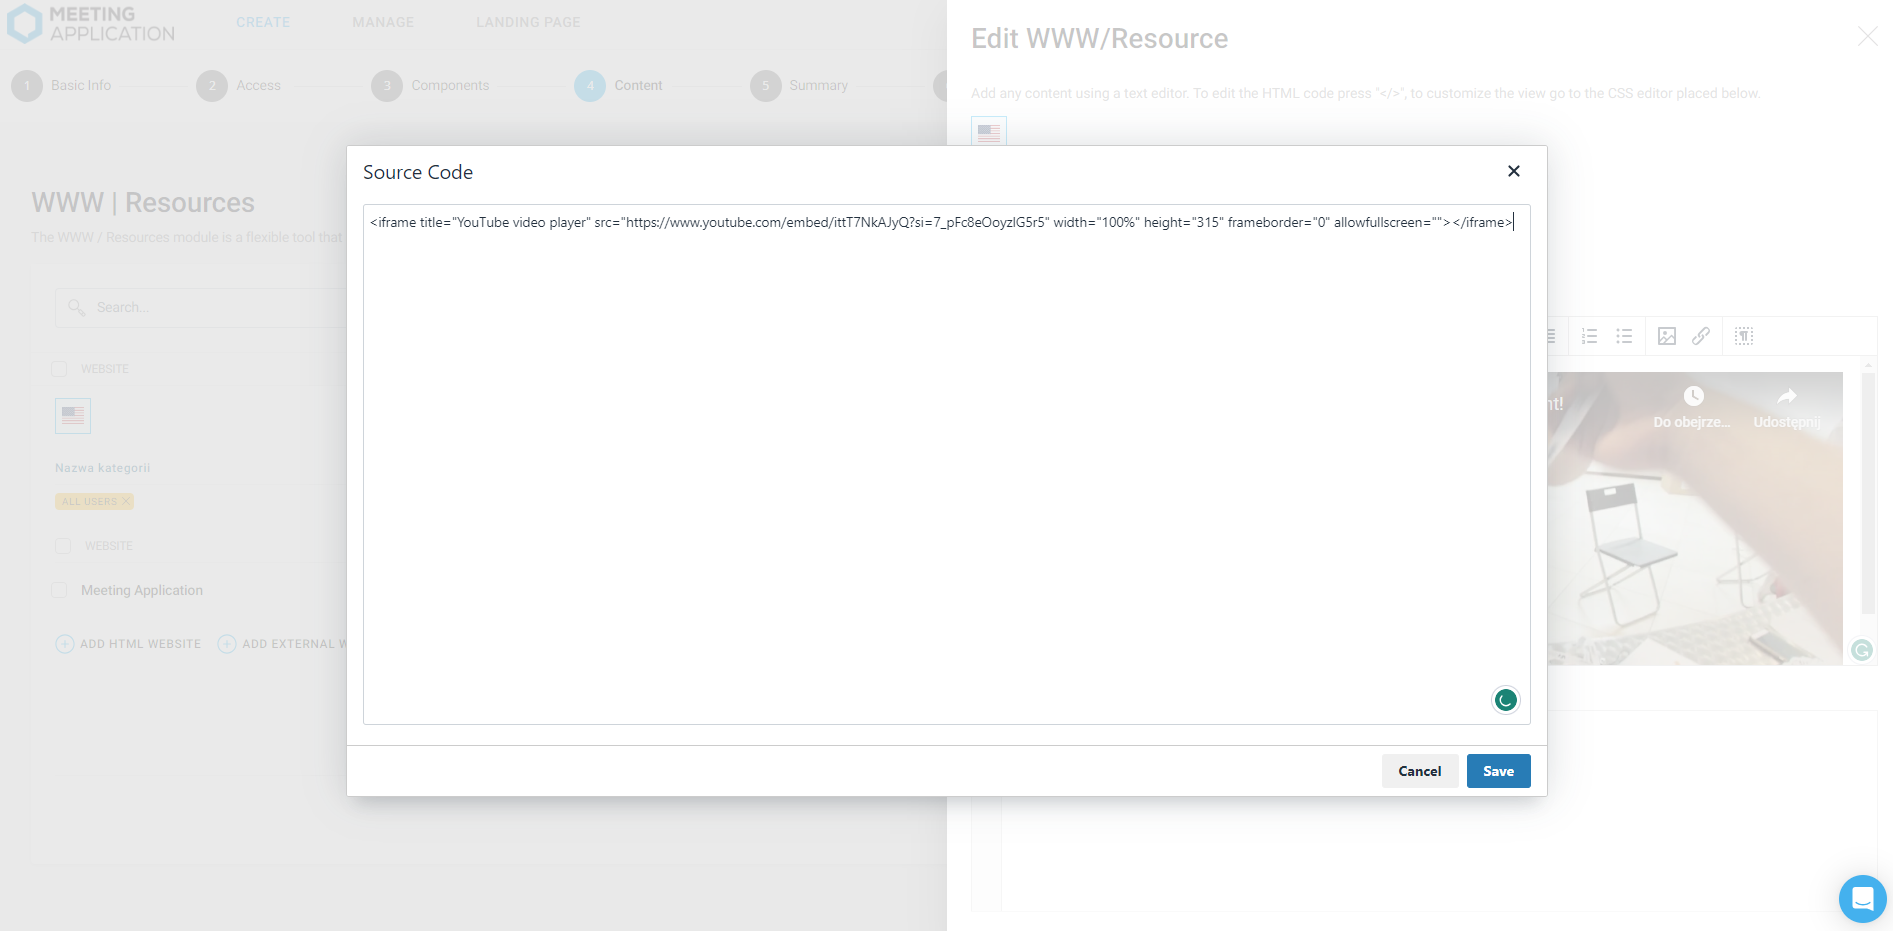
If you want to make changes in the HTML code, pick the < > button from those tools to edit it. This lets you, for example, embed a YouTube video here without leaving the app to watch it.
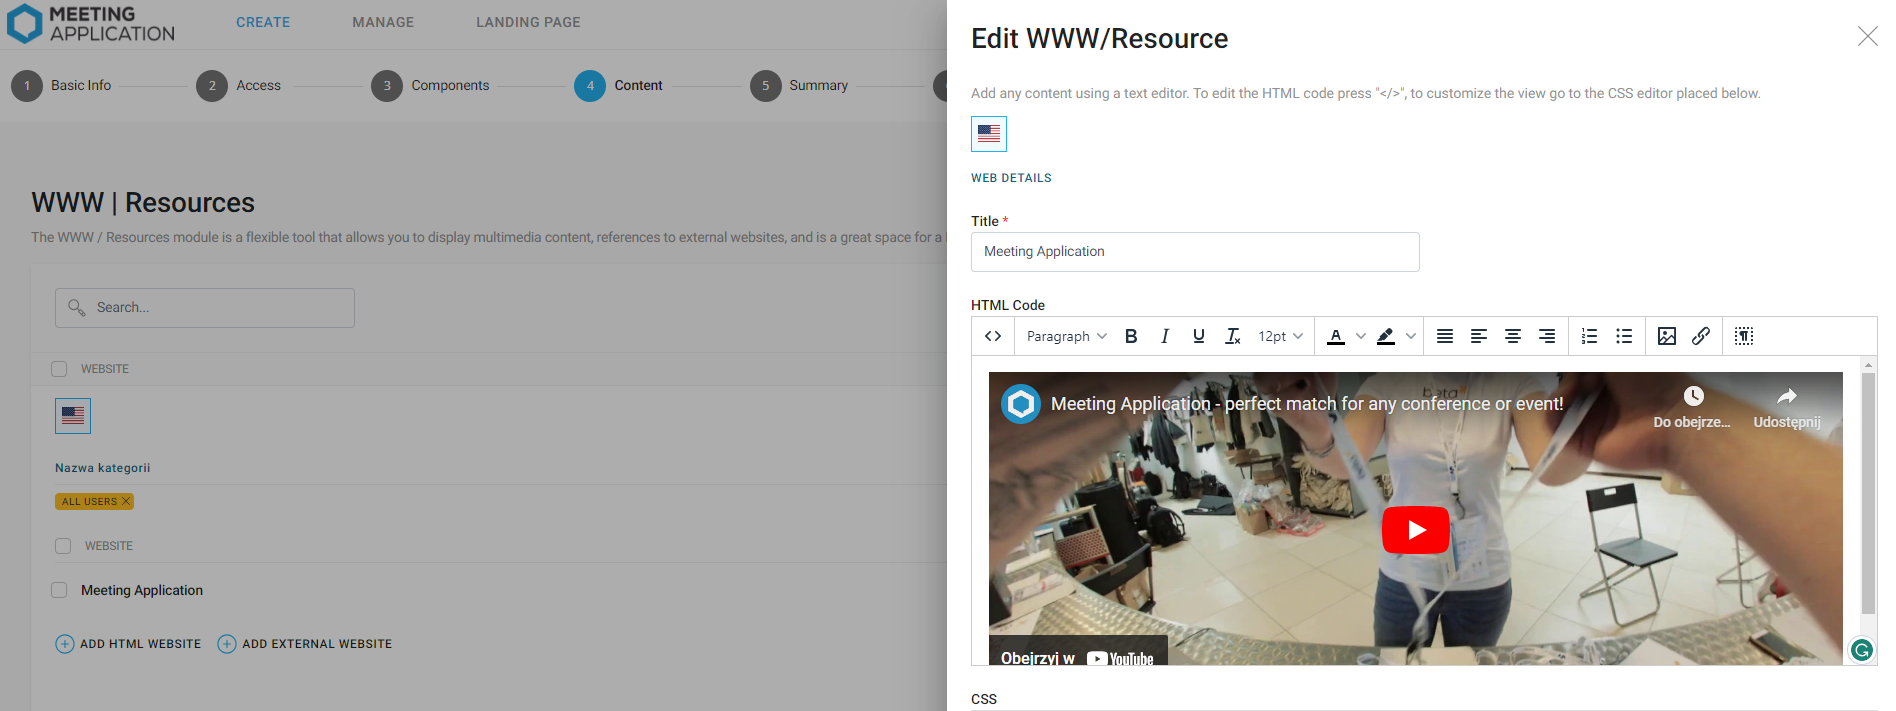
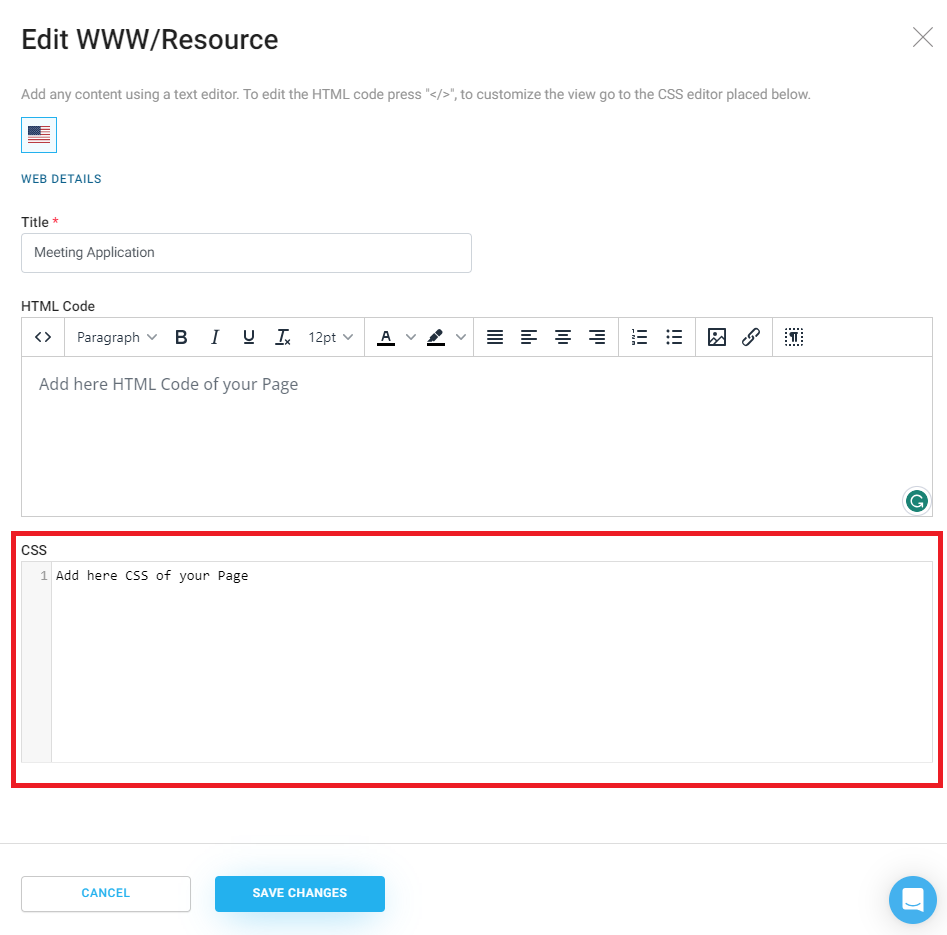
The content you add can also be styled with CSS, but that needs some HTML and CSS know-how.
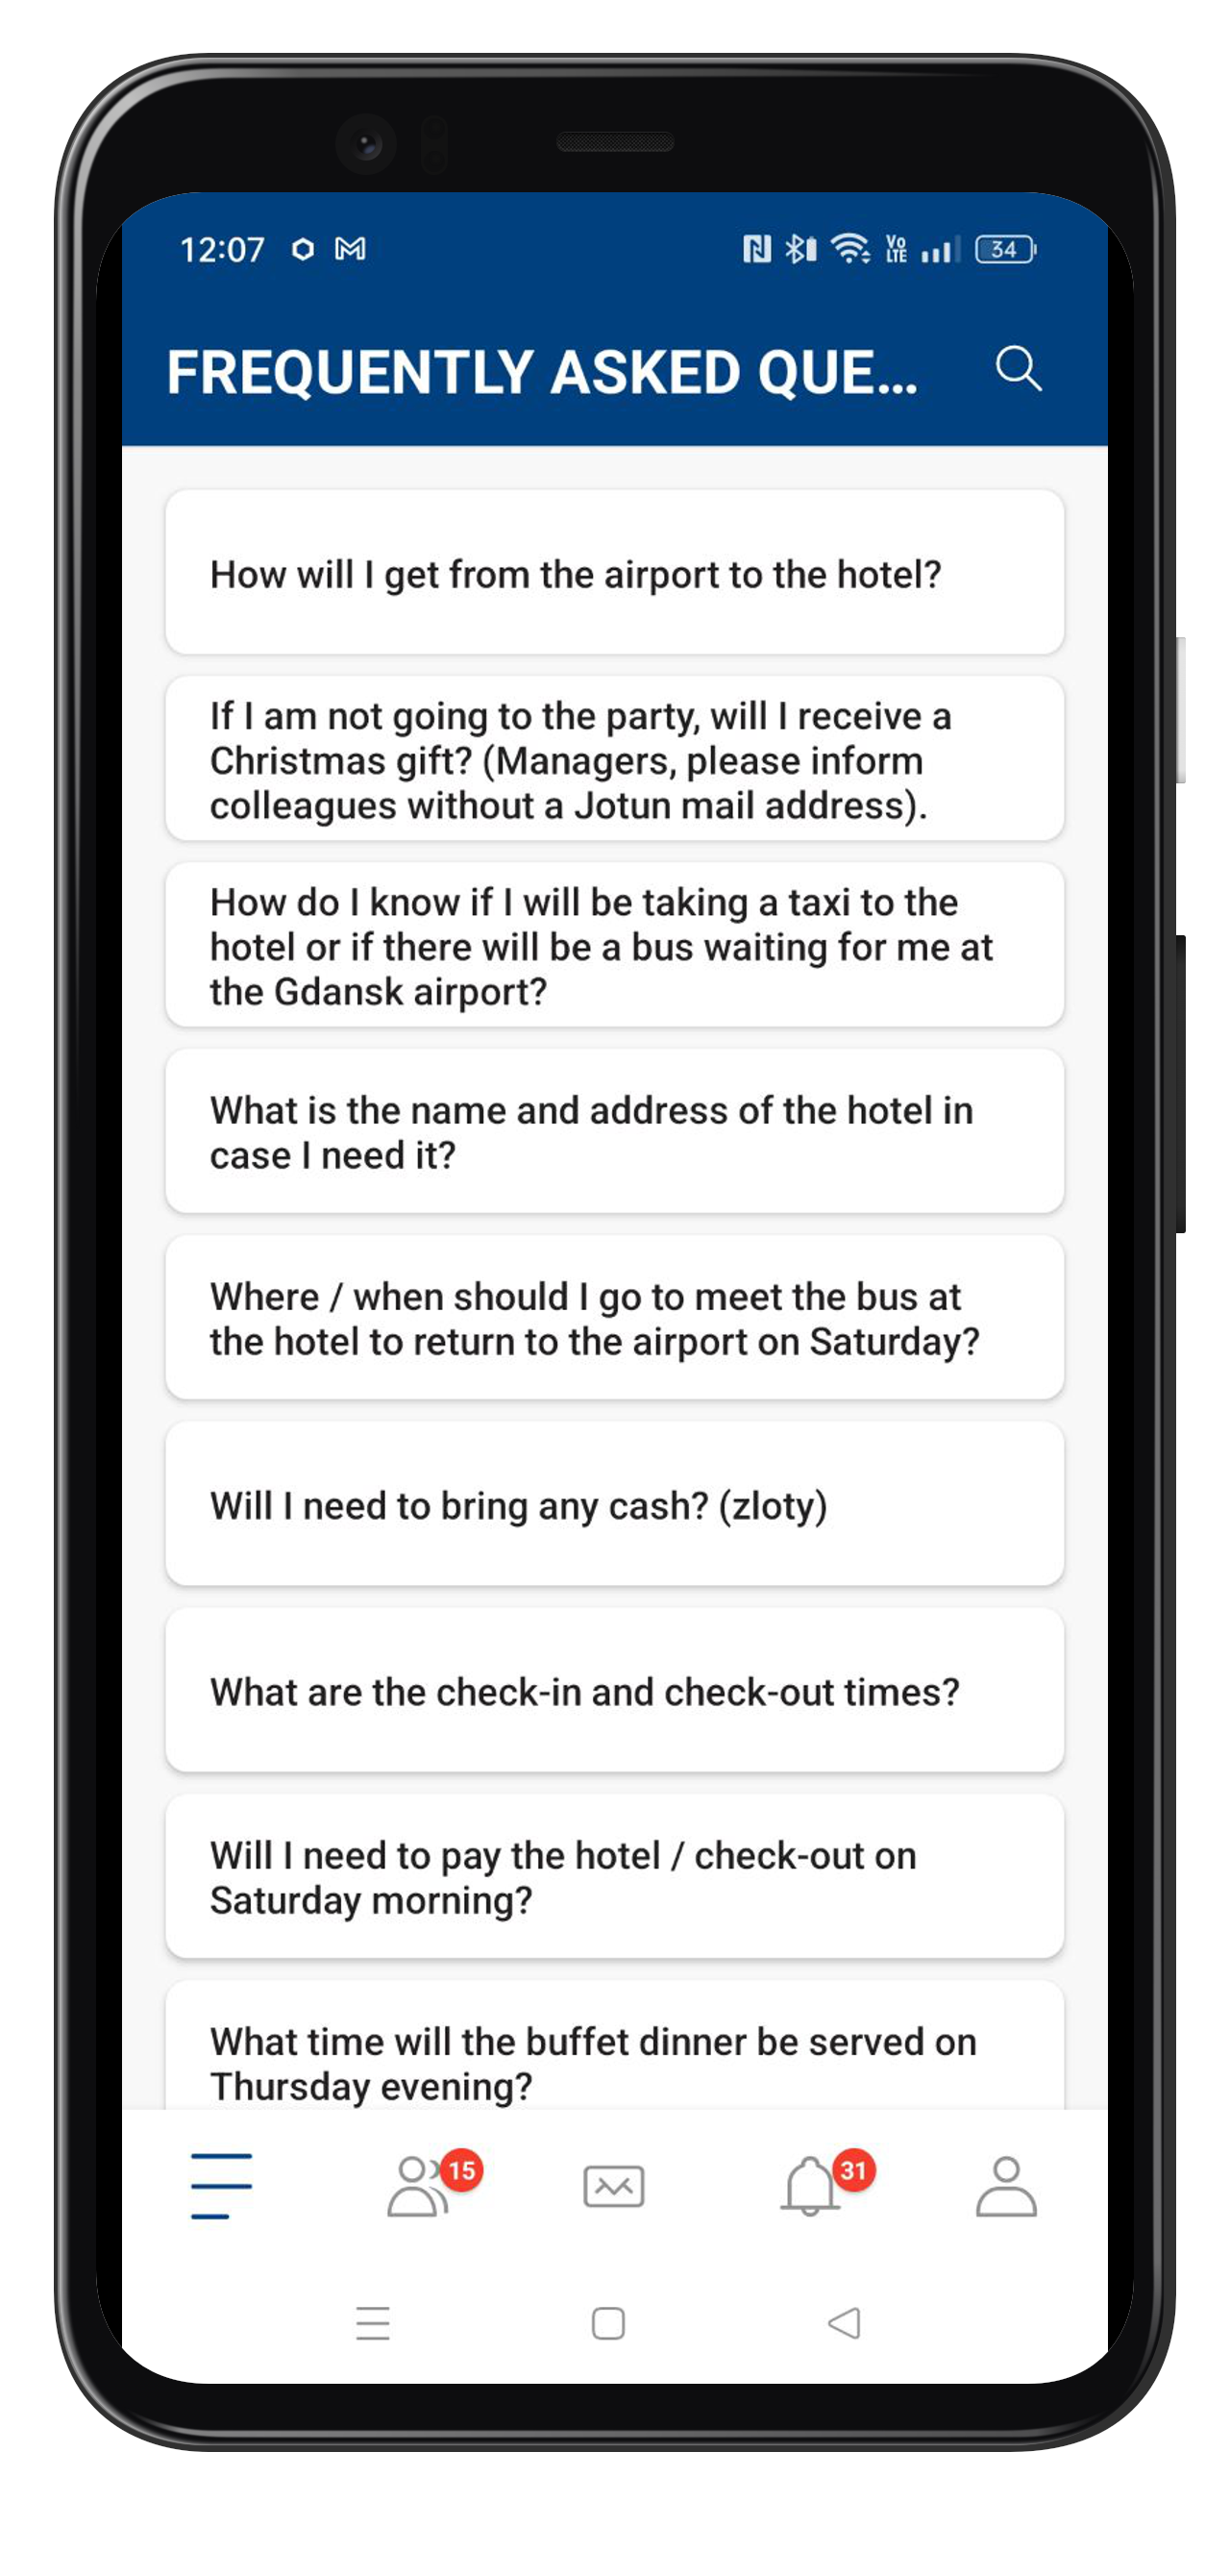
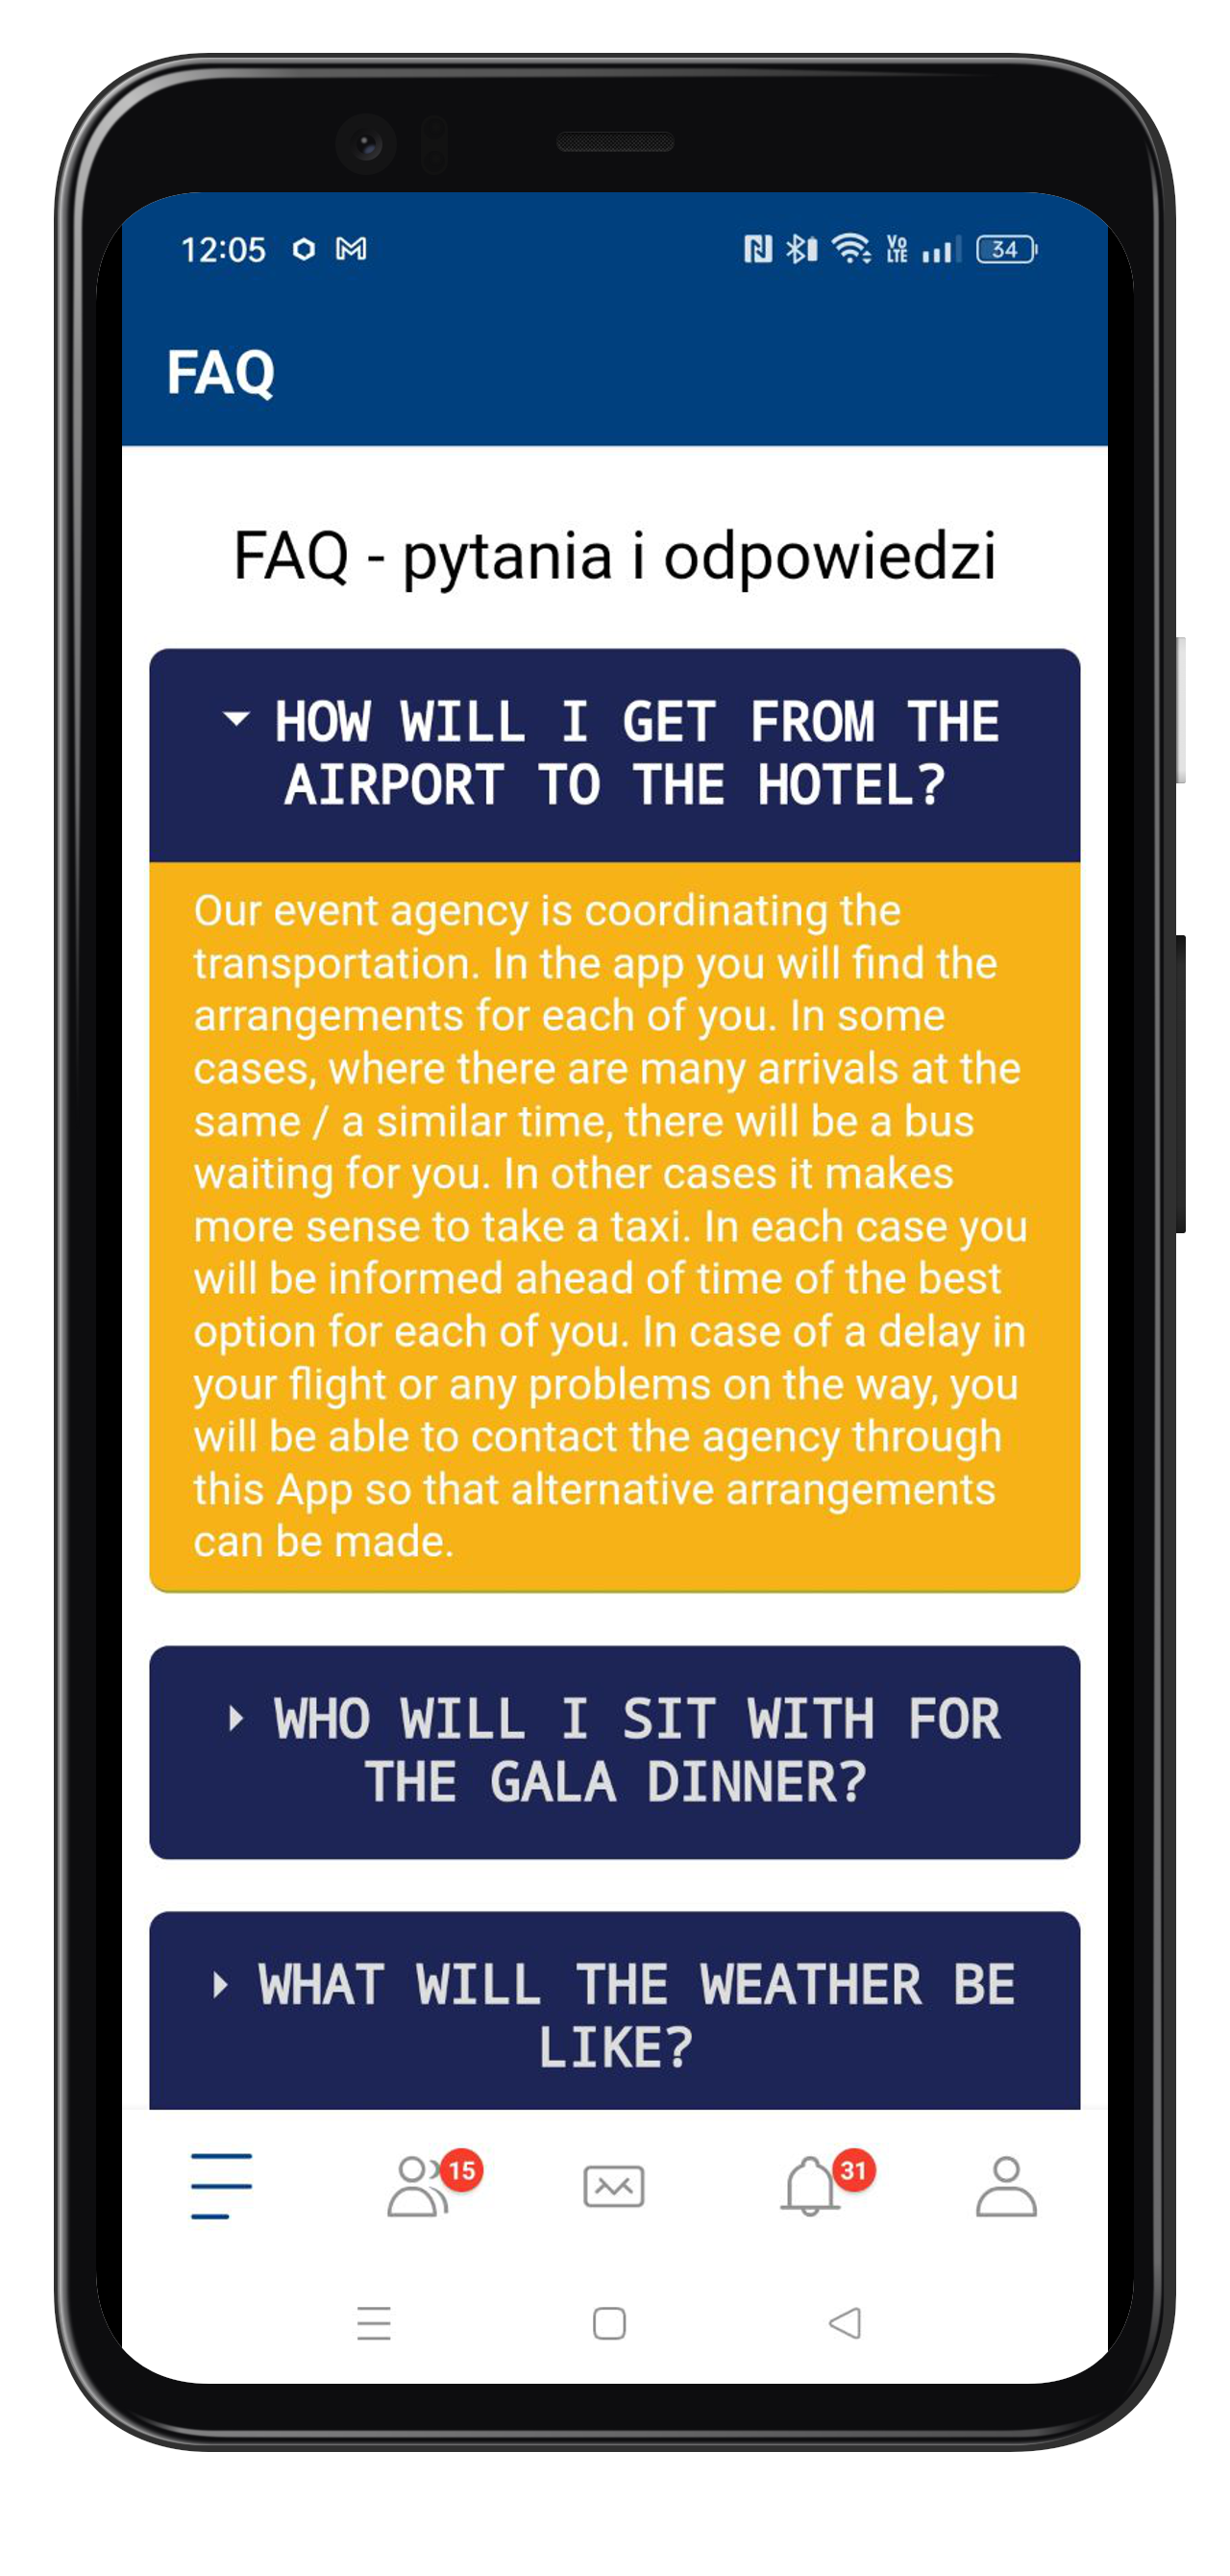
Below you'll see examples of how the FAQ module can look when done the standard way, and with CSS.
Example #1:

Effect #1:
Example #2 CSS:
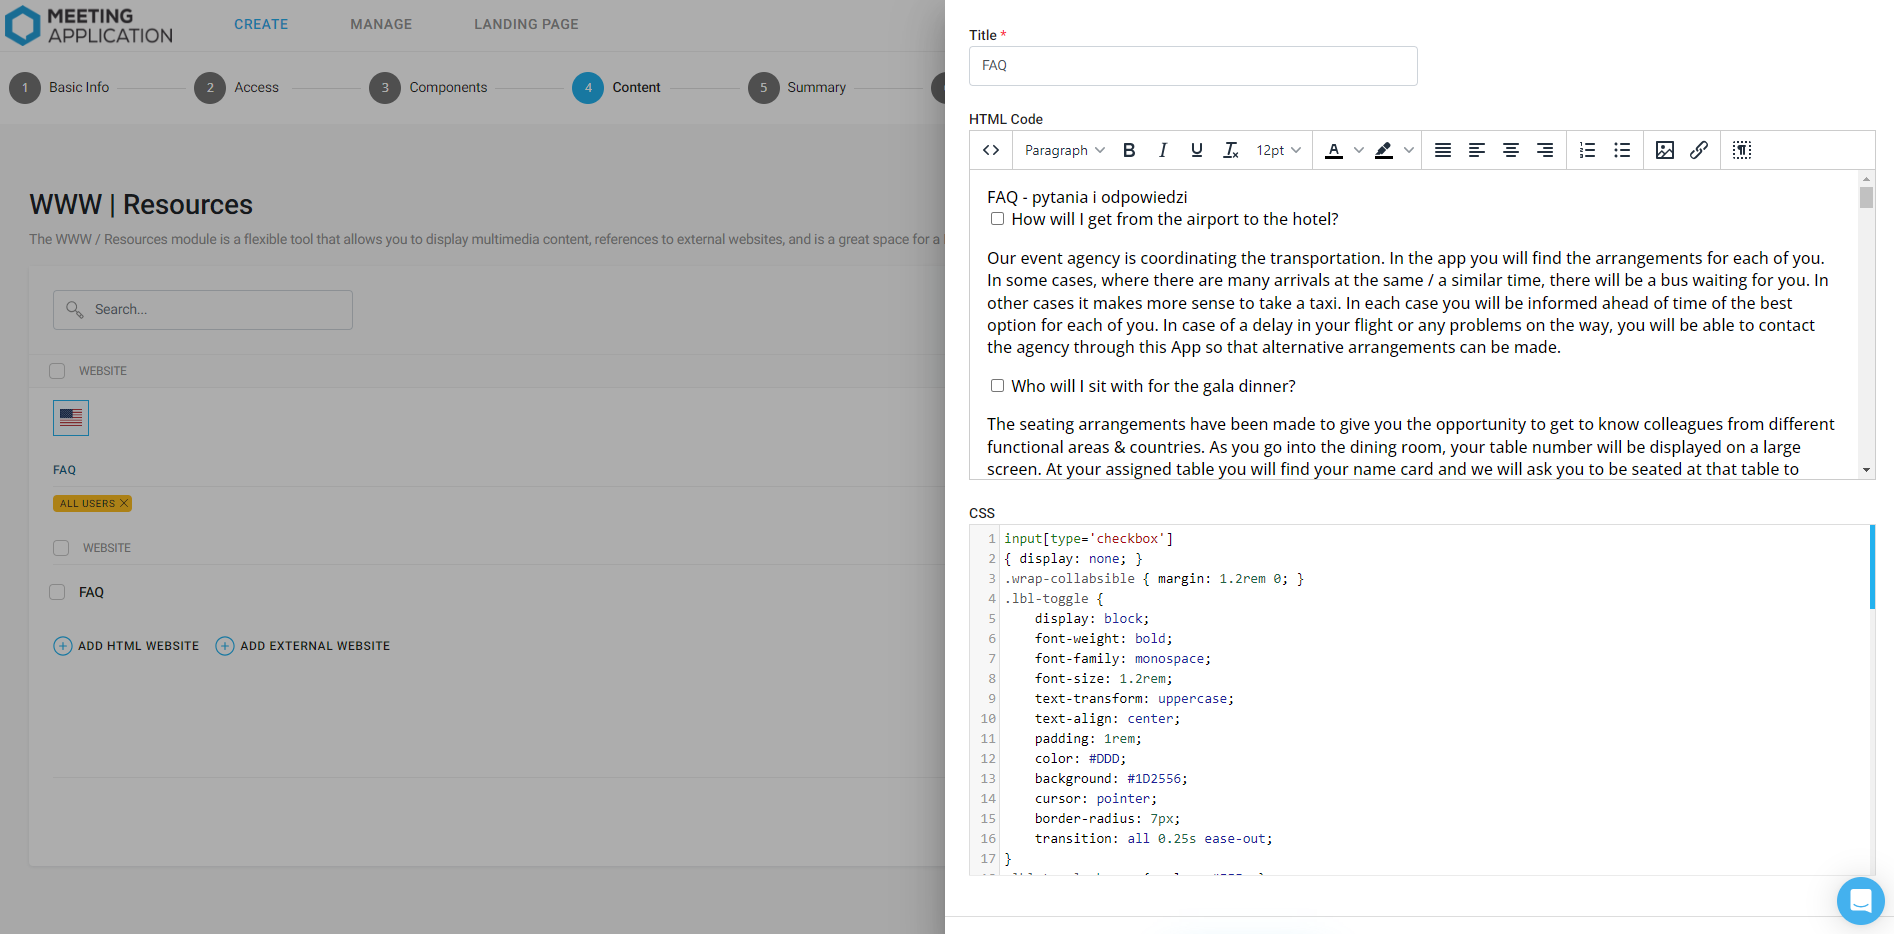
CSS effect #2:
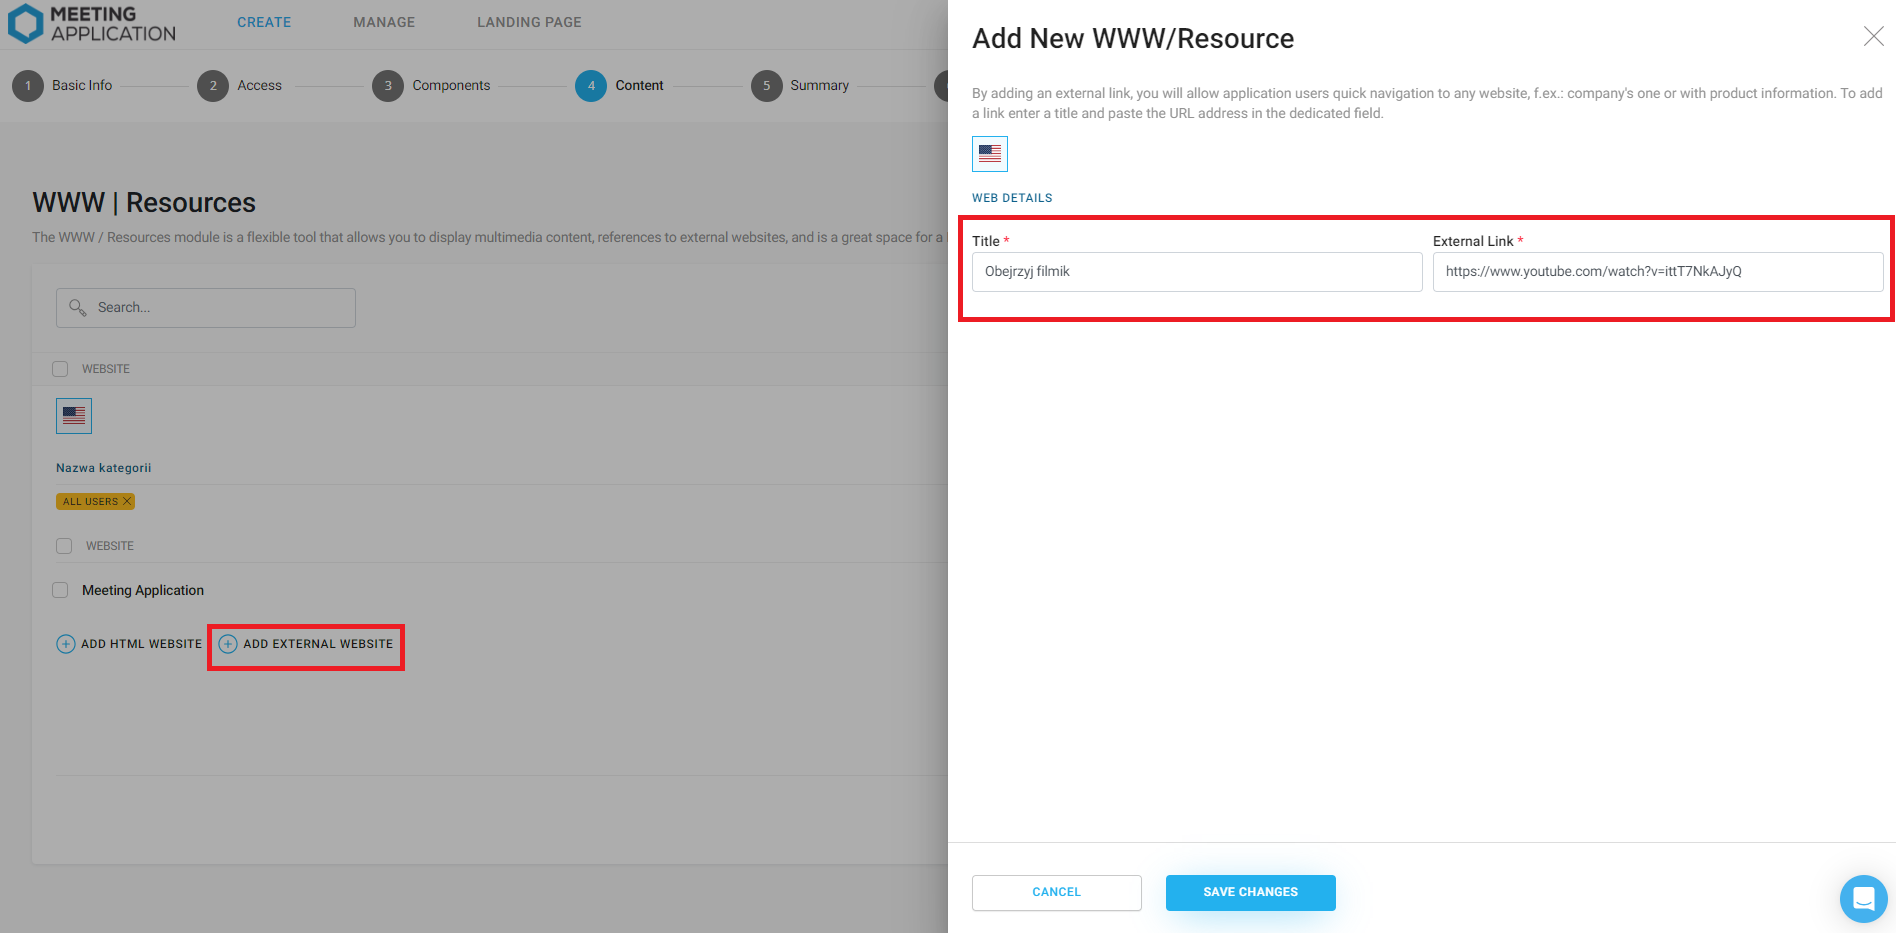
To add an external link in a category, choose the (+) Add external page option, then put in the URL and the button name that will lead to it. Adding one link means that when the user clicks the WWW module in the side menu, they’ll automatically get sent to the external page.
If you add more than one link, the module will show a list with page titles, and clicking a chosen label will take the user to the external source.
In the HTML / WWW Editor module, create categories where you'll have subpages on different topics. It's a great way to provide answers to the most common questions you expect from event participants.
Are your exhibitors and partners preparing special deals for event participants? Use this module to create a promo zone with discount codes. Add eye-catching graphics to encourage joining the promo, along with links that send people to selected shops. Remember, every promo needs its own set of rules.
Are you running contests at the event and not sure where to put the rules or some text to get people excited? You can use this module to create a contest section. Here you’ll make subpages where everything’s clear, transparent, and invites everyone to join the fun.
Need a space to show off ad graphics, scientific posters, or infographics to share with event participants? This module lets you do just that.
Does your conference require walking from building to building? Make it easier for guests to get around and learn about each place by adding info about every building and event, plus include static maps of the venues.
Have a great event with Meeting Application!