You can add your event’s partners and sponsors to the Partners/Sponsors module in two ways. One by one via the admin panel (you can learn more about adding partners and sponsors in the article Partners and Sponsors) or by importing all sponsors using a bulk file. This article explains how to correctly create a file with data of all partners and how to import it into your event.
Data for import should be saved in a file with the csv extension. Programs like Excel, Numbers (an app for iOS users), and Google Sheets let you export to this format.
Before exporting the data, make sure the file is saved in the Unicode UTF-8 encoding system. If the file is saved in a different encoding system and an error pops up when importing it in the panel, you need to convert the file using a free online tool.
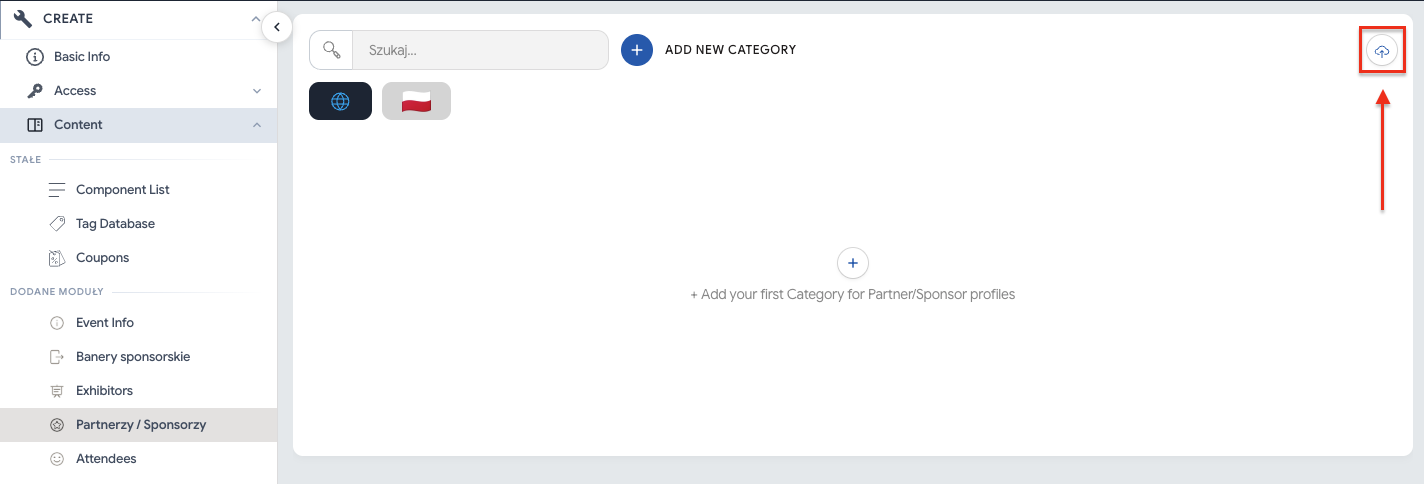
To import partner and sponsor data into the admin panel, go to the Partners/Sponsors module in the Create tab and click the cloud icon with an upward arrow in the top right corner:
Then, using the Template XLSX or Template CSV button, download the ready-made template in your chosen extension:
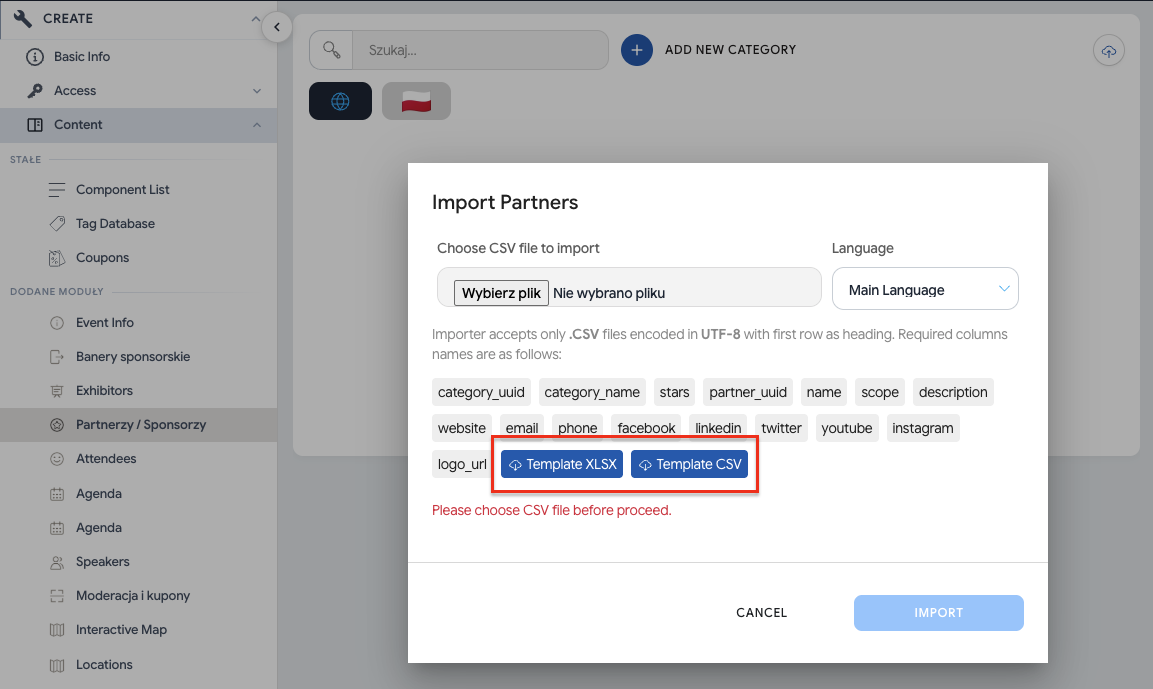

You can also prepare a csv file yourself containing the following columns: category_uuid, category_name, stars, partner_uuid, name, scope, description, website, email, phone, facebook, linkedin, twitter, youtube, instagram, logo_url. These columns should be entered in the file in the given order. Changing the order of the columns or making a typo in the column name will result in no import, or an incorrect data import. If you don’t want to fill in all the columns, you should keep the column name in the file and leave the cells below it empty.
category_uuid* – this is an ID number that should be unique for a given category. It’s recommended to assign categories uuid numbers created from digits, e.g. 1, 2, 3. This field is mandatory.

category_name* - this is the category name of a given sponsor/partner. Remember that the same categories, with the same uuid, should have the same name so they’re correctly pulled into the admin panel. This field is mandatory.
stars* – means the size of the displayed partner logos. This column should be filled with values from 1 to 3. The number 3 means the largest logo, 2 and 1 mean smaller sizes respectively. Within the same category you should keep the logo sizes consistent. This field is mandatory.
name* - the name of the company, e.g. Toyota, Starbucks. This field is mandatory.
scope - corresponds to the “scope” field in the panel that defines the business profile of the company, e.g. Car dealer, Café.
description - company description visible in the company profile in the mobile app and on the landing page.
website - the website of a given sponsor/partner that will be visible in the company profile.

email - the email address you can use to contact a given partner/sponsor, e.g. [email protected].
phone – this is an optional field intended for the phone number of the company representative. When filling it in, remember that the number should be entered without spaces, otherwise it won’t be displayed in the app, which also applies to numbers with a country code. When entering such a number, you should also skip the “+” sign. Examples: 222333444, 48999888777.
facebook, linkedin, twitter, youtube, instagram - that is, the sponsor’s/partner’s social media profiles.
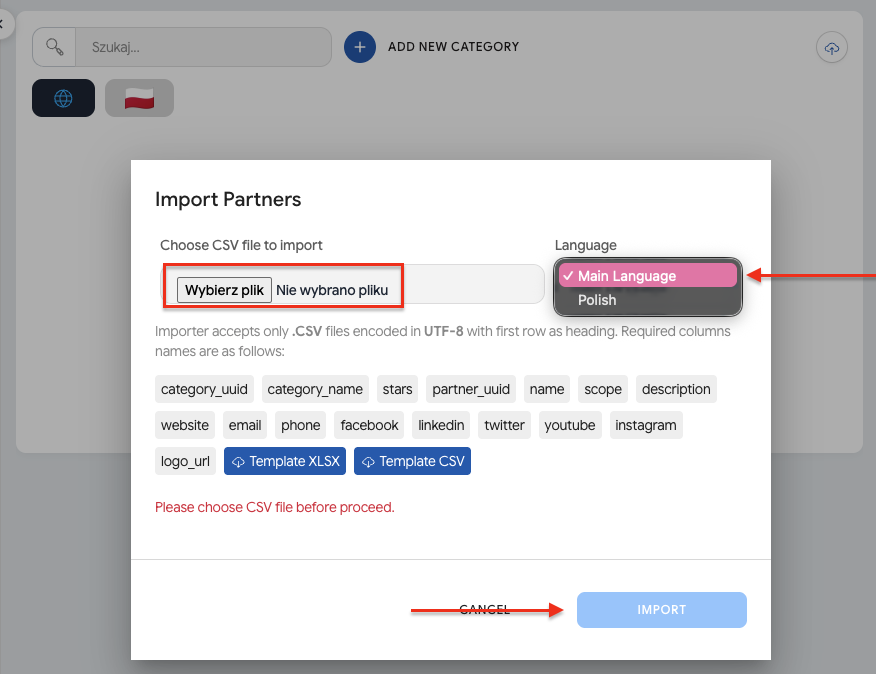
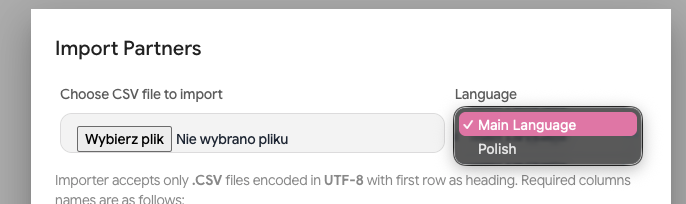
If your event has more than one language layer, first select the language of the imported file from the dropdown list. In multilingual events, “Main Language” is English.
Next, click the Choose file button and upload the previously prepared csv file. Then click Import, and all partners will be uploaded to the system:
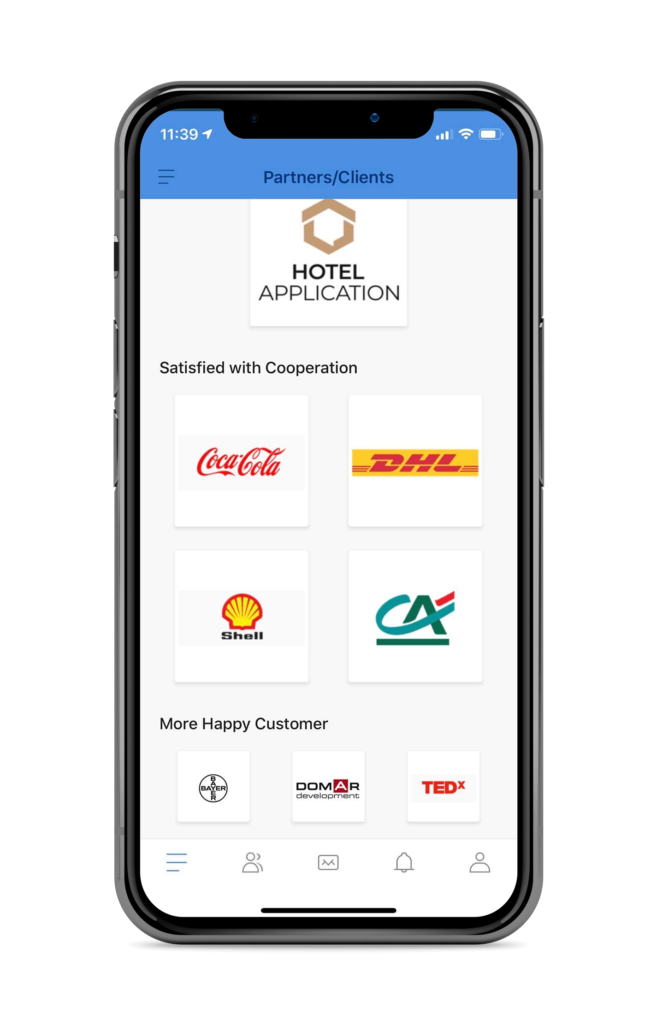
To highlight special partners from the same industry, create categories with the same name, giving them different uuid numbers. At the same time, assign each category its own size by entering it in the stars column. With this setup, separate categories with the same name will be created, distinguishing partners with different logo sizes:
Translating partner profiles into other languages is only possible when language layers have already been added in the admin panel in the Basic Info section.
To import another language layer in the Sponsors/Partners module, you need to prepare a new csv file in which the data from the category_name, name, scope and description columns will be translated. The data in the remaining columns must stay unchanged compared to the previously imported layer. Partner profiles in both files should have the same order. UUID numbers assigned to categories (category_uuid) and to the partner profile (partner_uuid) should stay the same in all imported files/layers.
To add another language layer, first select the language from the dropdown list, and then follow the same steps as for the first layer.

If, after importing partners and sponsors to your event, you need to make some changes or add new ones, you can edit the previously added file and import it again. All changes made to partners that are already published will be updated. You can also add new sponsors with all their information, assigning them subsequent uuid numbers. After editing your file, import it again in the Admin Panel.
Have a great event with Meeting Application!
