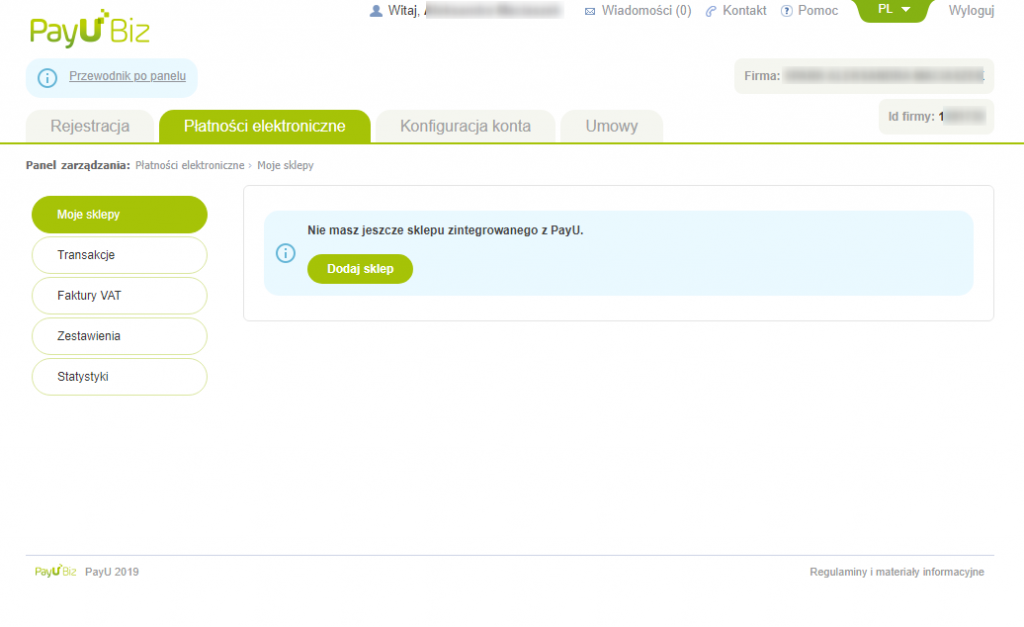
After logging into PayU, go to the Online Payments tab, then on the left side choose My Stores → the green button Add store.
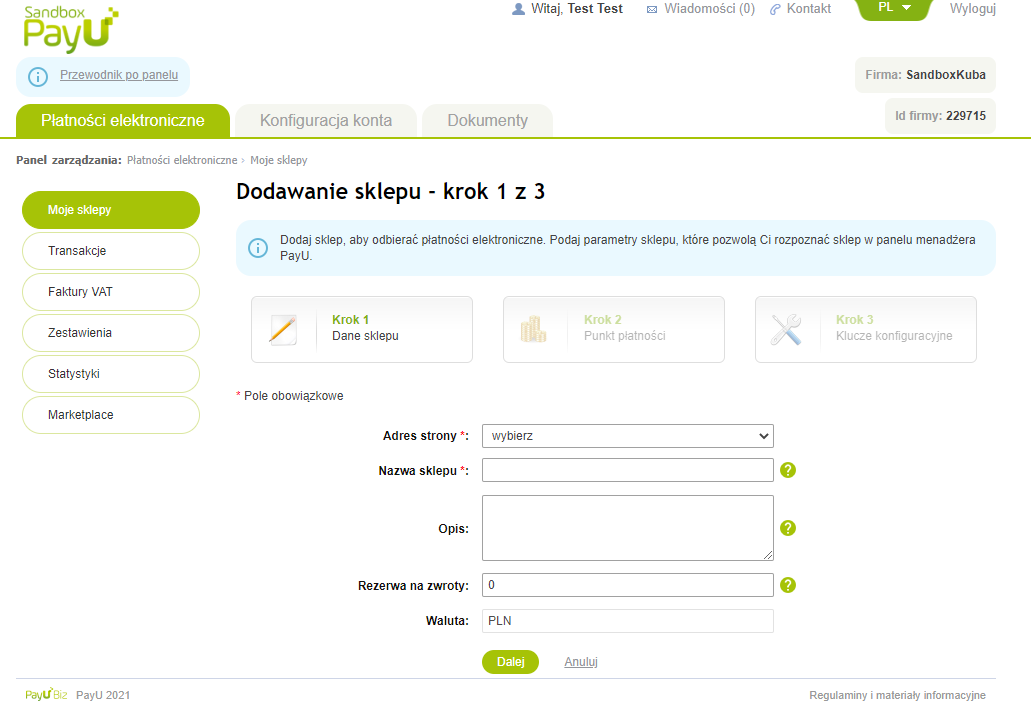
Enter the Website address (that is, the URL of your event's landing page created in the Meeting Application panel), store name (which is the name of the event you're organizing), and a description (a short info about what the event is):
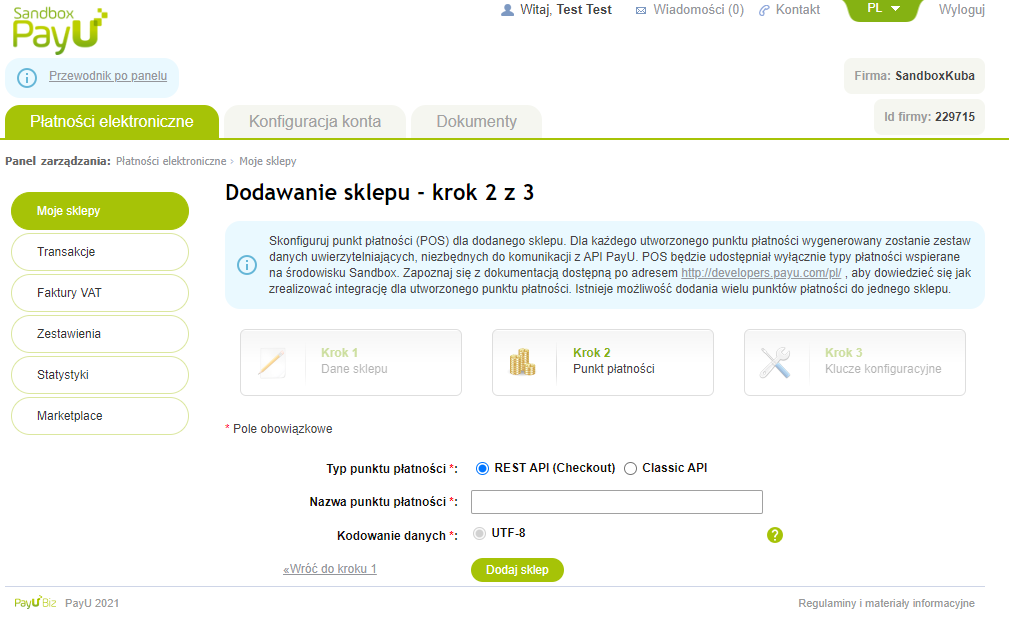
2. Set up the payment point details:
Payment point type → REST API (check out).
Payment point name → give any name for your store.
Data encoding → leave empty.
Next, click the Add store
3. In the next step, you’ll get your config keys. When your event page is ready for launch (banner, event info, filled out legal section, tickets, descriptions, prices, etc.), the keys need to be entered in the admin panel.
You'll do this in the tab: CREATE → ACCESS → TICKETS → PAYMENT METHODS.
If you need any help, send your configuration keys to [email protected] or via the chat in the bottom right corner of the page. We'll help you through the process.


You'll find a detailed description of fields that aren't required to fill out in the Seller's Guide by PayU.
Have an awesome event with Meeting Application!
