To check what your project looks like, in the first step Basic Info add all the necessary information that has been marked with a red asterisk, and then save your project. Thanks to this, in the next step you’ll be able to add modules that correspond to the next sections and features of the Meeting Application System.
The next step is choosing and adding components. After selecting just a few of them, you can already check how the Mobile App and the Landing Page of your event will look:
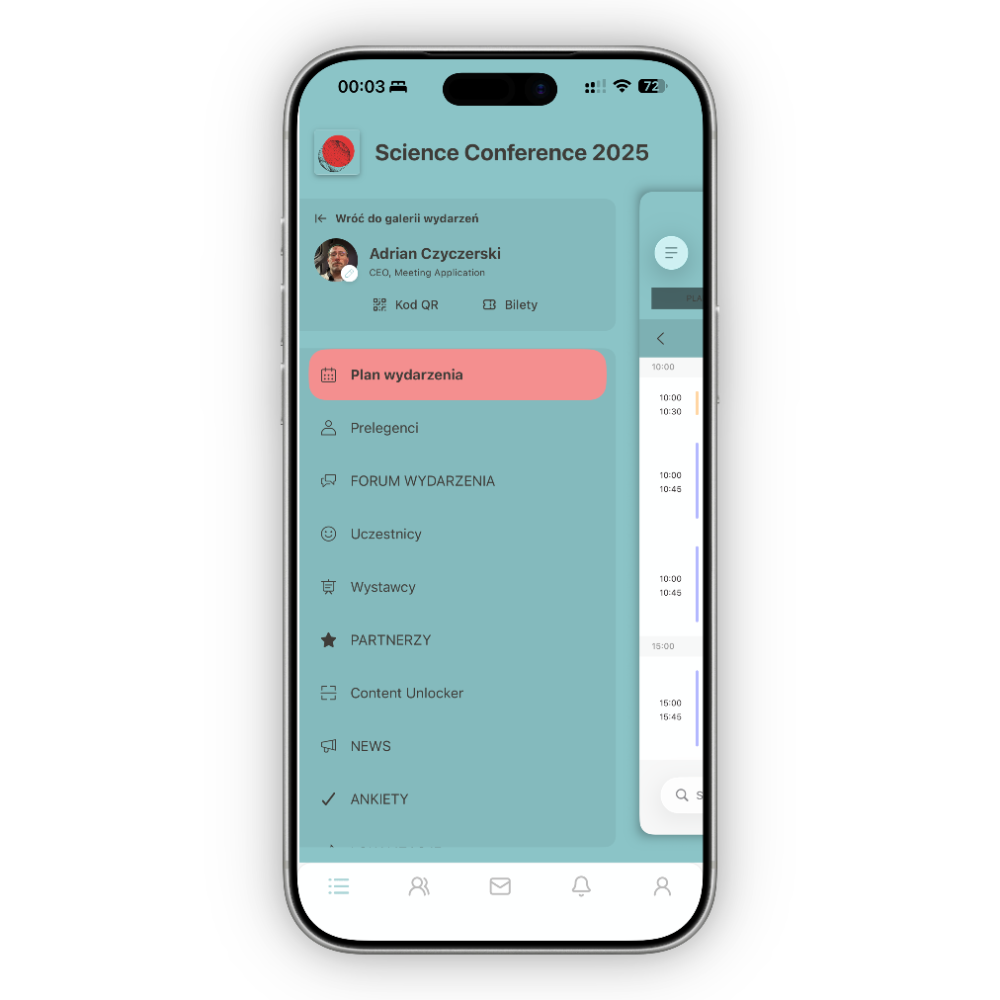
You can check the information you’ve entered right from the start, both on the Landing Page and in the Mobile App. There’s no need to fill in all the content at once, because the changes you make are updated on an ongoing basis.
The test version of the app lets you have your Landing Page checked by five users who, regardless of the selected access type, will have to register to enter the page.
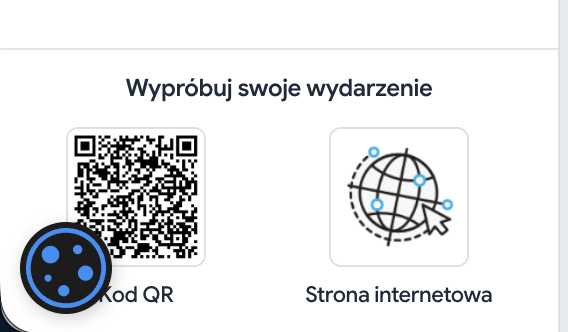
The Landing Page will open in a new browser tab after you click the globe icon visible in the bottom left corner of the screen:
If in the CREATE → Access → Access configuration tab you don’t tick any of the options that limit access to content, the page and the app won’t require logging in. For the access modes Required or Access code, the user will be asked to log in or enter the access code. The login details for the Landing Page are the same as for the Admin Panel:
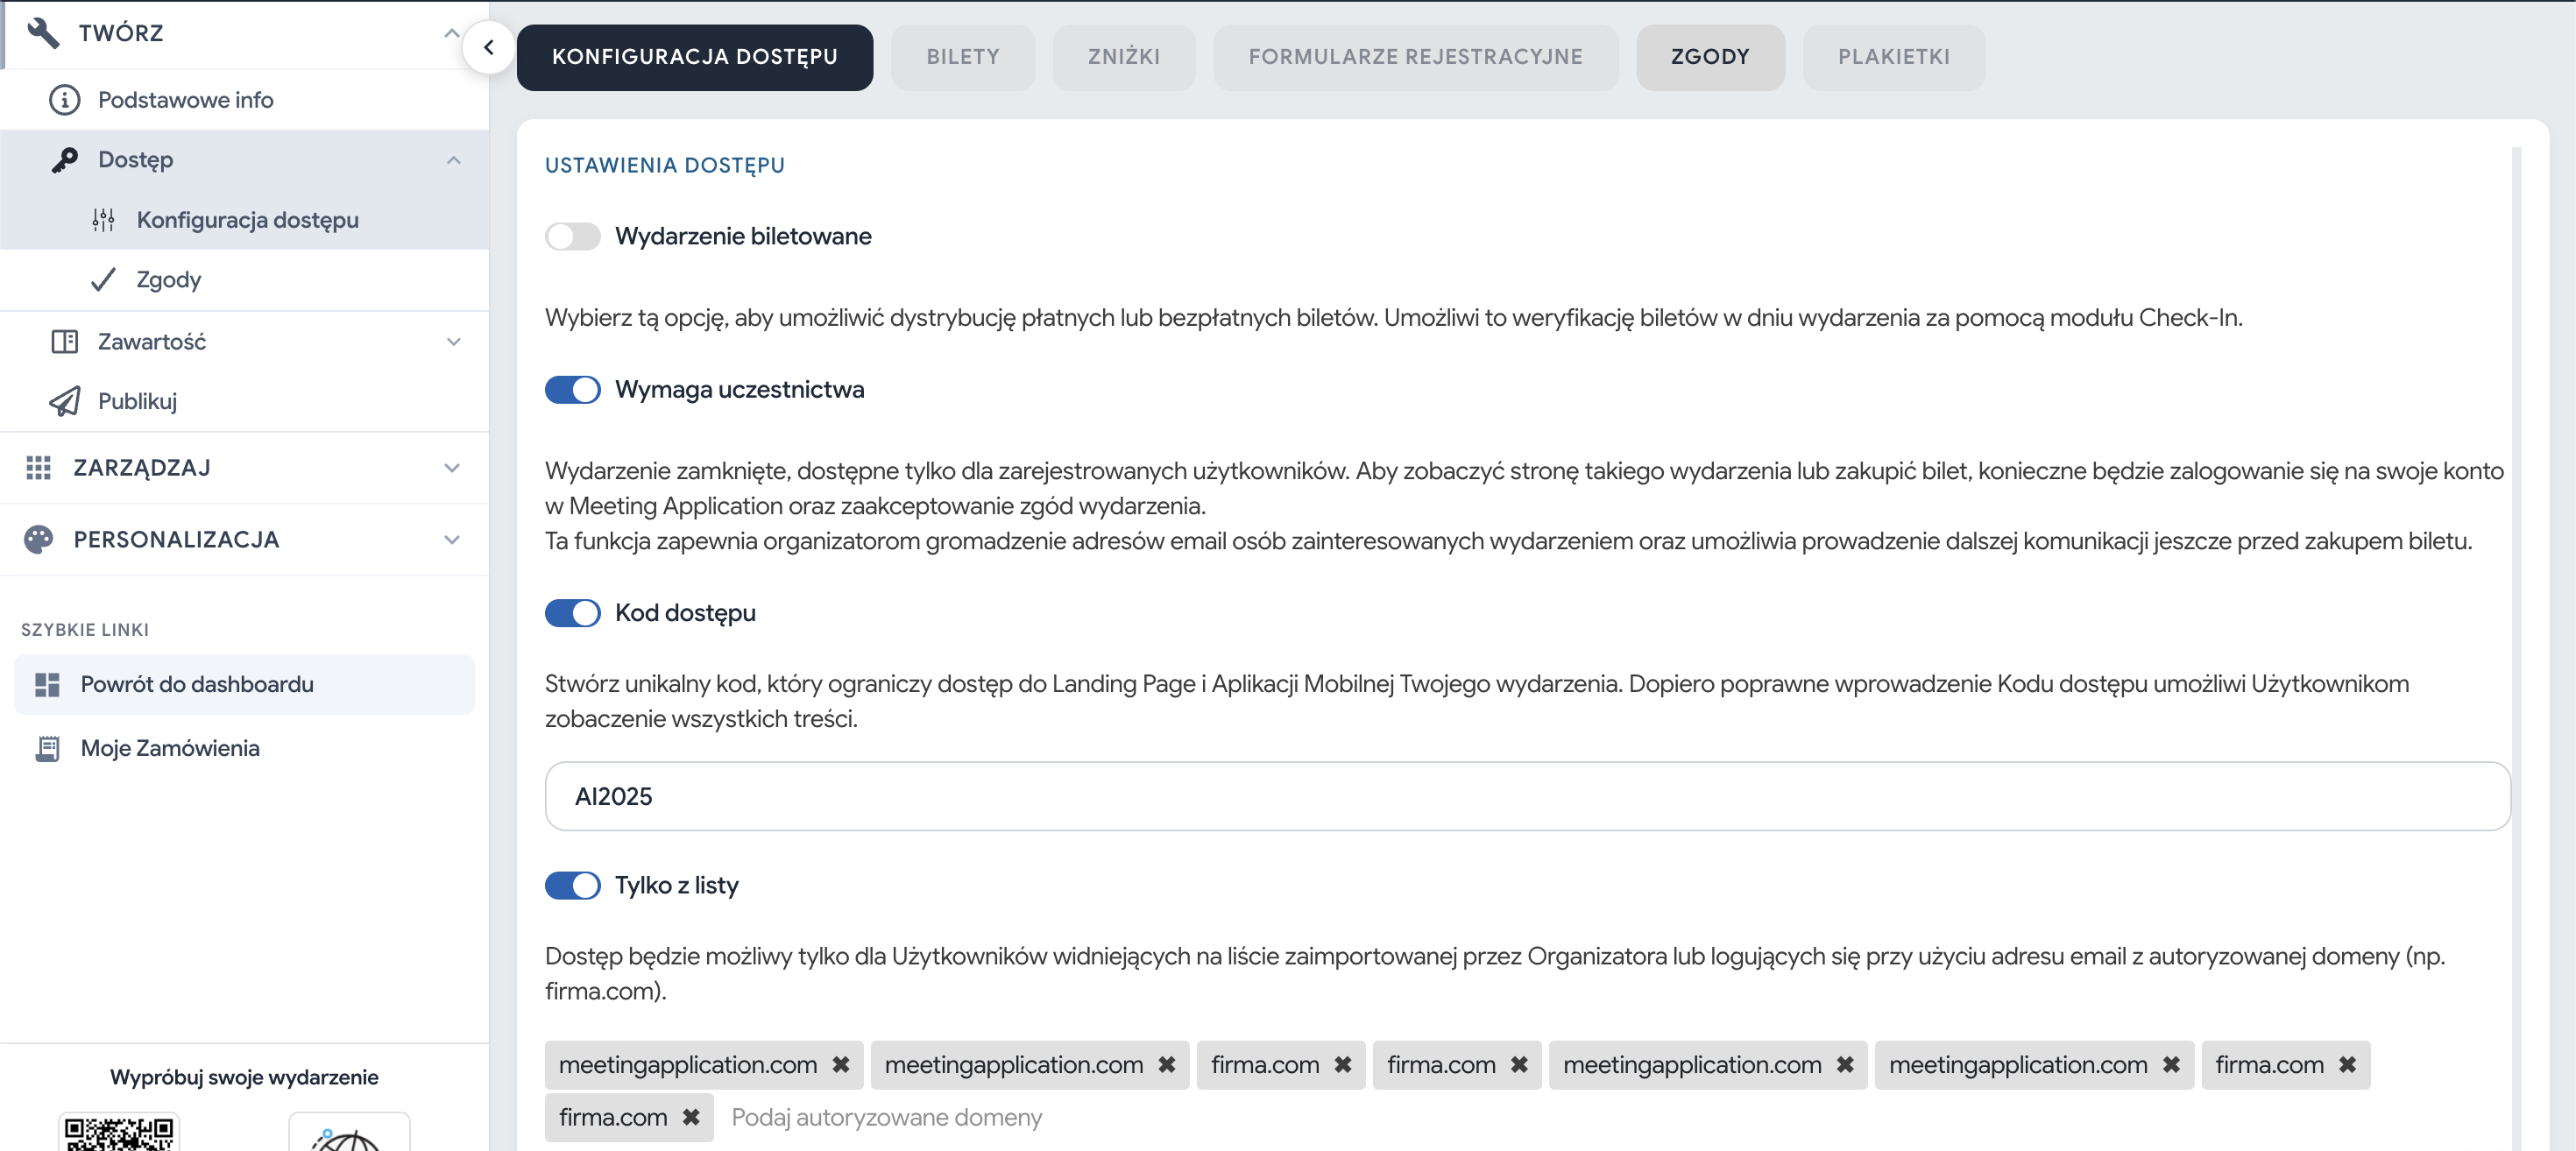
You can learn more about access settings from the article Access Mode.
If you already have our Mobile App installed on your phone, scan the QR code visible in the Admin Panel with any tool. You can also scan the code directly through the Meeting Application app by clicking the QR code icon in the Search field. Your event should appear in the App:
If you’re just starting your adventure with the Meeting Application System, then after scanning the QR code with a chosen tool on your phone, you should automatically be taken to the App Store or Google Play to download the free App. If this doesn’t happen, go directly to the App Store or Google Play and download the free Meeting Application App, then create an account:
Your event will appear in the App, you need to open it and then click Join. If an access code was previously set in the Basic info section, the App will ask you to enter it. After entering the code, you can freely browse the Mobile App from the participant’s point of view.
If you want to show the current changes in the Mobile App to your client or coworkers, you can share with them the QR code for the configured Mobile App and the link to the Landing Page. Up to 5 logged-in users can use the version before the event is published.
Remember that not all modules visible in the admin panel are visible in the Mobile App and on the Landing Page. Some modules are visible only in the App, e.g. News, Banners, Photo booth, Treasure Hunt or Content Unlocker. Additionally, if you hide some modules in the admin panel, they will not be visible in the Mobile App preview.
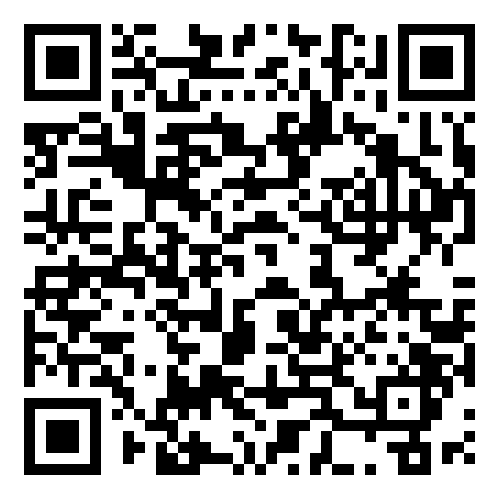
Scan the QR code below in the Mobile App and check out Landing Page
Have a great event with Meeting Application!
