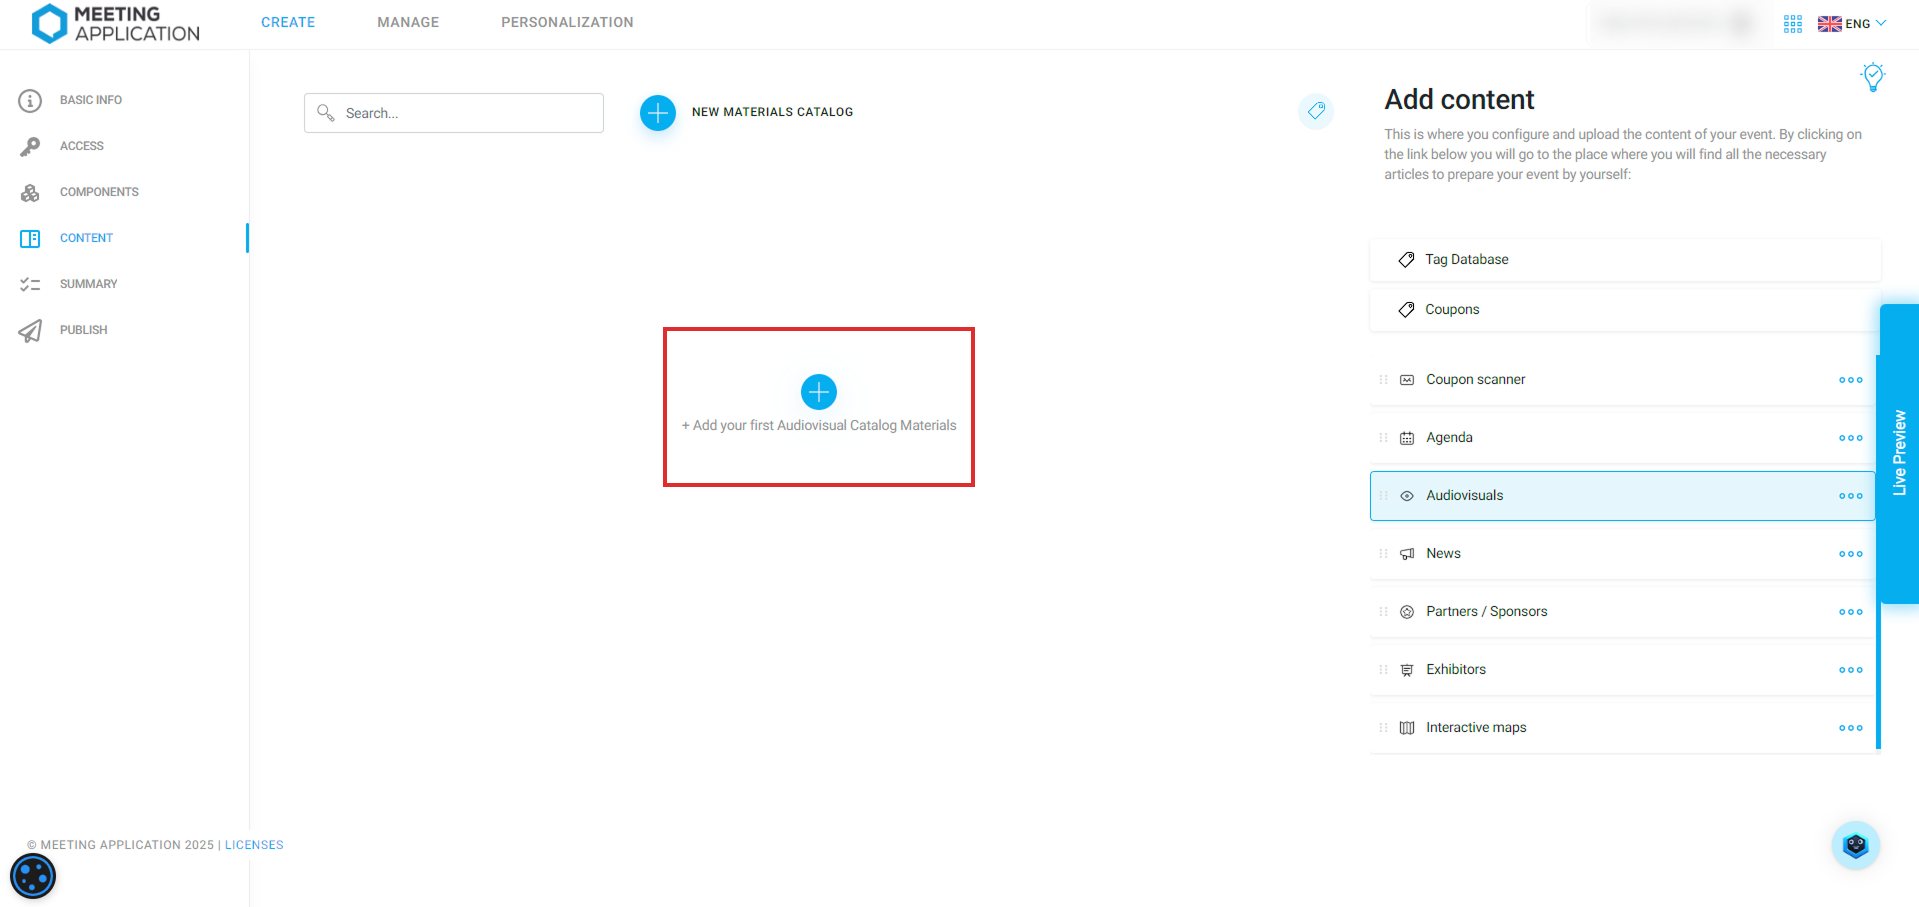
At a lot of events, you need to share all sorts of files with participants, like presentations, detailed reports, or folders with photos from earlier editions. With the Audiovisual Materials module, you can easily share all these files in an organized way.
No matter what you use the module for, all files have to go in folders. In the middle of the module, choose the Add First Audiovisual Folder button, and for more folders, you'll find this button up top next to the search bar. Type in a name that your audience will see—something that matches what's inside:
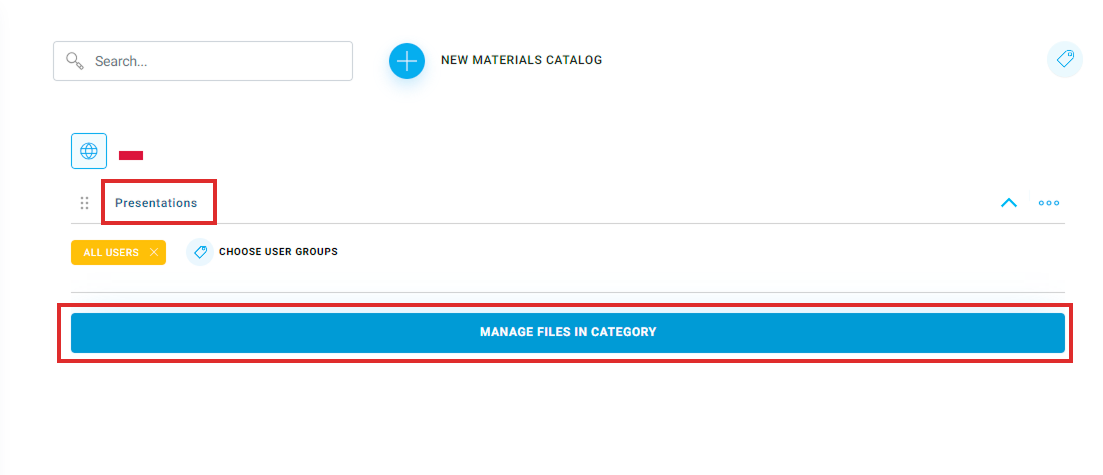
With the Choose user groups button, you can manage which participant groups get access to specific folders. If some content is reserved, like for the VIP group, besides adding the right tag, unpin the ALL USERS tag from it. Don't forget to tag VIP the people who should have access to this stuff.
Pick the Manage files in category option to start filling it with content. You'll see a menu pop up on the right with two options: add file and add link. Use these to pick what kind of item you want to add.
The Add file option lets you upload files of any type and size. After clicking Add file, you can select several files to add them at once. Just keep in mind that importing many large files might slow down the app for everyone, even for those who can't see the folder. For stuff bigger than 25MB, we recommend the second method described below.
The Add link option lets you set the text on the button that will lead to the link you choose. This can be a website or a path to stuff stored in the cloud, which is the best way for handling large files. If you're linking to cloud storage, make sure to set the file permissions at the destination. We suggest choosing access for anyone with the link.
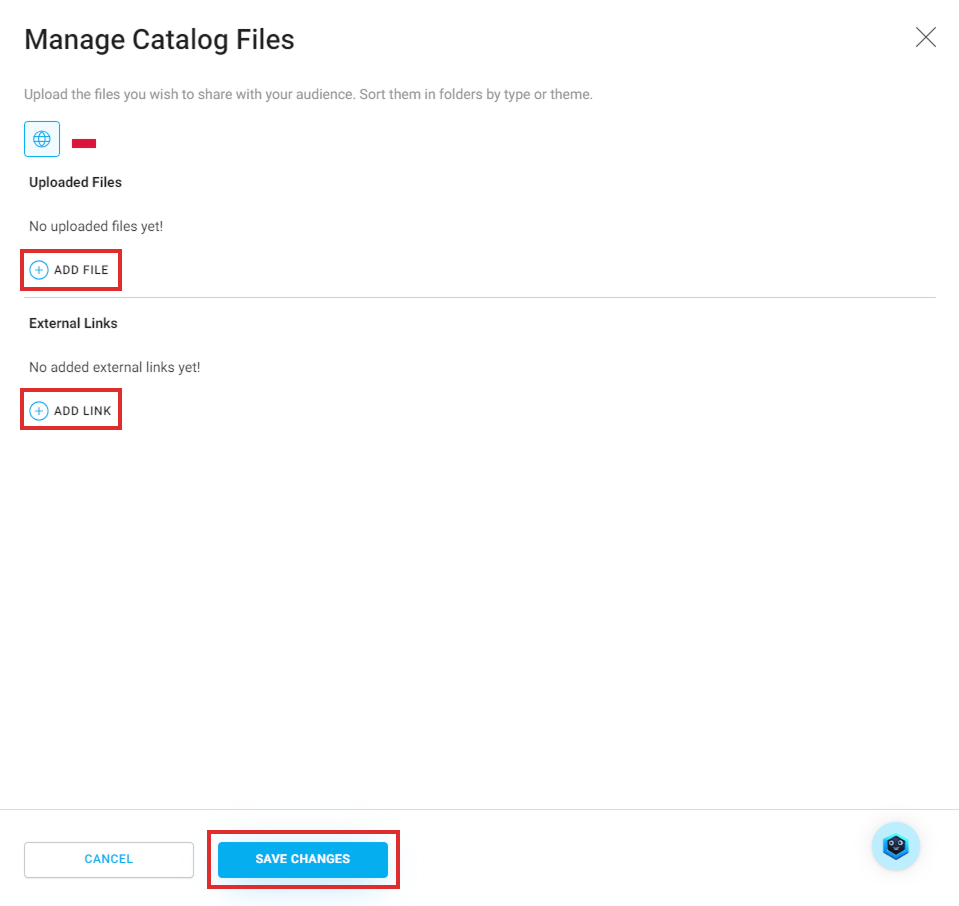
Once you've added all the folder items, choose Save changes at the bottom of the screen. You can add more files anytime by picking Add new item to catalog. If you want to remove an item from the folder, click on the three dots icon on the right side of its row, then pick the trash bin icon.
If you need more folders, pick New catalog for items toward the bottom of the page, at the top of the section.
Once you've created a few folders, you'll notice their contents collapse to make browsing the folder list easier. To see what's inside any folder, select the “V” icon to expand the list of items inside:
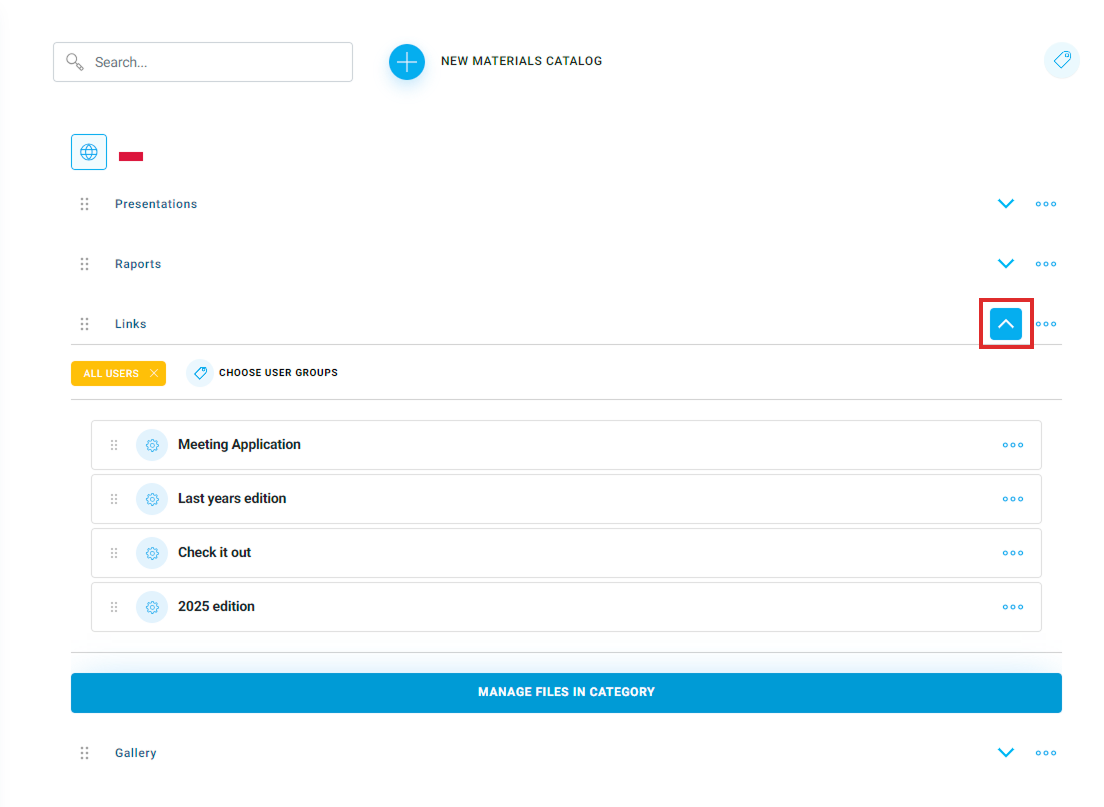
You can also change the order of folders by grabbing the name with your mouse and dragging it to a different spot in the list. In the same way, you can rearrange items within a folder, but you can't move them from one folder to another:

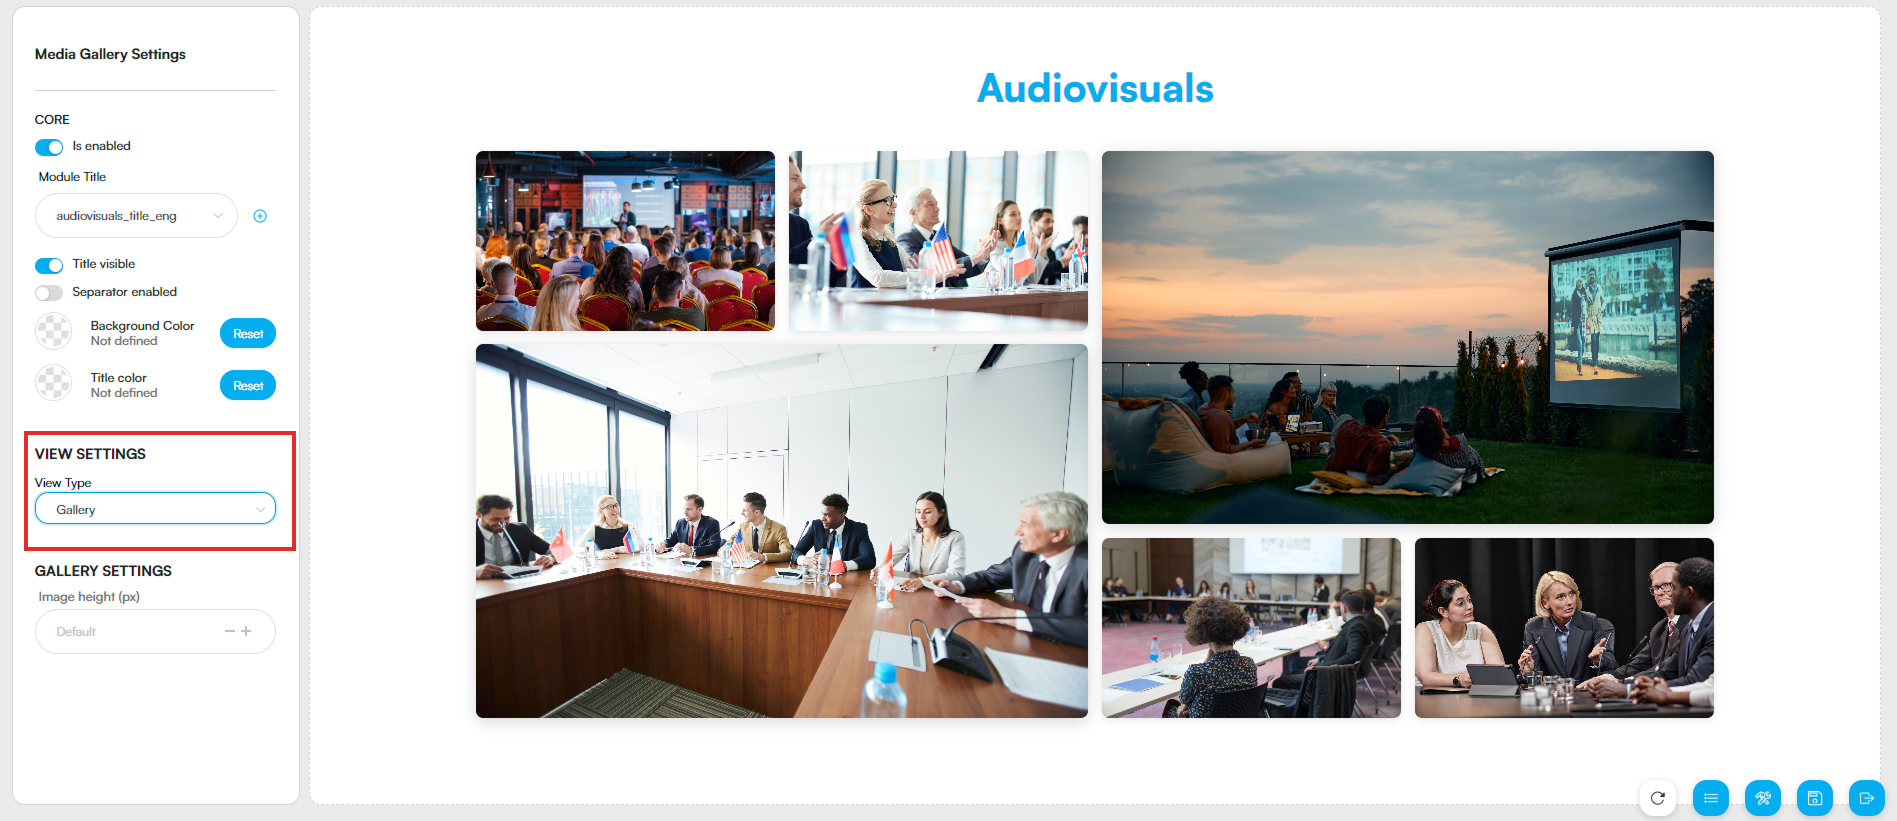
After you add stuff in the Panel, you can go to the Landing Page preview to see how this module will look on the event page. More settings about the appearance of this section on the LP can be found in the LP Configurator, just click the wrench icon in the bottom right corner of the page.
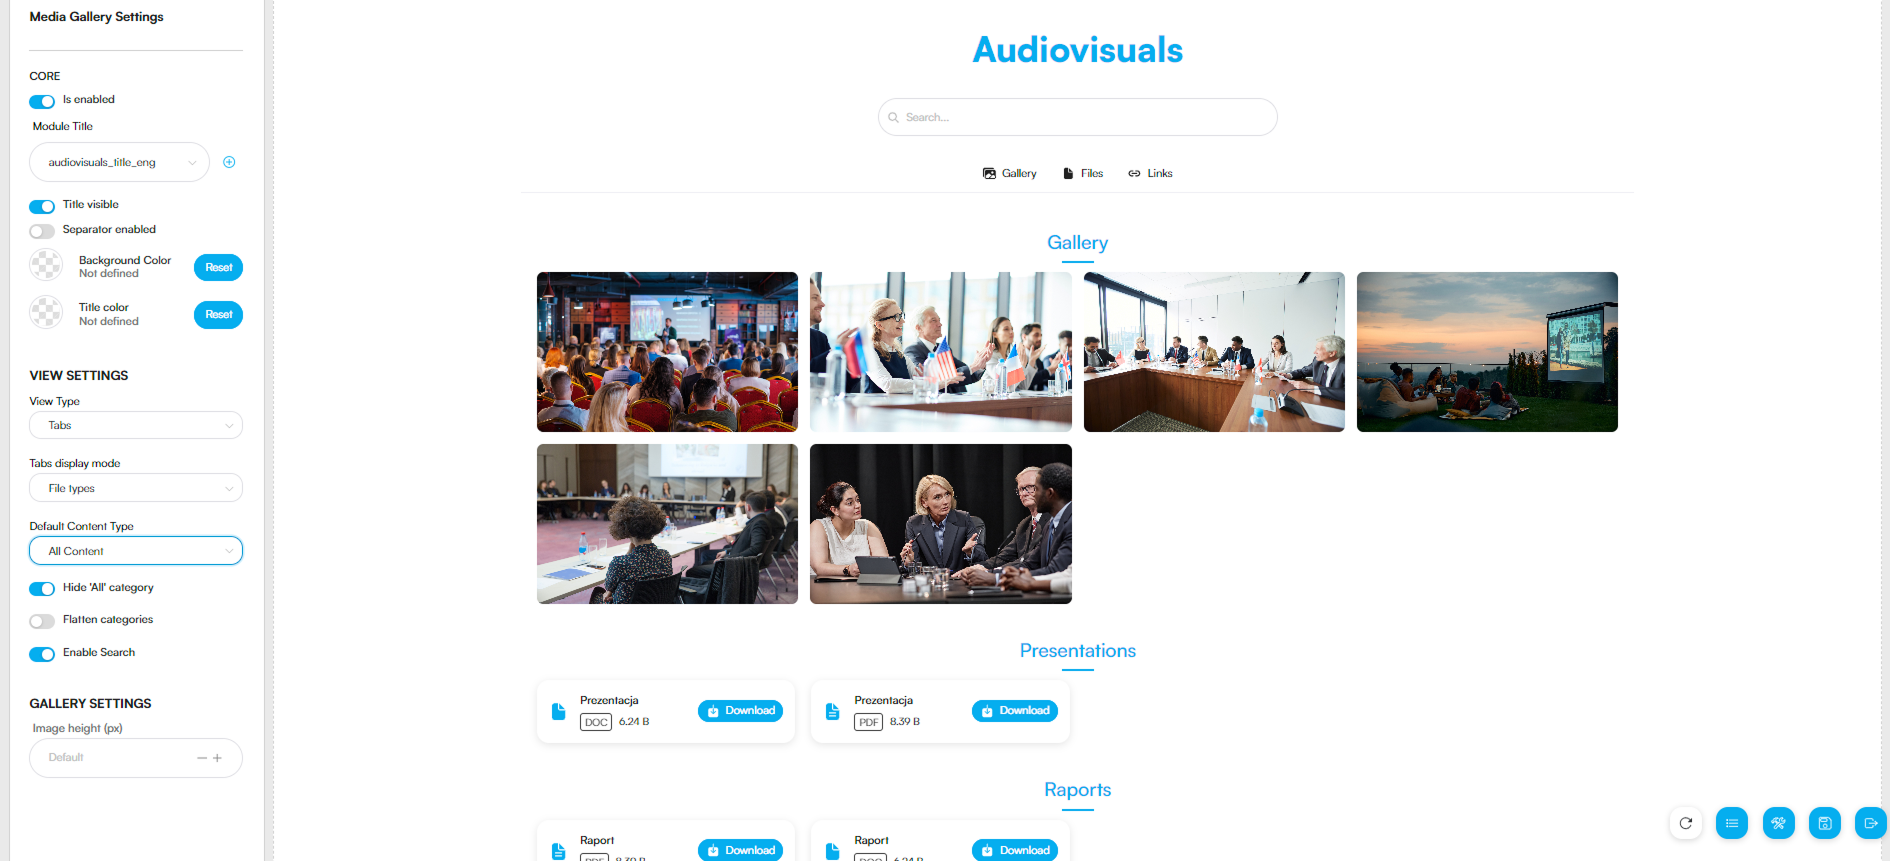
By default, the module shows all file types split into tabs (directories). But you can change these settings however you like in the View Settings section using the dropdowns:
View type:
Tabs - shows all files grouped by tabs
Gallery - shows only photos as a gallery
Tabs display mode:
File types - shows files grouped by type (Gallery, Files, Links)
Folders - shows files grouped by folders set in the Admin Panel
Hide - shows all files without grouping by types or folders
Default content type (when tab display mode is set to File Types) - shows the default file type:
All content
Gallery
Documents
Video
Links
Have a great event with Meeting Application!
