Go to the management panel in Meeting Application - https://admin.meetingapplication.com/ and select your event.
Go to the Create/ Access/ Access Configuration section.
Make sure the button “Optional: Ticketed Event” is turned on.
Go to the “Tickets” section and enter tickets that participants will be able to buy or acquire.
Then go to the “Badges” section and click the “Enabled” button under the “Basic settings” to enable editing.
Optionally, you can disable the “Automatic Printing” button, which means that scanning participants’ tickets will not automatically print their badges.
Leave the “Device Name” section untouched.
In the “Badge Size” section, select the tape type used. By default, 38x90 millimeters is selected. Ensure the tape size in the printer matches the size set in the management panel.
Below, you will find additional settings regarding badge content—what sections should be printed and what shouldn’t. You can also adjust the font size and thickness for each. Additionally, you can include a dedicated “Top Text” above and “Bottom Text” below the participant data section. These texts will be identical for all participants.
After finishing the edits, click “Save changes” at the bottom of the page.
Return to the Access Configuration section and scroll to the bottom of the page to click “Save and continue”.
Open the printer dome and make sure there is paper tape inside, with its end inserted into the printing section as shown in the photo:
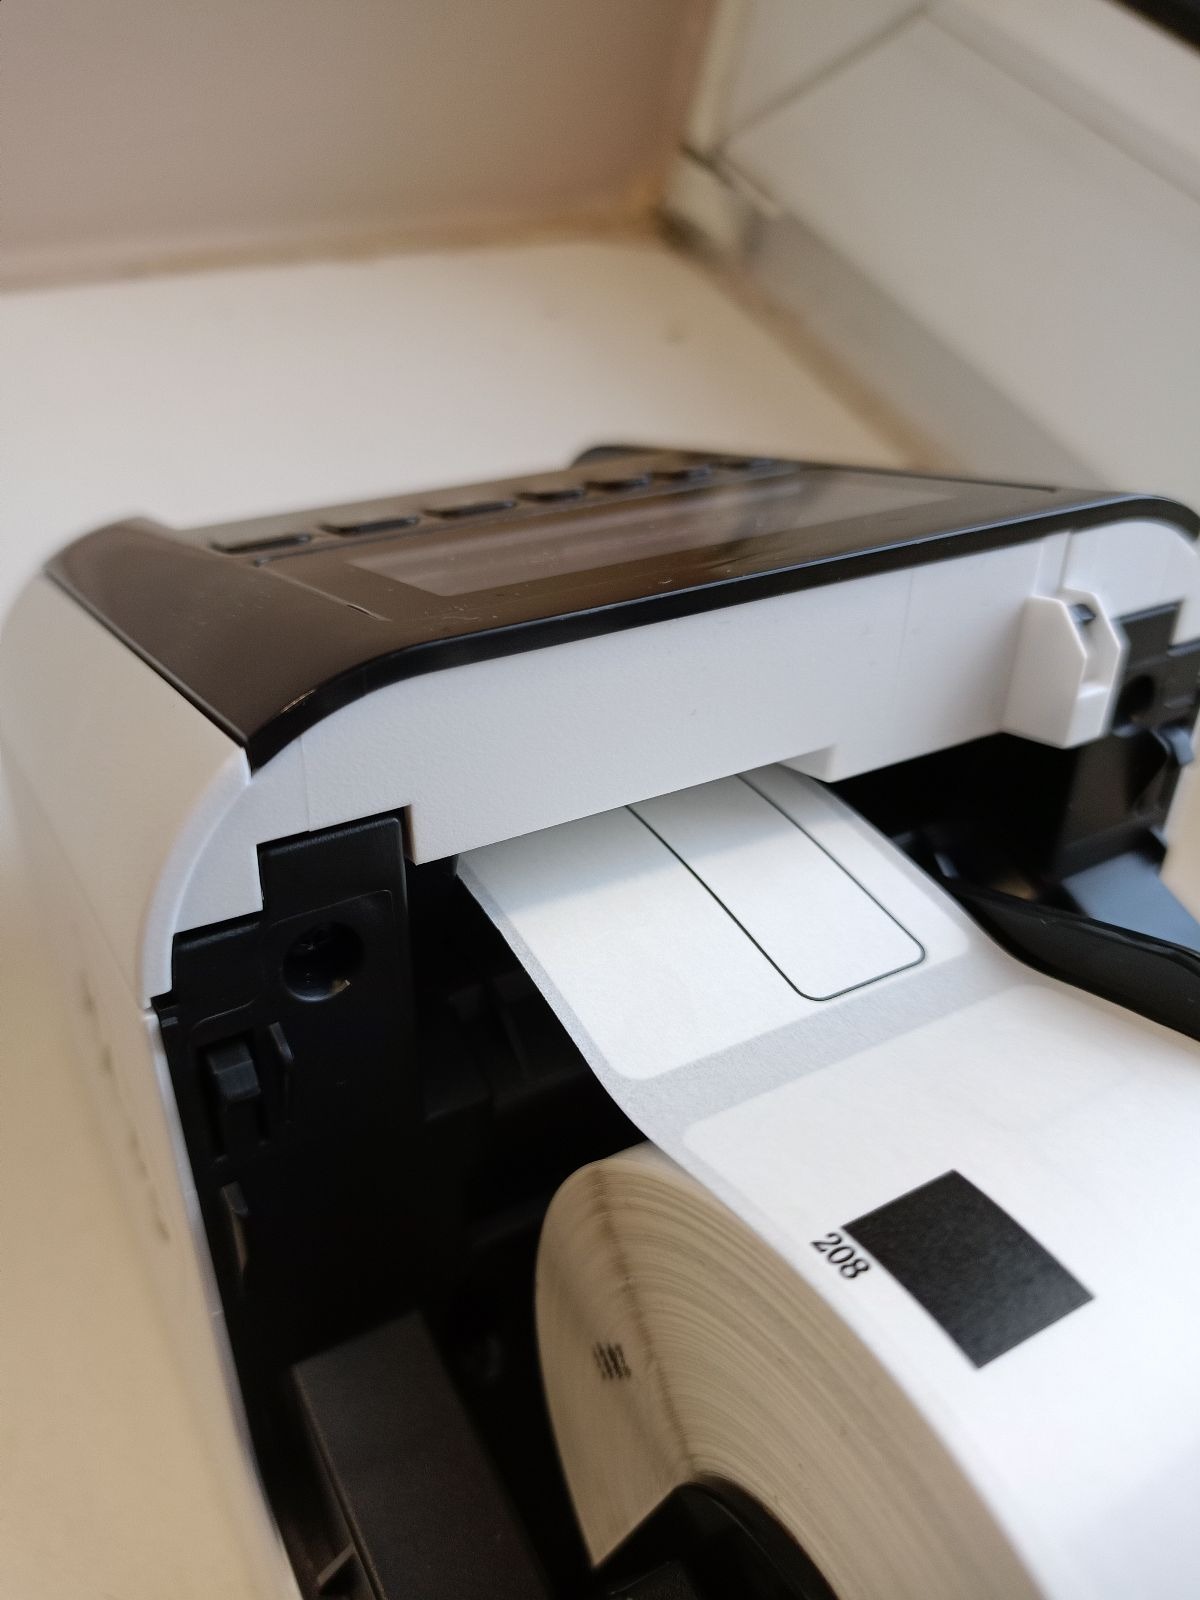
However, the end of the tape should not stick out on the other side. The tape inserted into the printer has its size indicated on a label on the side of the spool - make sure it matches.
Close the dome and connect the printer to power.
Turn on the printer using the power button - the first button on the left side of the control panel. Hold it down for two seconds.
Press the Menu button, and use the arrow keys to select the WLAN section. In the submenu, select WLAN (on/off) and switch the option to On, then press the OK button.
Select the WLAN section again by pressing OK, and within it select Infra Manual Setting, which will open a menu with available Wi-Fi networks. Choose the network that both the printer and the device (tablet or phone) used for scanning tickets will use. Once the network is selected, enter its password.
After successfully connecting to the network, select WLAN Status from the WLAN menu, then Infrastructure mode, and note down the printer’s IP address - it will be needed at a later stage.
Press the “Back” button (arrow with a loop) three times to return to the printer's home screen.
Ensure that the associated device intended for scanning (tablet or phone with the Android system) is connected to the same wifi network. Launch the Meeting Application on it and log in to the event using an administrator account.
At the top of the event menu, select the Admin Component item, and in the menu that appears, click on Event Check-in.
Next, select the Scan QR Code button and allow the application to use the camera installed on the device.
Click on the gear in the top left corner to access the Check-in Settings. Here, you need to enter the IP Address of the printer, which will print badges based on tickets scanned by this device.
To ensure everything is properly connected, click on the same screen button - Print Test Badge.
In the Admin Component module, click Event Check-in.
Then select the Scan QR code button and point it at the participant's QR code. This can be the ticket's QR code or the participant's personal QR code. If a ticket is assigned to their account, the badge will be printed.
In the Admin Component module, click Event Check-in.
Find the participant on the list or search for them by name.
Select the plus icon on the right-hand side. If a ticket is assigned to their account, the badge will be printed.
A successful event with Meeting Application!
