To publish a dedicated app containing only your events, it is necessary to have your own account in the AppStore for the iOS version. Below you will find a series of steps in the procedure that will lead to setting up such an account.
Go through the entire process according to the attached steps (some of them may look different due to changes on Apple's side).
1. Start by creating an Apple ID using this link: https://appleid.apple.com/account#!&page=create
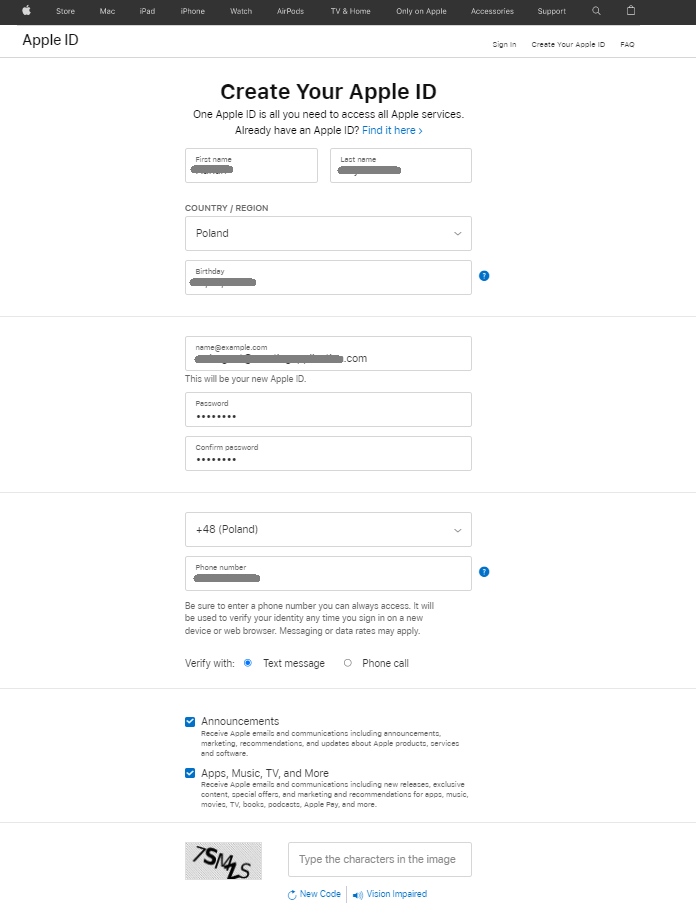
2. You will see a window to verify the specified email address.
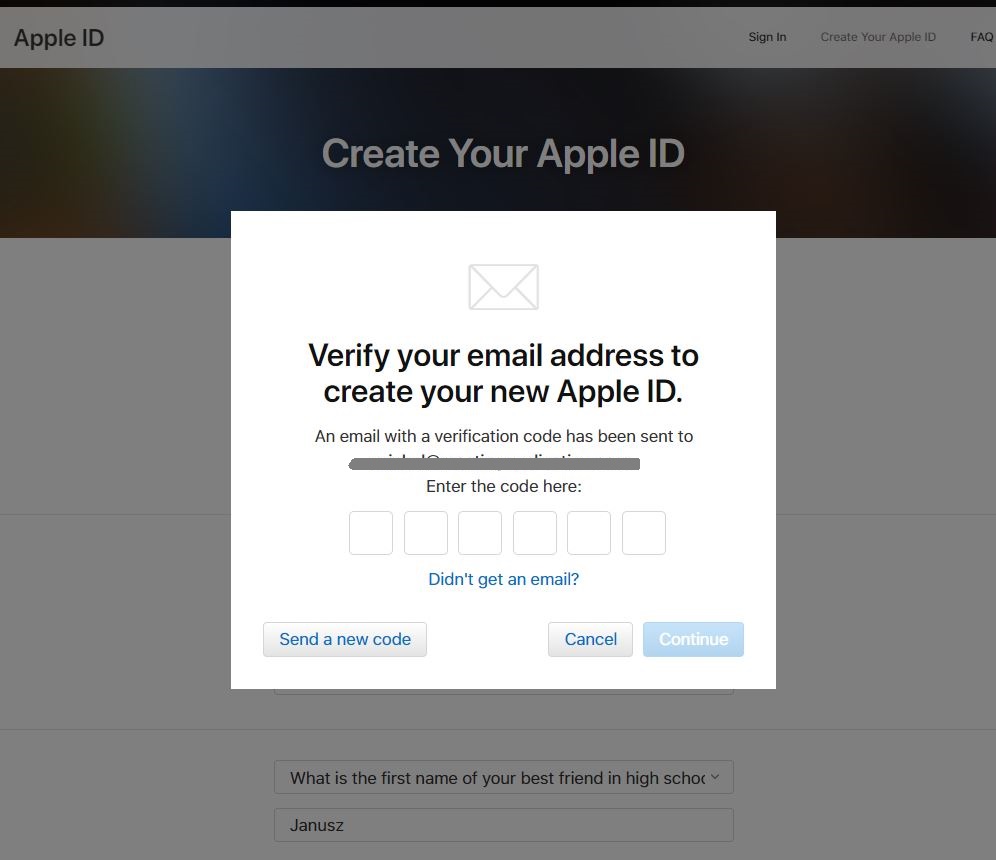
Enter the code that was sent to this email address here.
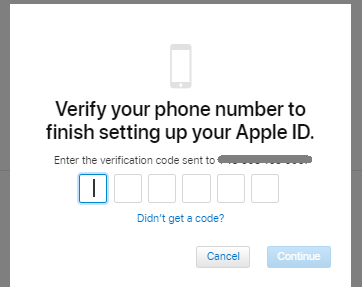
3. Then you will receive another verification code, which will be delivered in the chosen way. Below you can choose whether contact on the phone will be via message or in the form of a phone call.
4. After creating an Apple ID, go to https://developer.apple.com/ and log in.
5. In the next step, acceptance of the developer agreement - Apple Developer Agreement will be required.
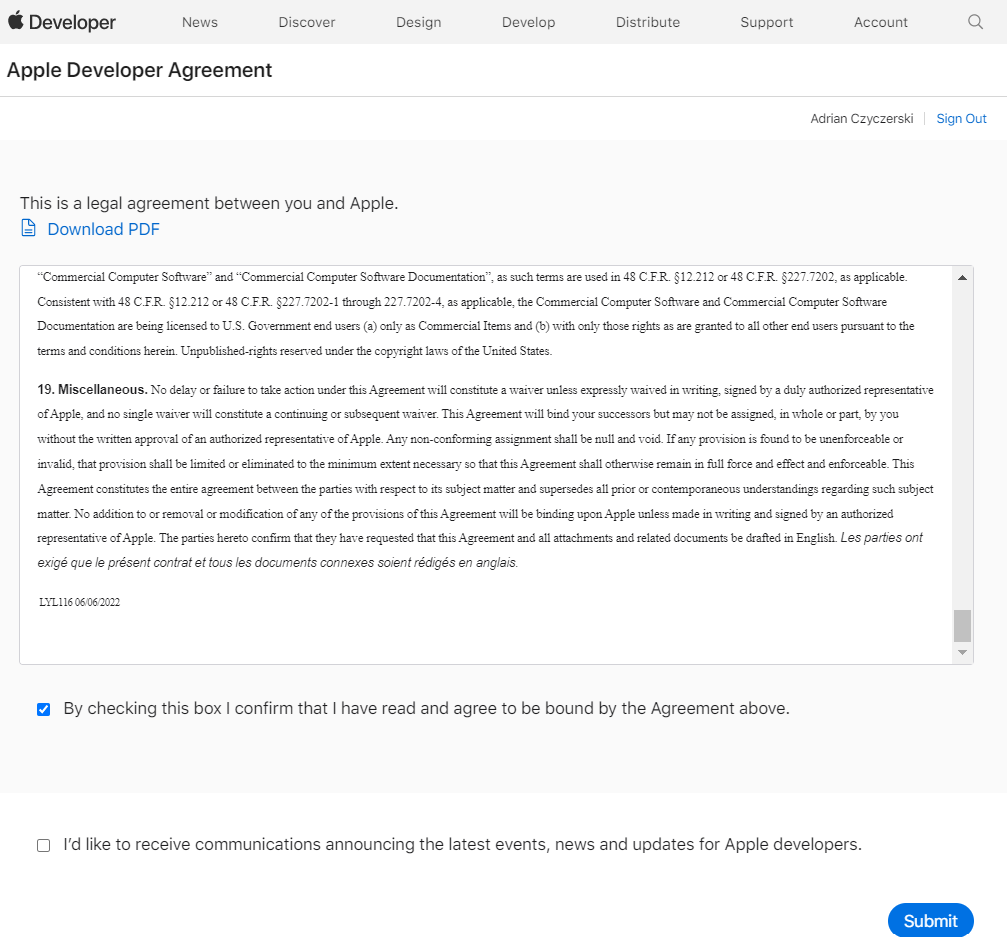
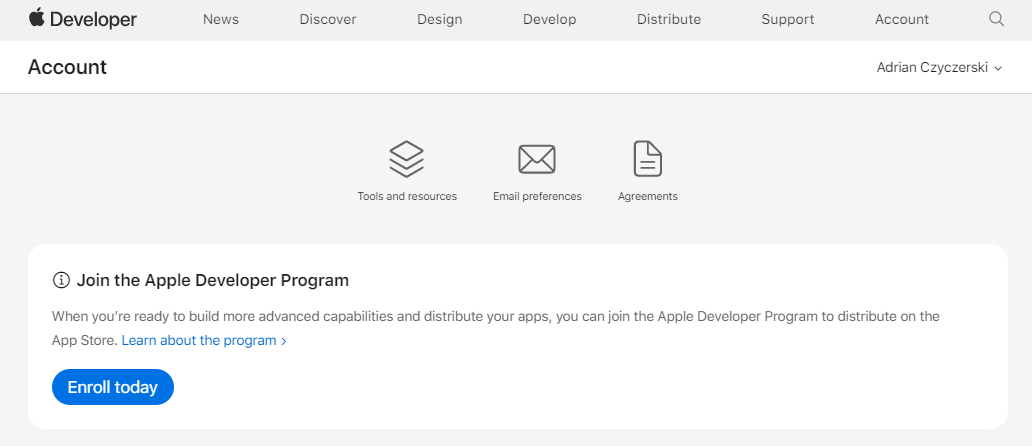
5. After submitting consent to these terms, you will see the following panel, where you select “Enroll today” in the “Join the Apple Developer Program” section.
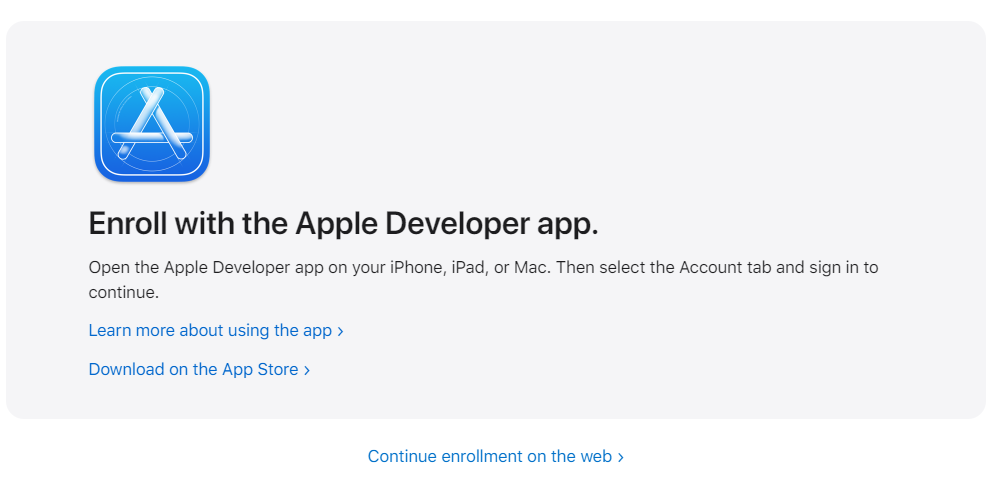
6. You will see the view below. Here, select “continue enrollment on the web”.
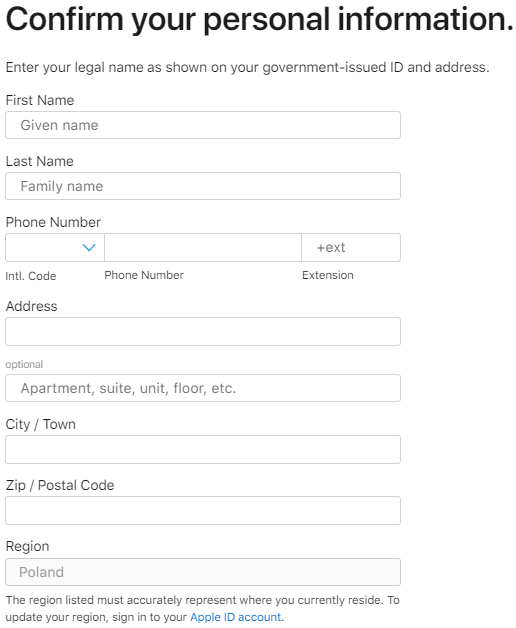
7. Fill in personal information.
8. Next, you will be asked to select the type of entity. Depending on this choice, a list of different requirements will be displayed to continue the registration.
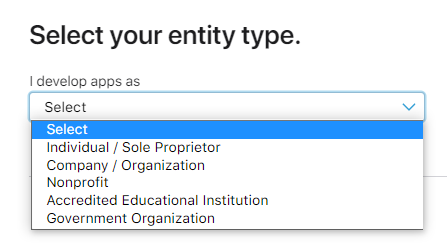
9. Please note that all entity types other than private individual/sole proprietor and government organization will require entering a D-U-N-S number.

First, check if your company already has it by using this website https://developer.apple.com/enroll/duns-lookup/#!/search
If you don't see any suggestions for your company there, use the links below to request a free creation of a DUNS number.
English https://www.dunsregistered.com/Jointoday.aspx
Polish https://www.dnb.com/pl-pl/numer-d-u-n-s-wypelnij-formularz/
It takes up to 14 days to receive such a number.
Plus an additional 14 days after receiving it to start using your number and complete the registration by proceeding to step 10.
Usually, both procedures take less time, but it is worth conducting them as quickly as possible.
10. Continue the registration by selecting the Entity Type, preferably: Organization.
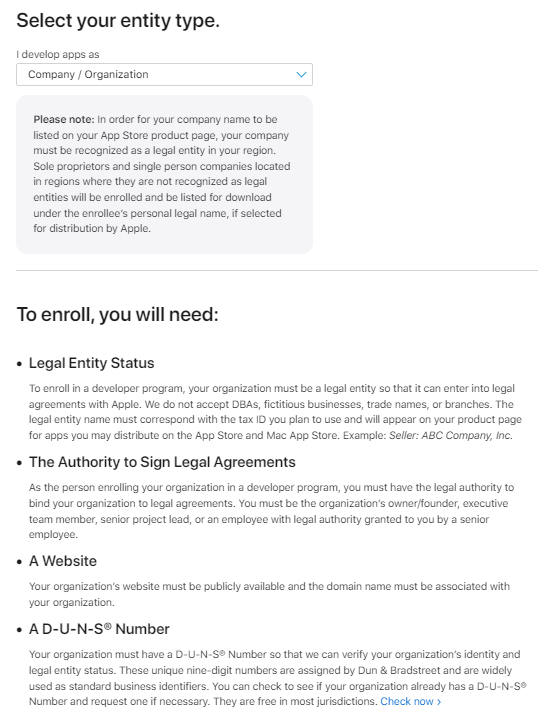
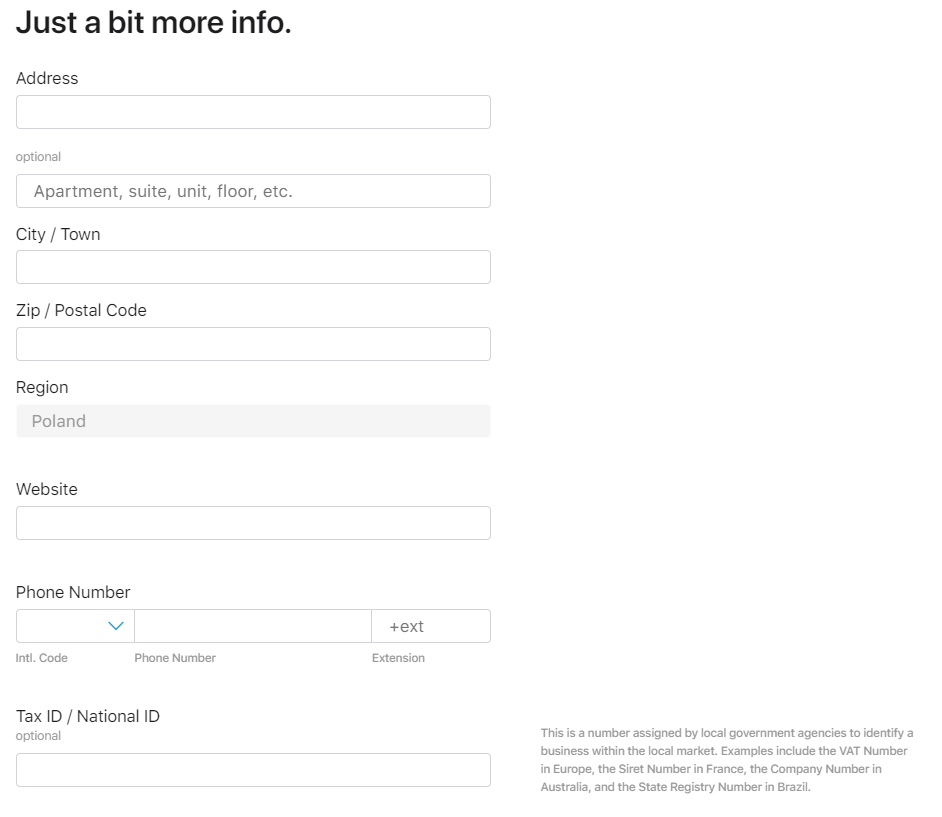
11. Fill in additional data.
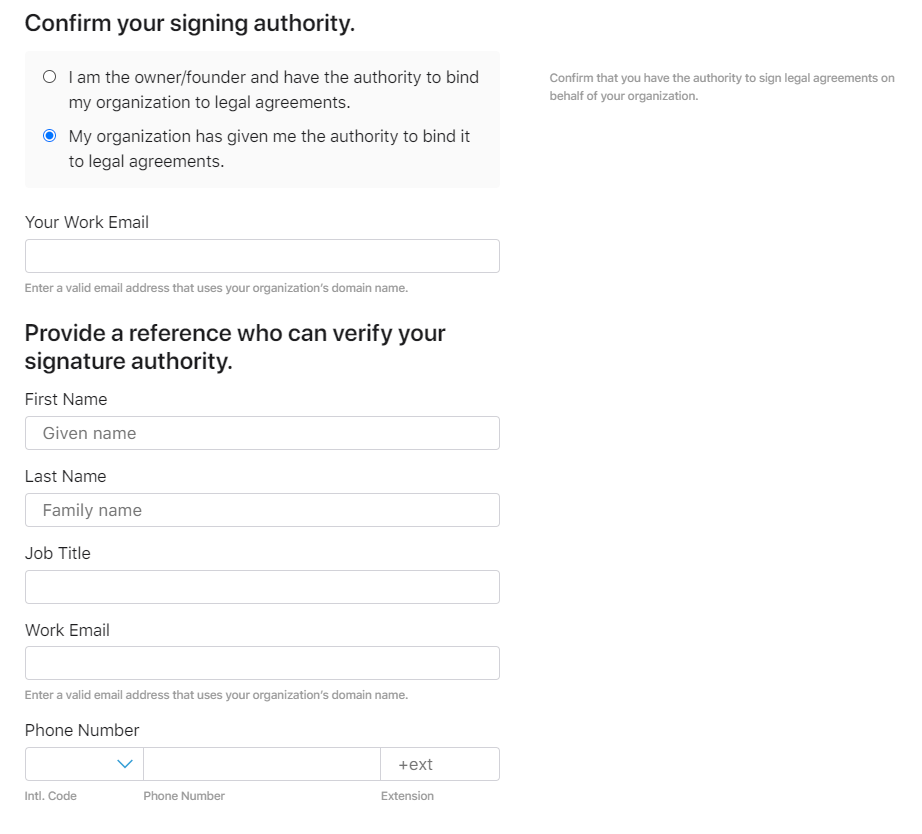
12. Depending on whether you are a business owner or an employee, choose the appropriate section.
If the second scenario is selected, provide the details of the person who can verify your authorization to set up an account on behalf of the company. Note that this person will receive an email from Apple with verification instructions, which are an integral part of the account setup process.
13. After completing these steps, you will receive a case ID in progress.

14. Complete the registration and pay the annual license fee of $99.
15. You will receive a purchase confirmation email.
16. Apple will review your request within 48 hours and then approve the completion of the registration.
17. After confirming the registration, Apple will send you an activation email.
After activating the account, use its developer access capabilities to allow our team to publish the application on the new account.
You can find the instructions here.
A successful event with Meeting Application!