The Landing Page Editor (Event Page) lets you pick the colors for the whole page or specific modules all by yourself.
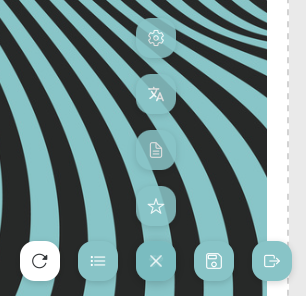
You’ll find the Landing Page Editor by logging in as an admin on your Event Page and clicking this icon in the bottom right corner:

, then click the “gear” icon at the very top
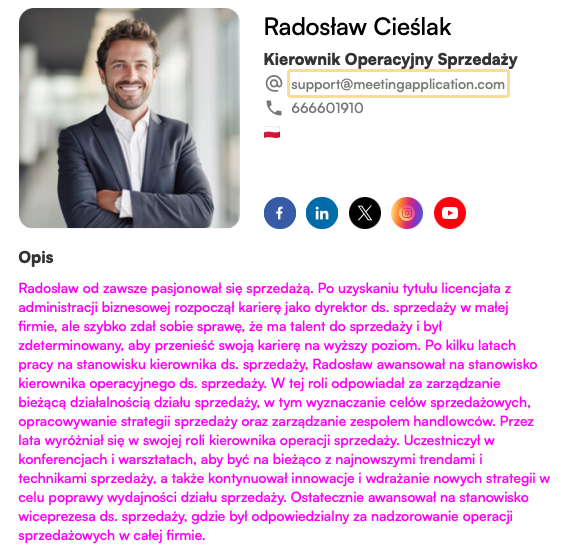
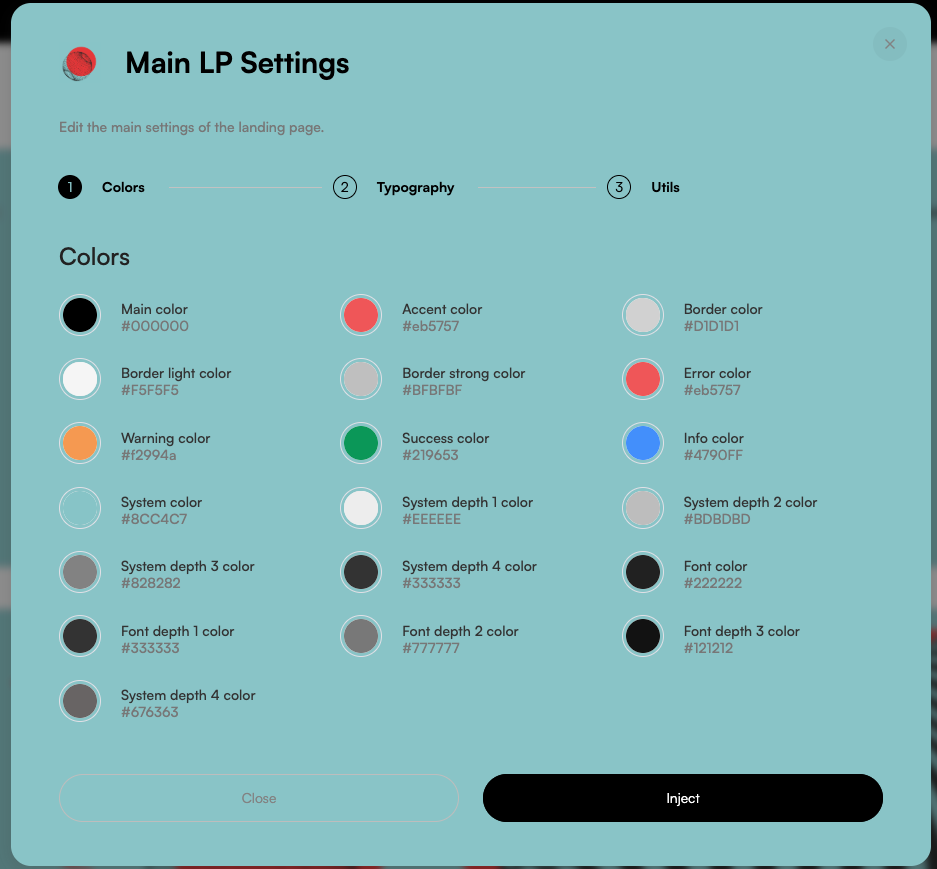
What you’re seeing is a color selector for specific elements on the page (descriptions are down in the points below). For these screenshots and explanations, the pink color was used to help show which element is being edited.
Component headings
Icons under the event banner:

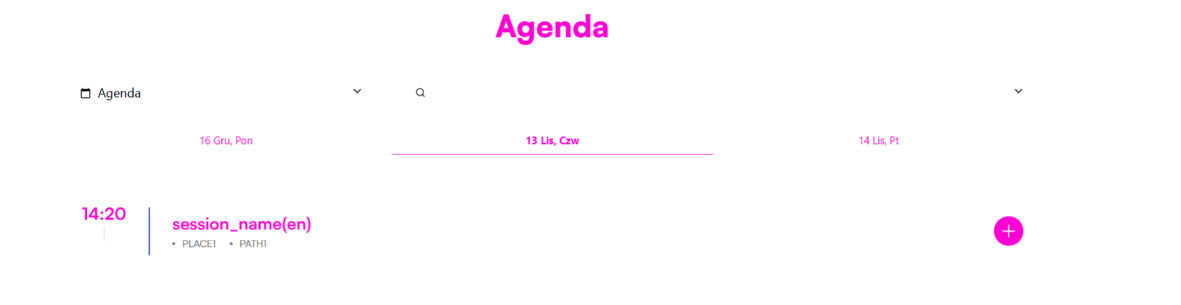
Main agenda items:
Names and surnames of speakers:

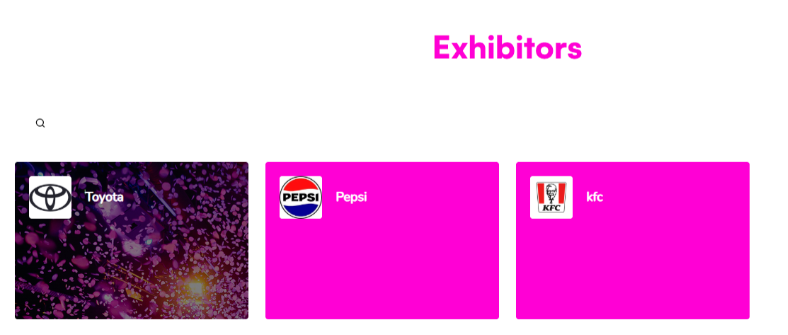
Exhibitor background (if there is no set banner):
Tickets (remember that the Tickets module lets you edit colors, which overrides the system color):

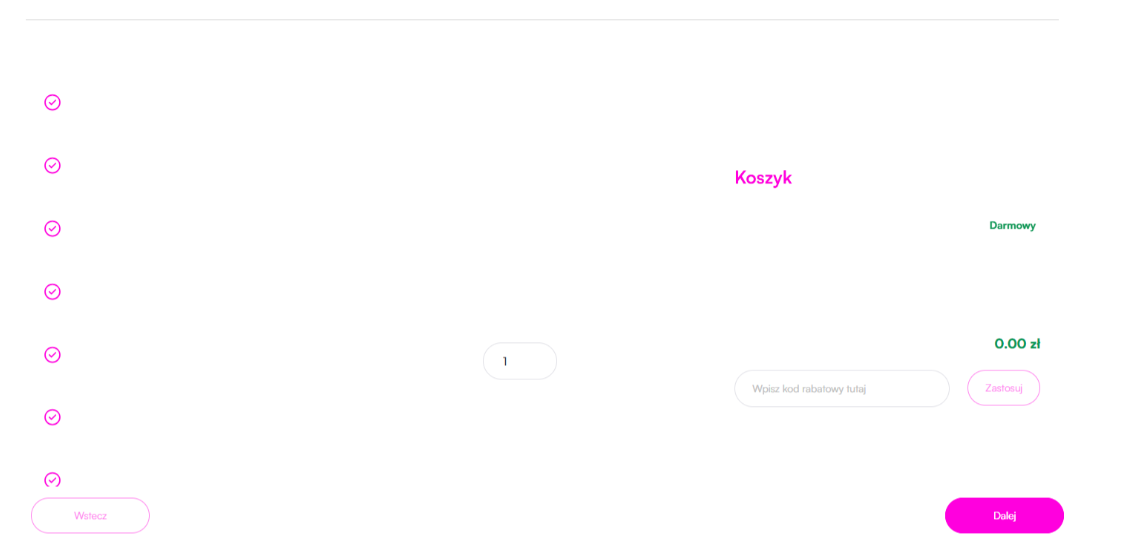
Shopping cart - steps, ticket bullets, button background or border, back/next
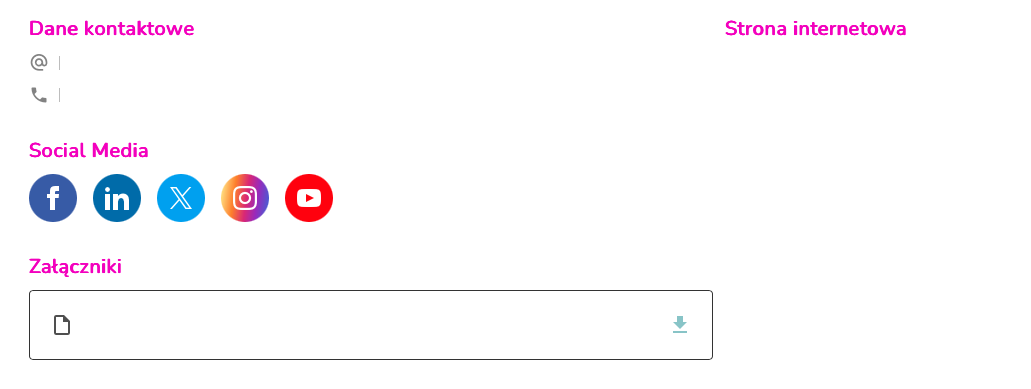
edits contact details in the Exhibitor profile and the attachment name

attachment name in agenda details

the color of separators in the ticket purchase cart changes
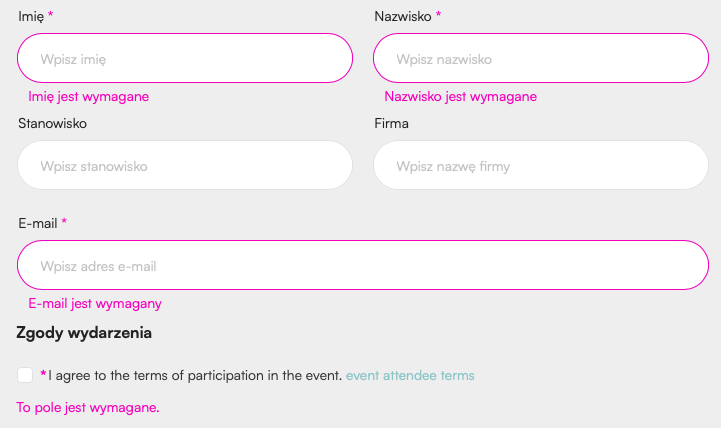
entering incorrect information
mandatory stars
missing required data
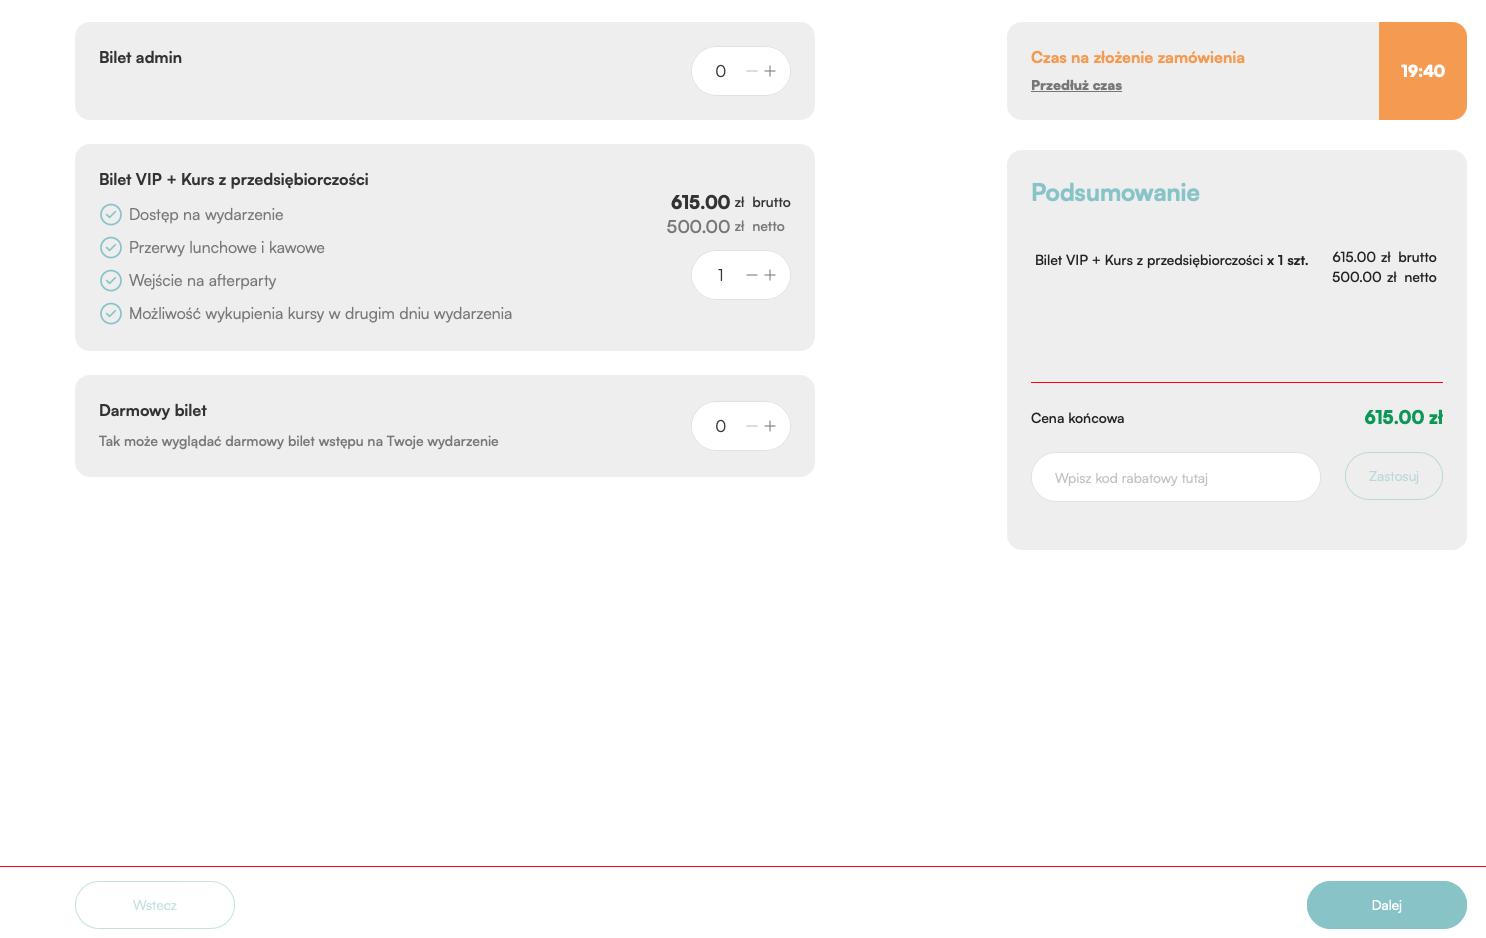
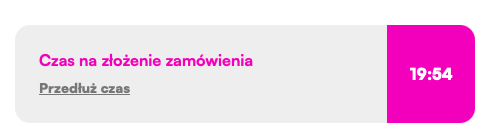
timer in cart
exclamation marks on tickets missing info

icon colors for success messages:

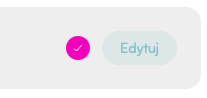
marking a correctly filled form:
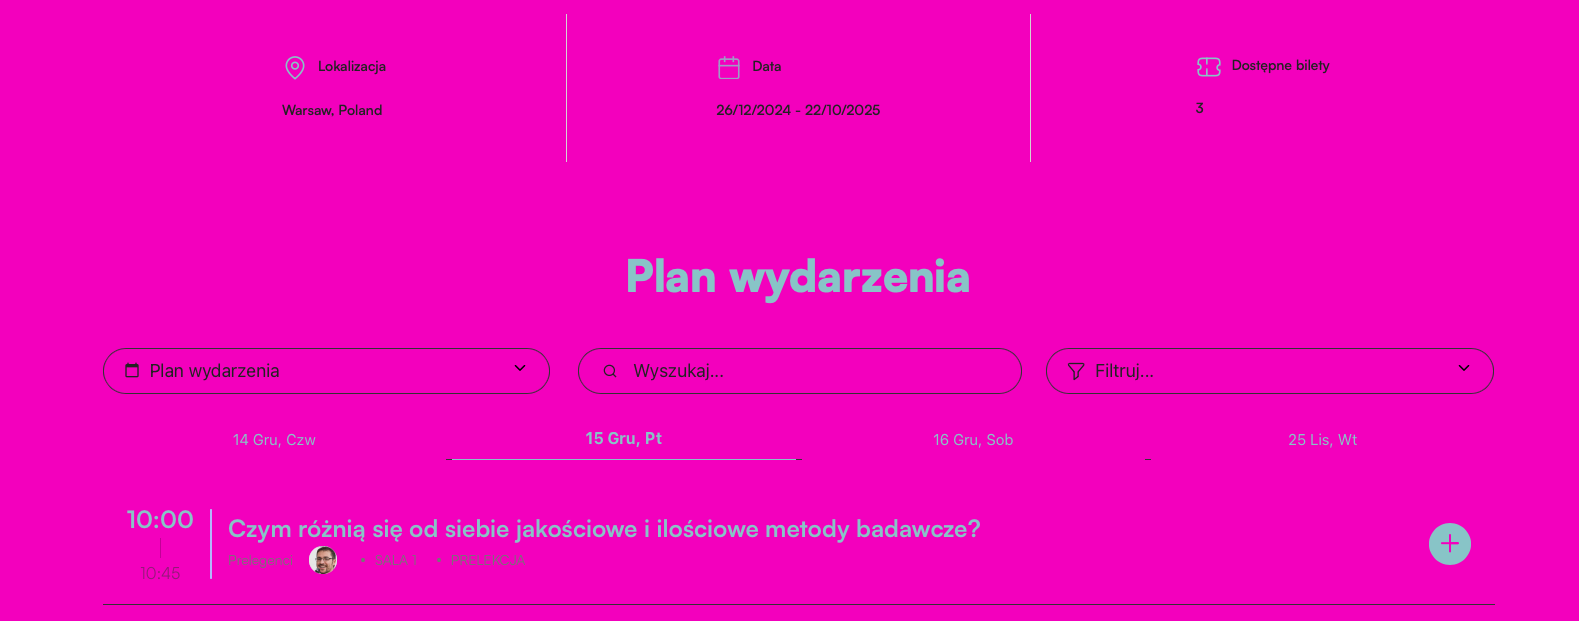
background of the whole event page (except the tickets section)
background of event consent pop-ups, speaker cards, sign-in

tickets section background (remember: you can use dedicated colors to edit the Tickets module)
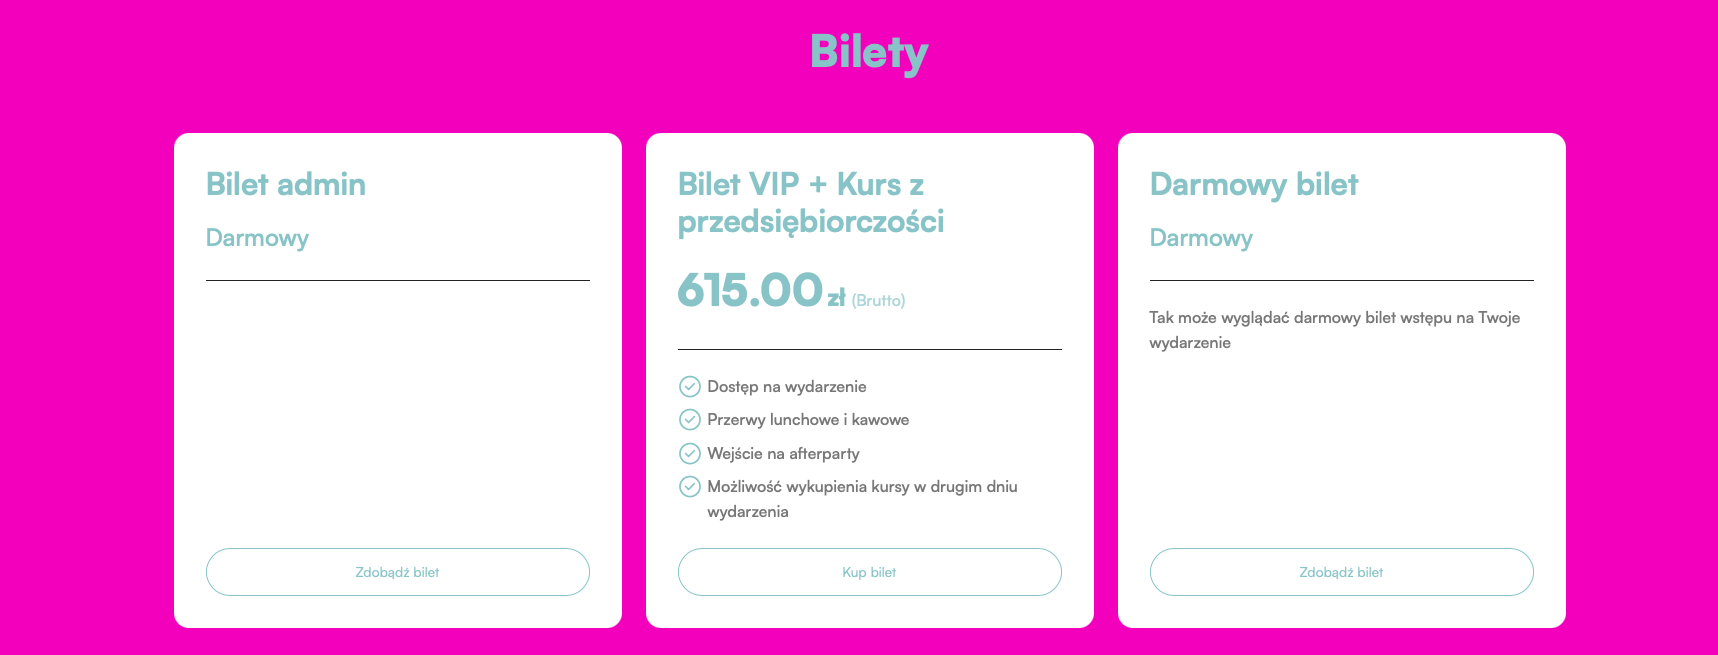
tickets background - in the cart
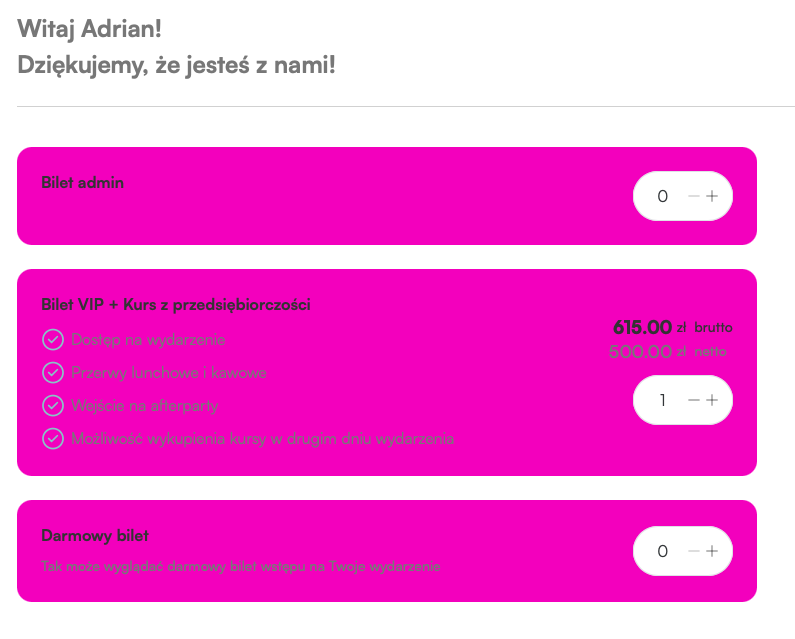
part of the clock in the basket with captions

background of the summary component in the basket
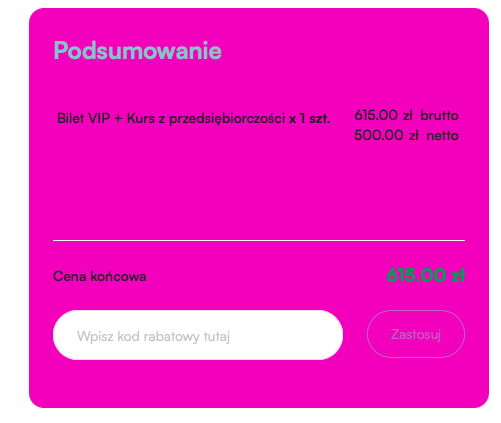
registration form
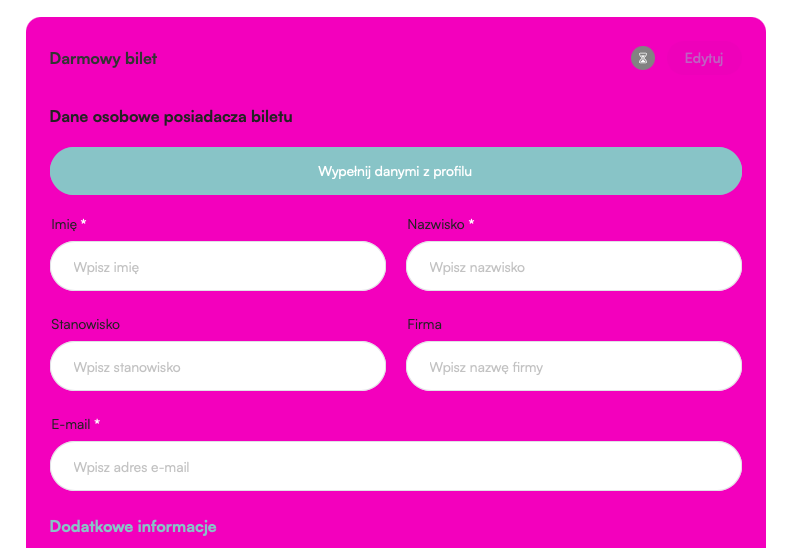
top menu Pages Events (on hover)
border when choosing a payment method:

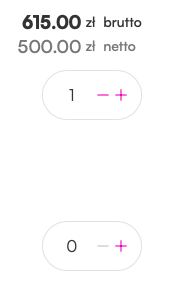
color + and - on tickets
back arrow to the event dashboard
hourglass icon next to an unfilled form

labels in the top menu Pages Events:

labels in module search and filter boxes on the page

elements under the banner

Participants section in agenda details

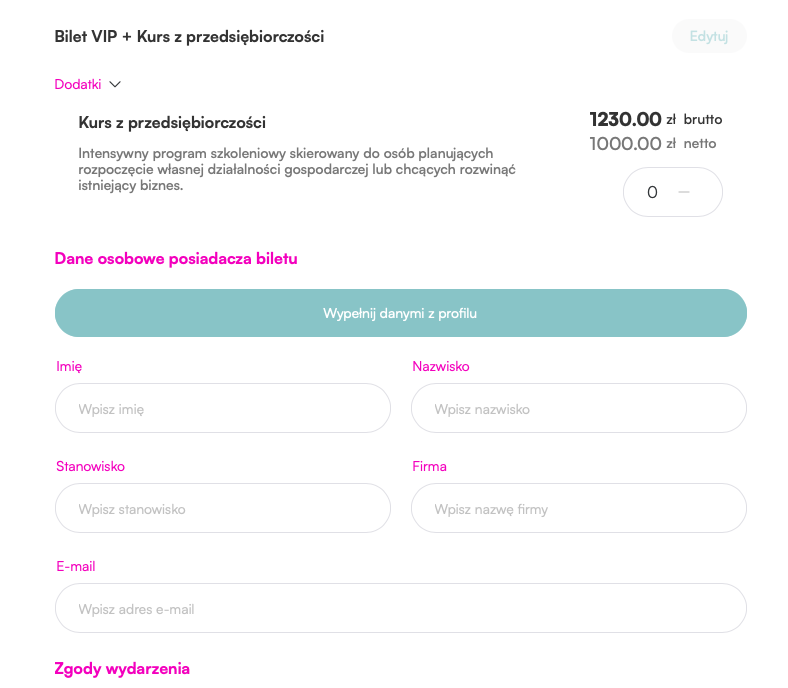
section names in the ticket purchase form
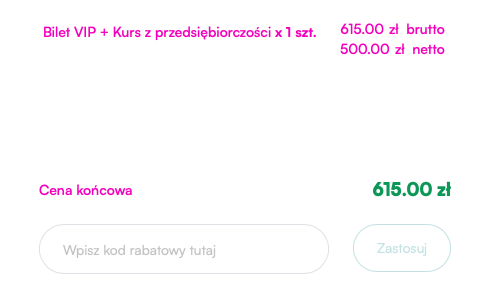
names of items in the Summary section in the ticket purchase form
hyperlink in the content of event consents

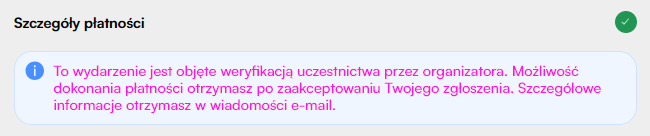
information content about the event covered by attendance verification
section names in the Exhibitor module
first and last name of the logged-in user

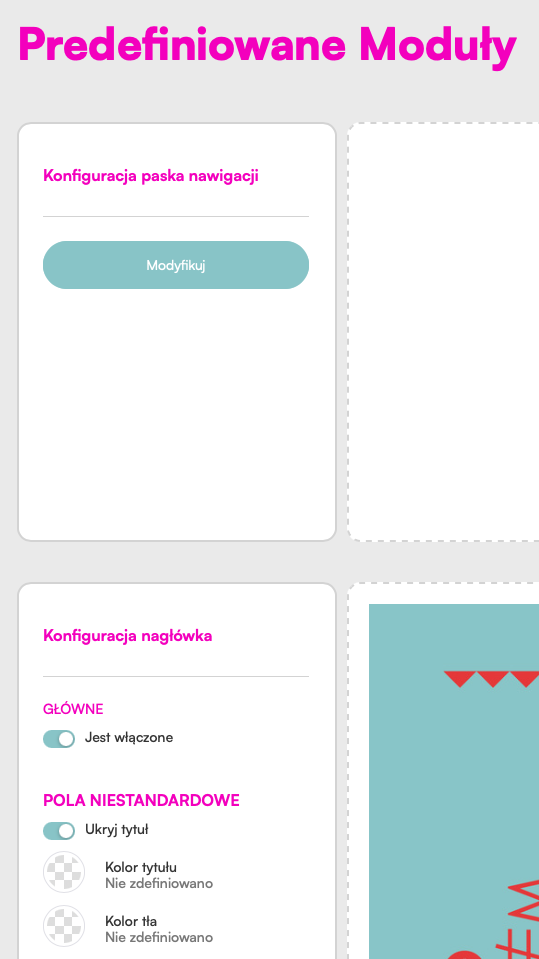
titles in the Event Page editor
section names in the Speakers module

position in the Speakers module on the main page

description in Exhibitor details

border in attachments in the Exhibitor module

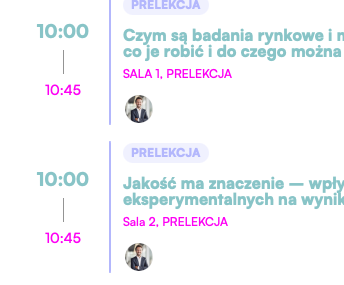
separator in the Agenda module and session end times in Agenda

Event Info description

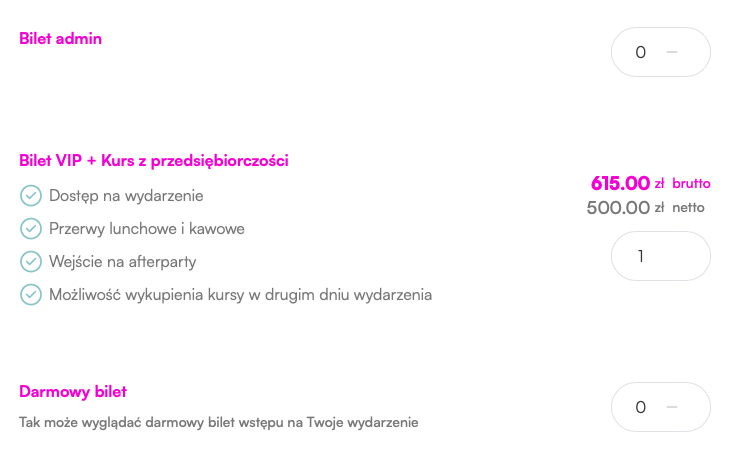
ticket names and ticket gross amount
Speakers section in Agenda details

borders of the Search and Filter elements in modules

color descriptions in the Event Page Editor
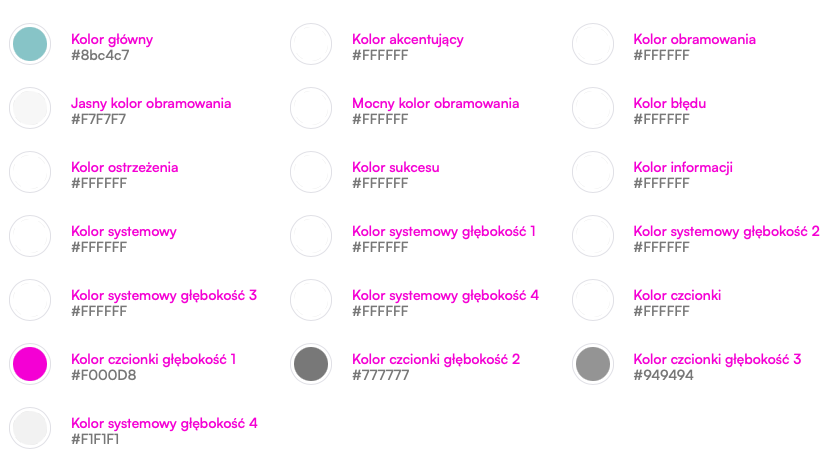
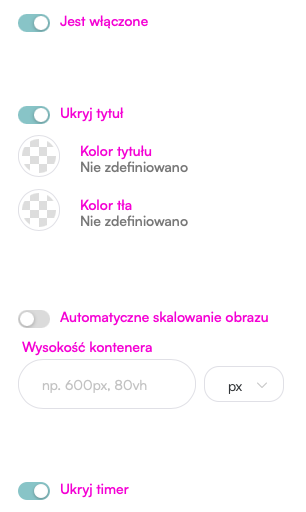
feature descriptions in the Event Page Editor
contact info in the details of the Speakers module
Agenda section elements in the Speaker module details
detailed description data in the Partners module
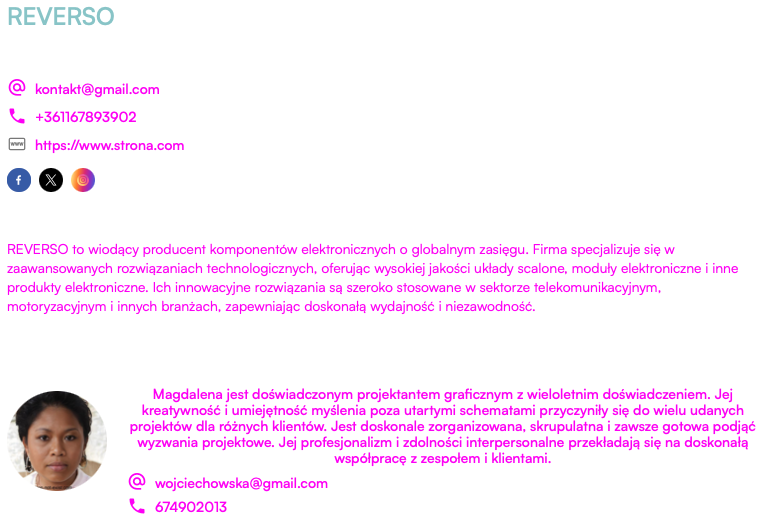
text: extend time on the timer in the cart
bullet descriptions in the Tickets module (remember, you can manage Ticket module colors separately)
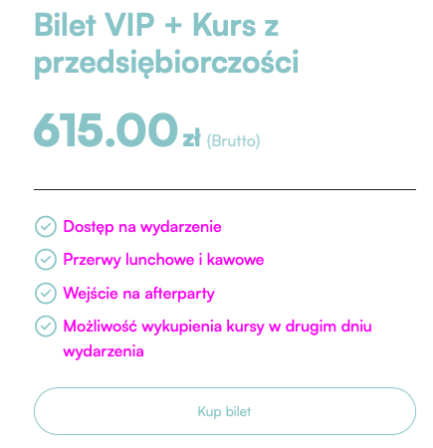
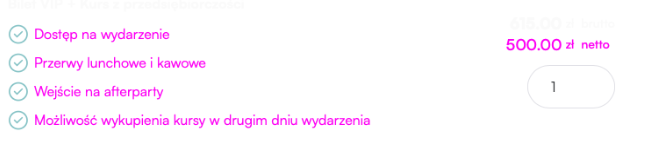
net prices by the tickets in the cart
hex color values in the Event Page Editor

welcome message in the ticket purchase process

cart - ticket and add-on descriptions
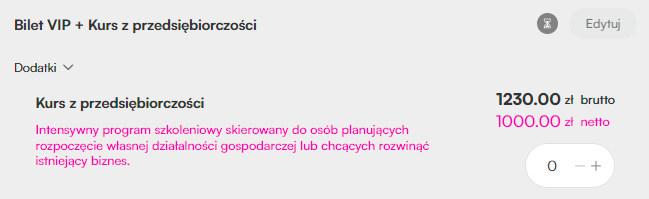
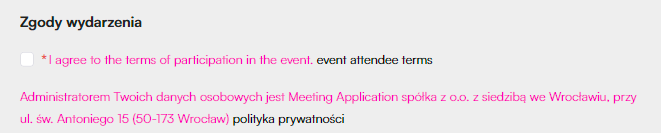
cart - event consent contents
cart - summary - step 4

detailed description on the speaker card