Imagine your event page turning into an interactive space where – next to the agenda and speakers – you get a live streamed broadcast, a dynamic signup form, or a map to the venue. This kind of flexibility comes from the iFrame module, which is based directly on the HTML tag <iframe>.

iFrame works like a “window” in your page structure: it embeds content from another server inside a frame that keeps all the functionality from the original app. That way, you can fit just about any web element in – from simple graphics and charts all the way to full SaaS interfaces – without needing to rebuild the source code of your event page.
Why is it worth it?
User experience consistency – the participant stays on your site, so they don't lose the context of the event.
Seamless updates – any content changes happen on the provider’s side, while the event page just needs to keep the <iframe> tag.
Smooth integration – the HTML tag can be tweaked with attributes (like width, height, allowfullscreen), so you can create a frame that fits perfectly with the event’s layout and needs.
The iFrame module makes your event page a central hub—connecting agenda, multimedia, and interactive tools all in one smooth experience for participants.

Let me invite you now to a video showing you how to quickly add HTML code to pages prepared in the Meeting Application system.
How to add an iFrame module to your event page:
How to use the iFrame module on a landing page 🚀 - Watch Video
Step by step instructions:
Go to your event page and log in with your admin account.
This way, you'll see a key icon in the bottom right corner:

Then click the icon

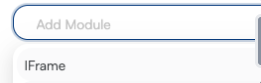
to open module selection and then pick add module and iframe
Next, click the + and go to the iFrame configuration module:
After adding the iFrame module to the list, click save, and you'll see your newly added module at the very bottom of the page in the configurator:
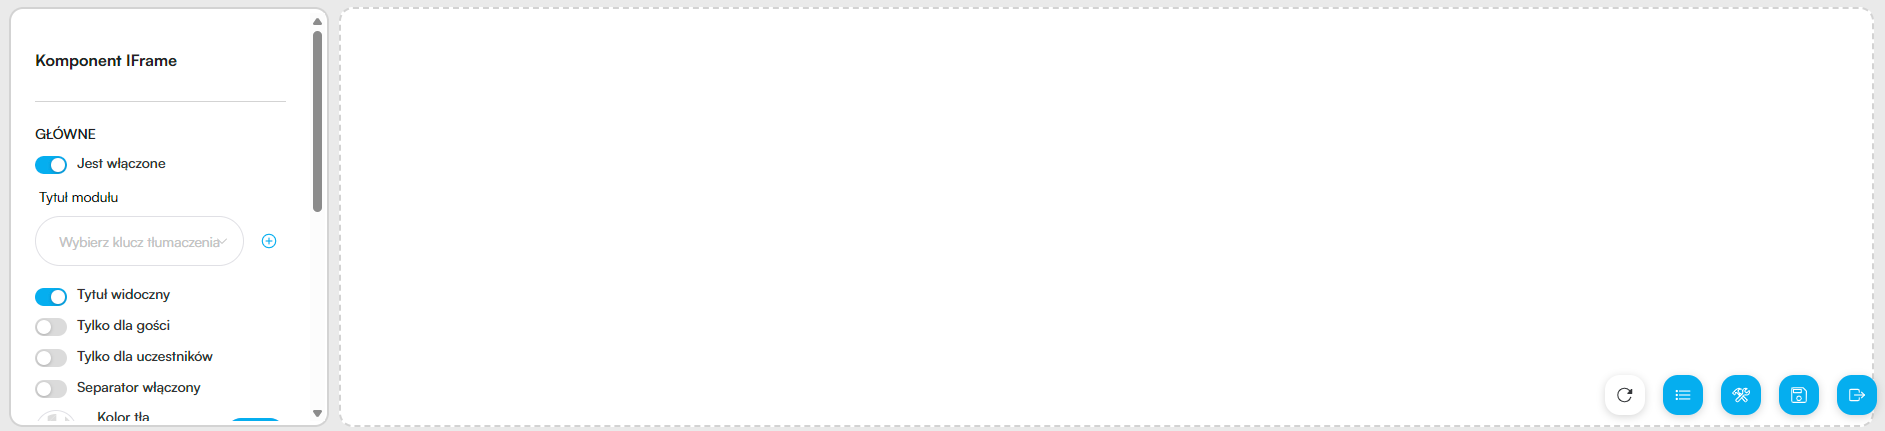
To start adding content, you can start by setting a section title - click the plus next to the Choose translation key field under Module title (you can skip this step - then the section title won't show up).
Click plus to start adding new values. Here are two values you'll see:
- new_translation_key → this is the technical name that'll let you find and tell apart the right element from the rest
- value → this is where you enter the value; that's the section name that'll show on the page or the HTML code that'll be injected

For demo purposes, the values I typed in are:
- WHY?
- WHY?
This way, I added a value letting me name the section we're adding to the Event Page. Now, you'll see the section name on the page, and we'll fill it in next:

Now we're moving on to actually pasting HTML content into the new module. For that, we click + in the Custom Fields area:
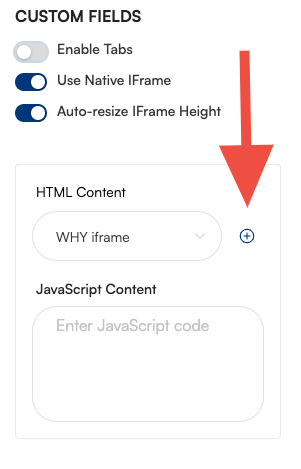
In the new_translation_key field I type WHY? iframe, so I can add a chunk of HTML code to your event's database any time, anywhere.
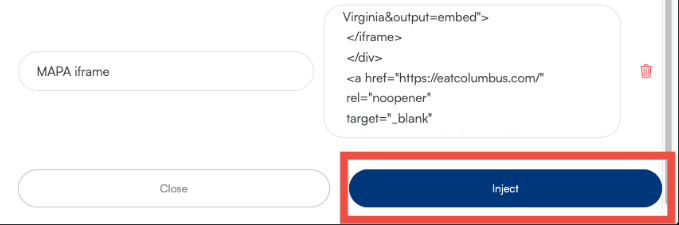
In the VALUE field I paste the HTML code I prepared earlier – mine was generated in ChatGPT, but if you know how to code and make your own HTML – good for you!
Once those values are added, I save the added module by clicking Inject:
Then from the list I pick WHY iframe (1) and now the HTML code I added in the previous step will show up on the site. Click Save (2) to save your new module configuration on the Event Page.

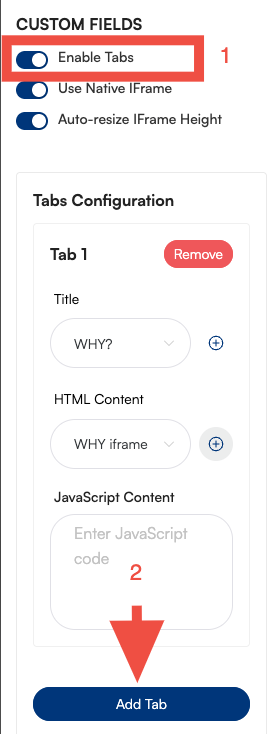
How do I add two separate tabs in the iFrame module?
To do this, click the Enable Tabs (1) switch and add a new Tab by clicking Add Tab (2)B:
Next, add a new iFrame value according to the scenario described above in steps 7-9. This way, in the Tab 2 list, you can now pick the new HTML code:
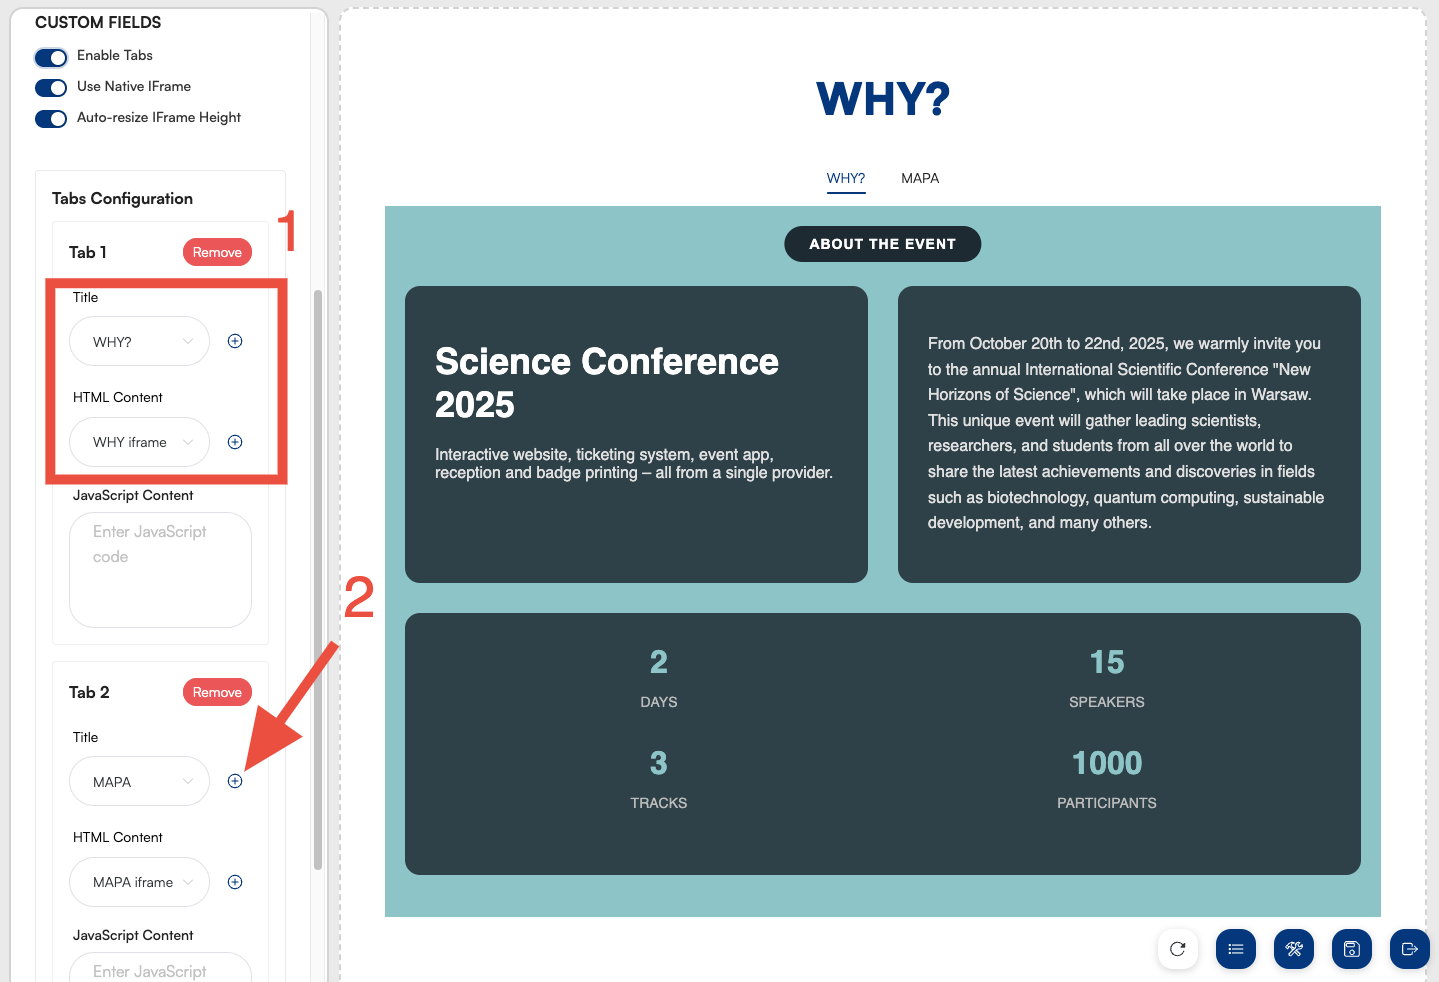
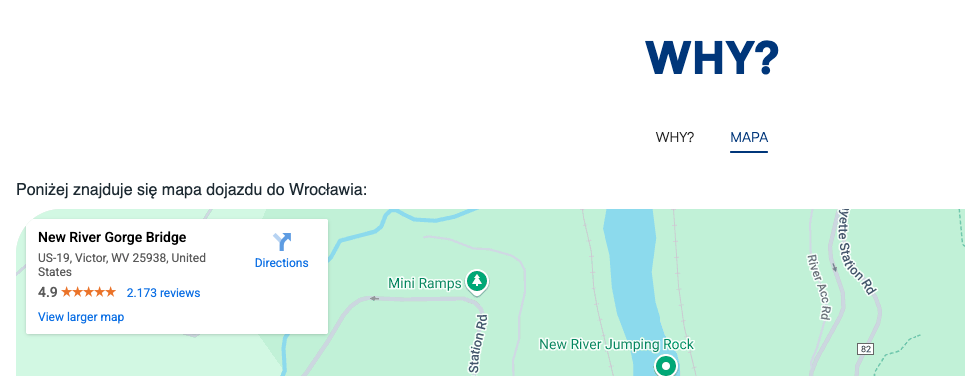
This lets you switch between two windows with HTML content added on your event page:
Below we've put together a list of handy prompts for ChatGPT (or another AI tool), so the HTML code it creates takes the parameters below into account. Good luck!
It's a good idea to mention in your prompt that the code should be adjusted for both desktop and mobile screens. Here's an example line you can add:
“Please add media queries so the iFrame content fits different screen sizes properly.”
You shouldn’t use height: 100% or height: 100vh directly on body, because it can mess with the automatic iFrame height adjustment. If you do need those settings, only apply them to elements inside other containers (like div), not on the main body.
To make your site more responsive and scale better across different devices, it’s a good idea to use relative units like em, rem, %, vw, vh instead of px. That way it’s easier to adjust the look for different screens and user settings.
The fewer external dependencies (e.g. jQuery, Bootstrap), the more likely everything will work smoothly in an iFrame environment.
Prompt suggestion:
“Please don’t use external libraries – the code should be written in plain HTML, CSS and JS.”
To avoid style conflicts between the iframe content and the surrounding page (so-called “style leaking”), it’s a good idea to add a note to your prompt about using unique prefixes for all CSS classes.
Prompt suggestion:
“Please make sure all CSS classes use a common unique prefix (e.g. .myapp-), to prevent style conflicts inside the iframe.”

!important declaration:color: #ffffff !important; <html>, <body>)Since an iframe generates its own document context (including <html> and <body>), you don't need your code to include those elements. It's enough to just have the HTML content inside the proper tags (like <div>, <section> etc.).
Prompt suggestion:
“Don’t add the <html>, <head>, or <body> tags – the code should only include whatever you want to show inside the iframe, like just <div>, <section> etc.”
Because of the way JavaScript scripts get embedded in an iframe, their content should be provided separately – not as part of a <script> element in the HTML file.
Prompt suggestion:
“Please separate the HTML, CSS, and JavaScript code. Don’t put the JavaScript inside a <script> tag in the HTML – its content should be a separate block to copy and paste.
