Speakers are often the biggest stars at conferences. They are the ones who attract crowds of attendees wanting to listen to talks or take part in workshops. That’s why it’s so important to fill out their profiles as thoroughly as possible. Meeting Application lets you create a module dedicated to presenting speakers in the Mobile App and on the Landing Page:
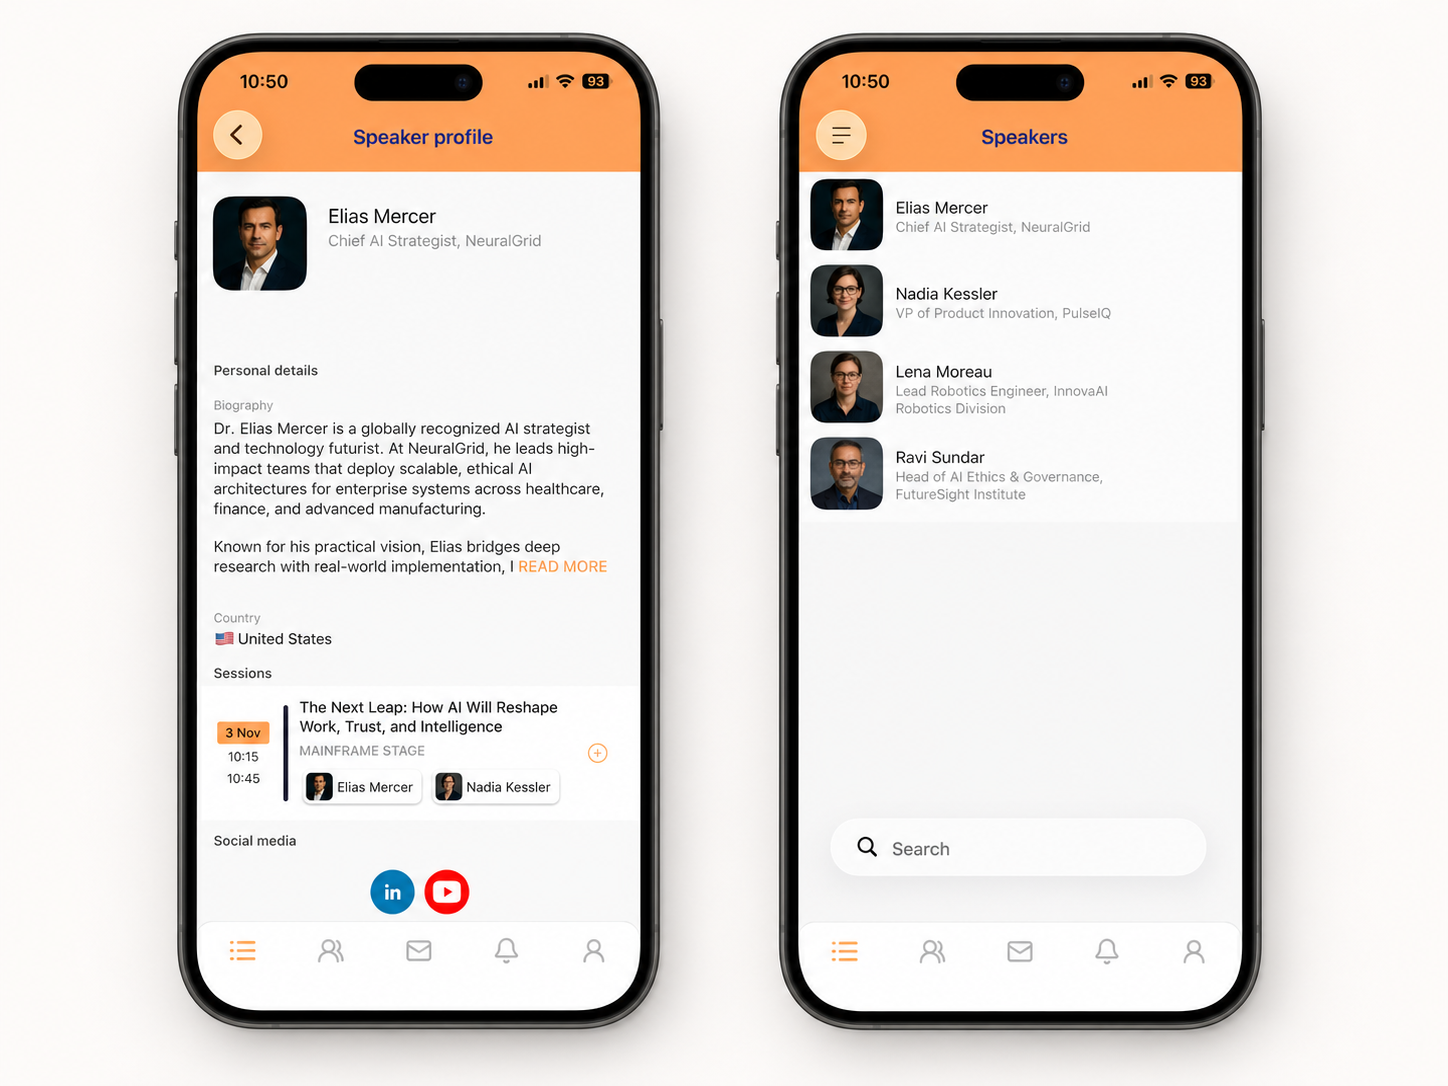
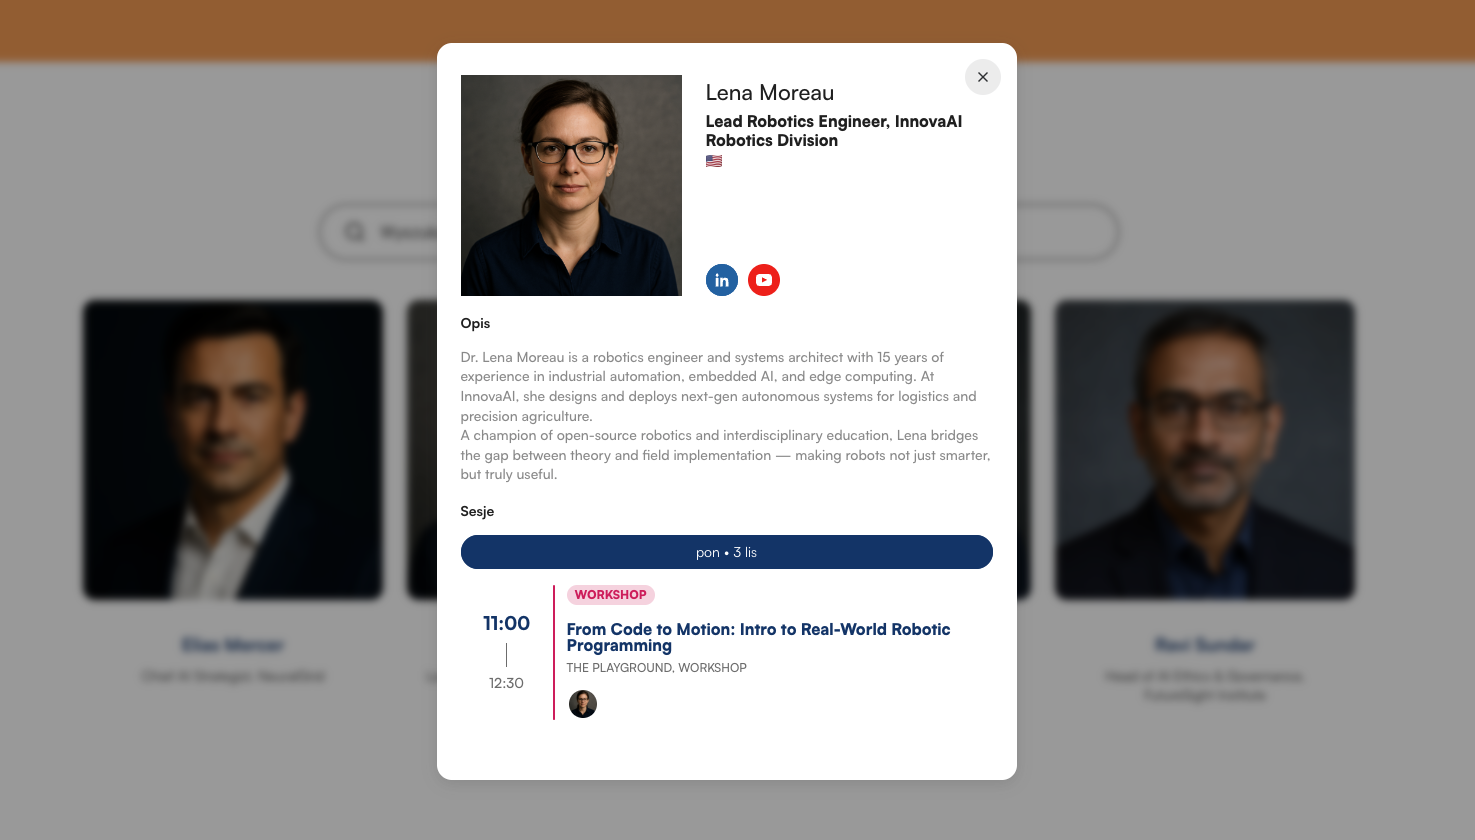

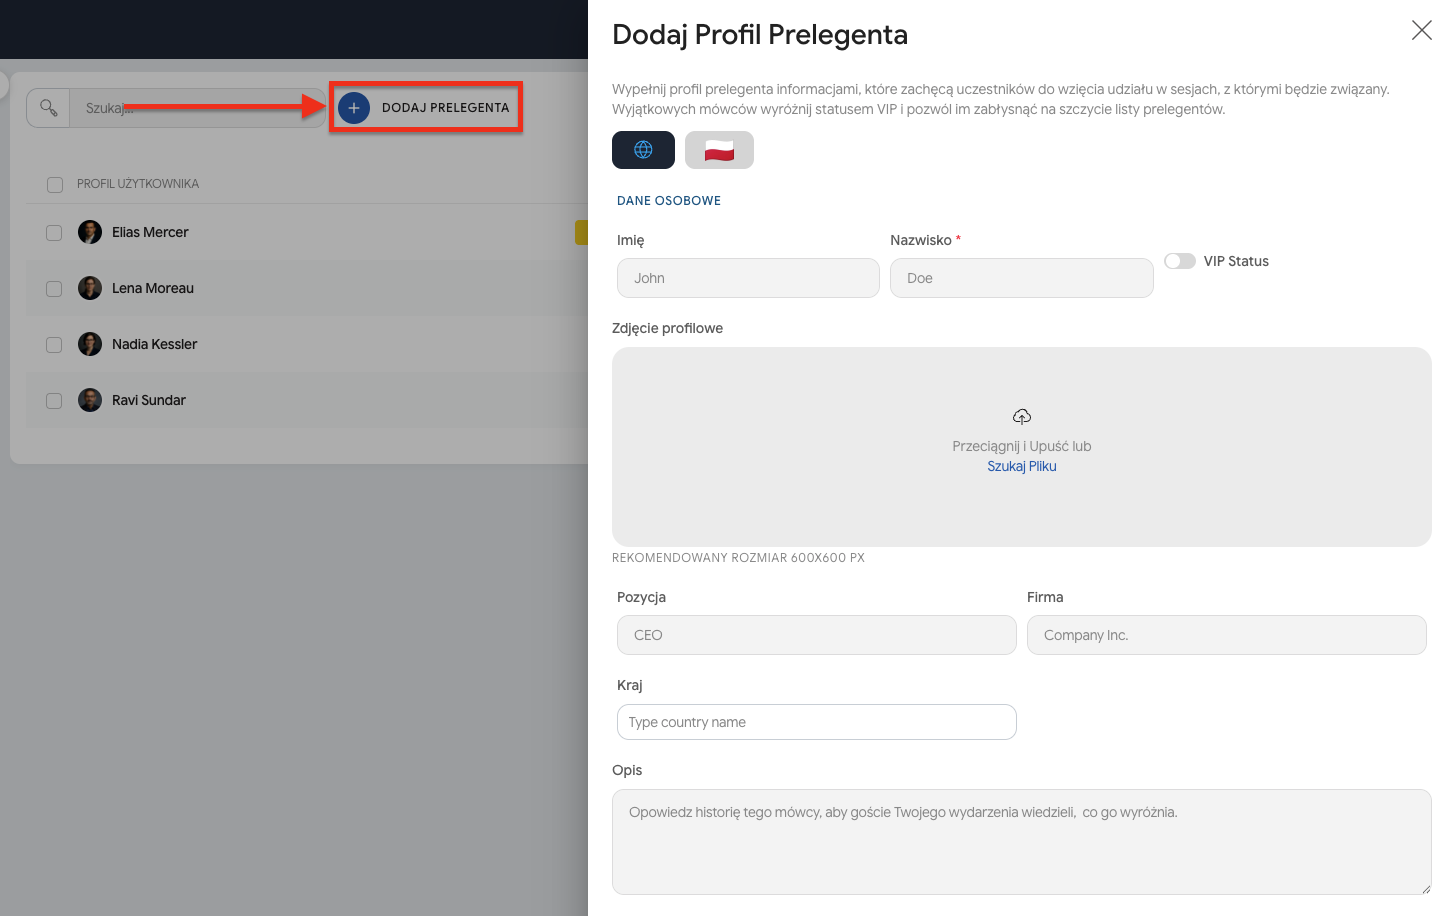
To add a speaker profile, click the (+) Add new Speaker button and fill out the form. All fields marked with an asterisk (*) are required. It’s worth filling out the profile with all available information such as: company name, job position, or country of origin. You can also add a bio note and links to the speaker’s social media profiles:
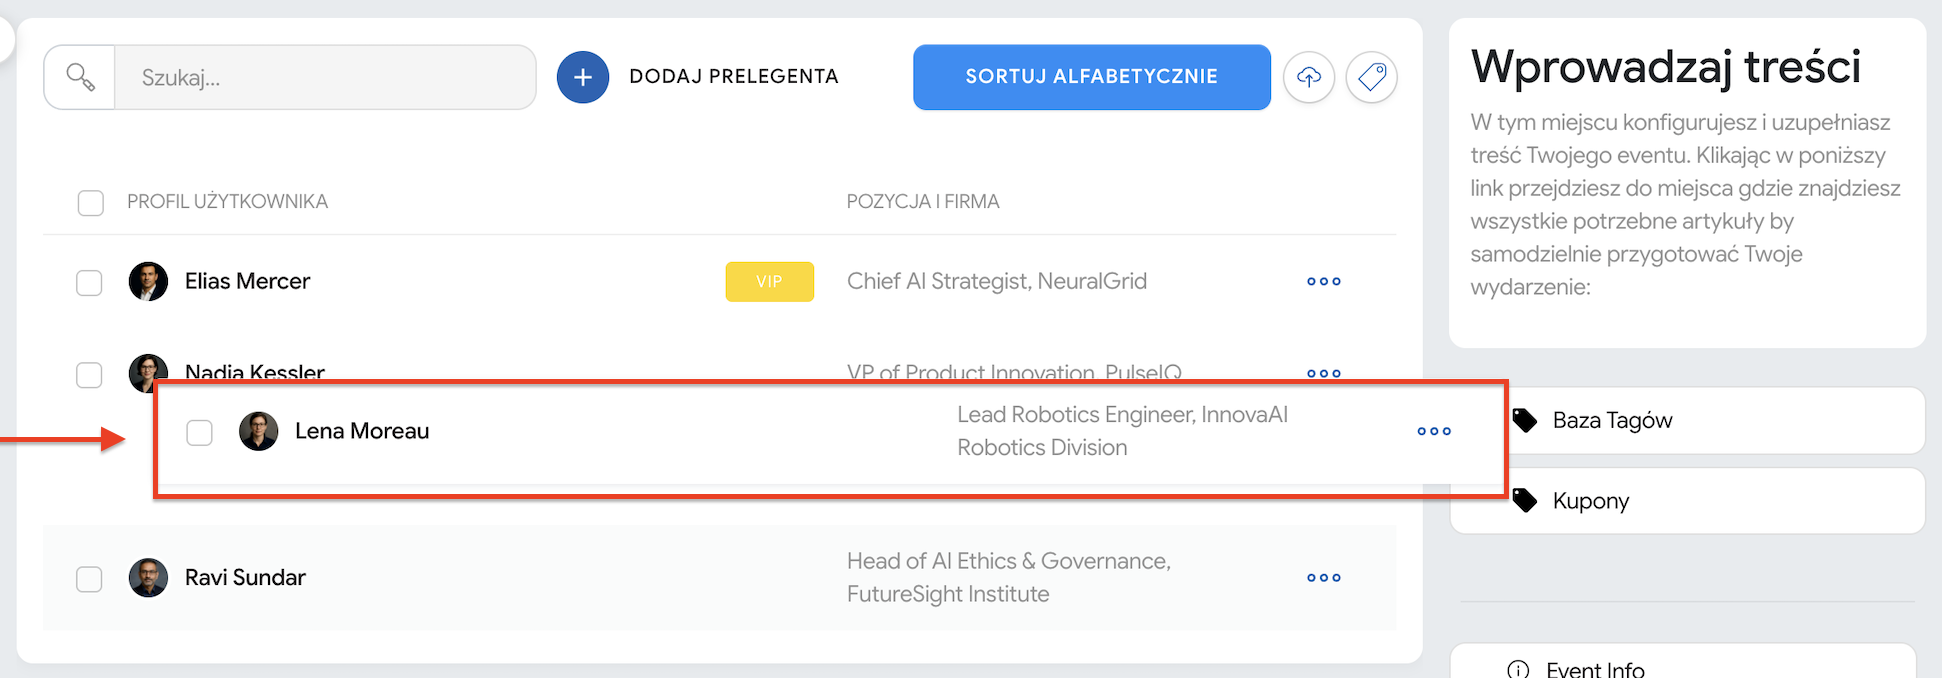
You can highlight any speaker with a special VIP status, which lets you display their profile at the top of the list.

You can change the order of displayed speakers by dragging the created profile to the right place on the list.
Another way to add speakers is to import a ready-made csv file with all speakers along with their descriptions. You can learn more about importing speakers from the article Import prelegentów.
For the speaker’s contact details, such as email address and phone number, you can limit their visibility to app participants. Sliding the Show publicly button to the right will make the speaker’s contact details public for all event participants. Disabling this option, on the other hand, makes these details accessible only to panel administrators. This feature is useful when a public figure doesn’t want to share their private data:
To add a speaker as a person appearing in an agenda session, go to the Agenda module and then select Speaker Categories to define which roles will be available. You’ll find more details in the article Agenda wydarzenia, in the section Adding speakers to a session.
If your event needs to show more than one group of speakers, e.g. VIP speakers, Program Board, jury, etc., you can add several of the same Speakers modules, changing their title to highlight different roles.
If a given person has more than one role, e.g. is both a lecture speaker and one of the event organizers, you only need to fill in their profile in one module and then copy this profile to another. In the Speakers module, next to the specific speaker whose data you want to copy, click the three dots and then Copy to... :
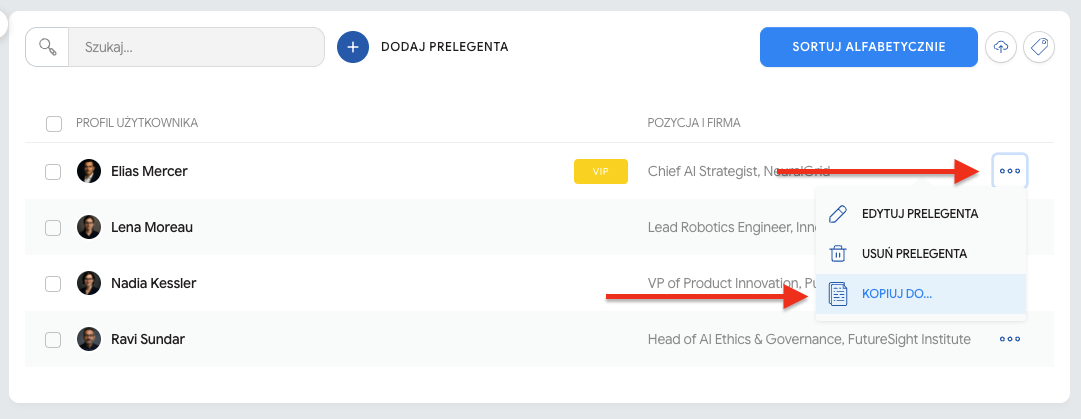
In the next step, from the Choose module list, select which module you want to copy this speaker to and confirm by clicking Copy. This way the person, with their full description and information, will be copied to the next module.
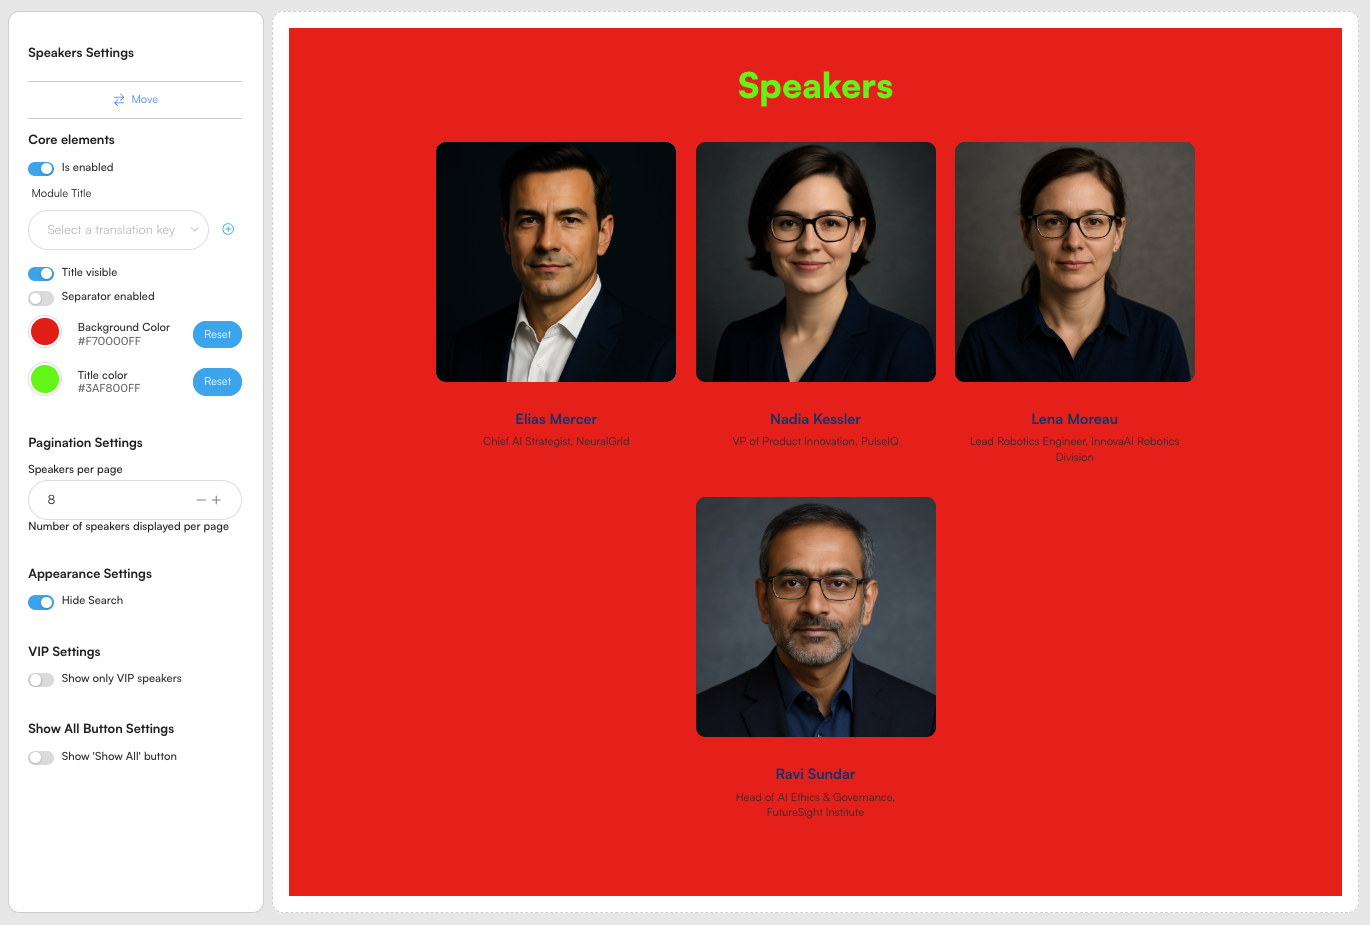
The Speakers module on the Landing Page lets you fully customize the section to match the specifics and needs of your event. In the configurator, you can easily manage who is visible to visitors and in what form.
From the module settings you can:
Show or hide the module: regardless of the view in the mobile app menu (managed using the eye icon in the admin panel, in the CREATE → CONTENT tab) you can show or hide the speakers section at any time.
Show only VIP speakers: This is the perfect solution when you want to highlight only the most important speakers on the home page (headliners who drive ticket sales) and move the remaining speakers to a subpage. FIND OUT HOW TO CREATE A SUBPAGE IN THIS ARTICLE.
Change the section colors: You can set a custom background color and module title color – completely independent of your page’s general color settings. LEARN MORE IN THIS ARTICLE
Manage the search bar (hide the magnifying glass): In the Appearance settings section you can hide the search bar with a single click, which works great for shorter lists of experts.
Edit fixed elements: Change the default section title (pulled from the module settings in your event’s admin panel), decide on its visibility, and also enable a graphic separator.
Configure pagination: Decide how many speakers should be displayed on one page and whether a “Show all” button should be visible at the bottom of the section.
Have a great event with Meeting Application!
