Our system lets you automatically generate and send personal or company invoices directly to the buyer's email address. Meeting Application also allows you to pay for a ticket based on a proforma invoice: by transfer to the account indicated by the Organizer or via AutoPay.

Before setting up and starting sales, talk to your accountant, agree on an invoice numbering system, the right VAT %, and also the deadline for monthly delivery of your documents for accounting.
Every participant buying a ticket for your event will be able to get a personal or company invoice. It's really important to fill in your details as the seller. That's why before you add a ticket you should complete your invoice data. To do this, click on Invoice in the top right corner:

ATTENTION!
When adding free tickets - filling in invoice data is not required.
In the Invoice Configuration tab you can create your own numbering scheme to keep things continuous and easy to identify in records.
Set any order of the predefined elements, add special characters like "/" or "-", use letters for the event, e.g.: in CONF for the conference you're organizing.
Make sure assigning the document to your event is as simple as possible. Your accountant will definitely be thankful, trust us! 🙌🏽


In the next step, fill in all the required fields in the Seller's General Information section.
PRO TIP: Adjust your communication to fit your event's vibe - feel free to edit the email content sent with purchase confirmations. Learn more from the article Custom emails.
After filling in the invoice data, click the SAVE CHANGES button in the bottom right corner of the screen.
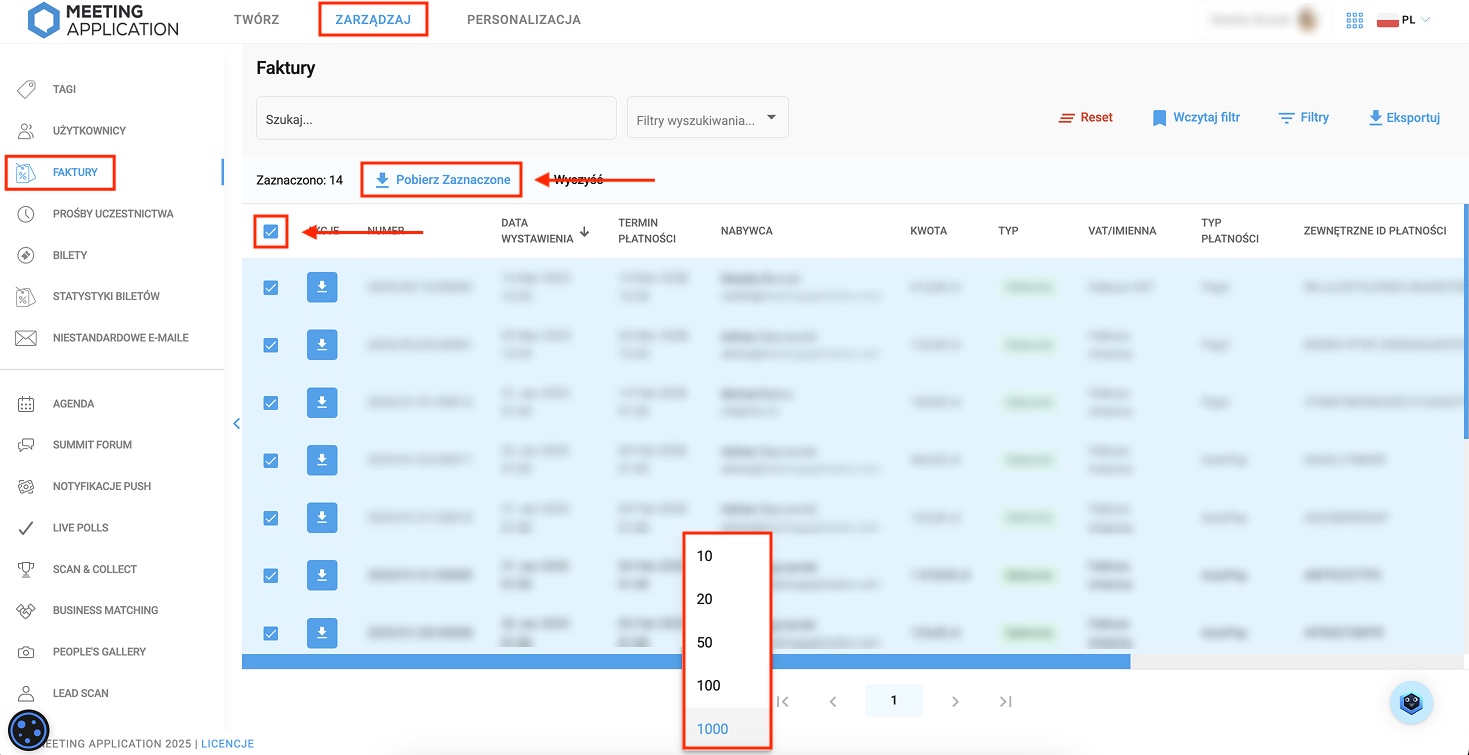
To download a package of invoices issued for your event participants, go to the MANAGE → INVOICES.
Then increase the number of invoices shown on the page so you can select up to 1000 documents generated by the system with one click.
Select all items visible on the page and click Download Selected.
To prepare a correct JPK_FA file for the tax office, first fill in the JPK data in the invoice configuration. Go to the CREATE → ACCESS → TICKETS tab, click Invoice, and then at the very bottom of the form, in the JPK_FA information section, enter the four-digit tax office code, as well as the district and municipality.
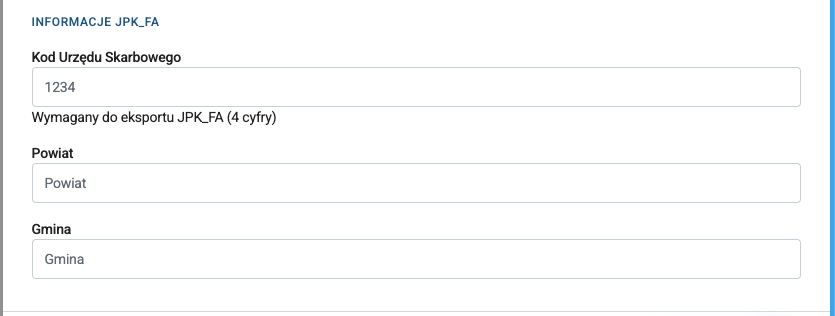
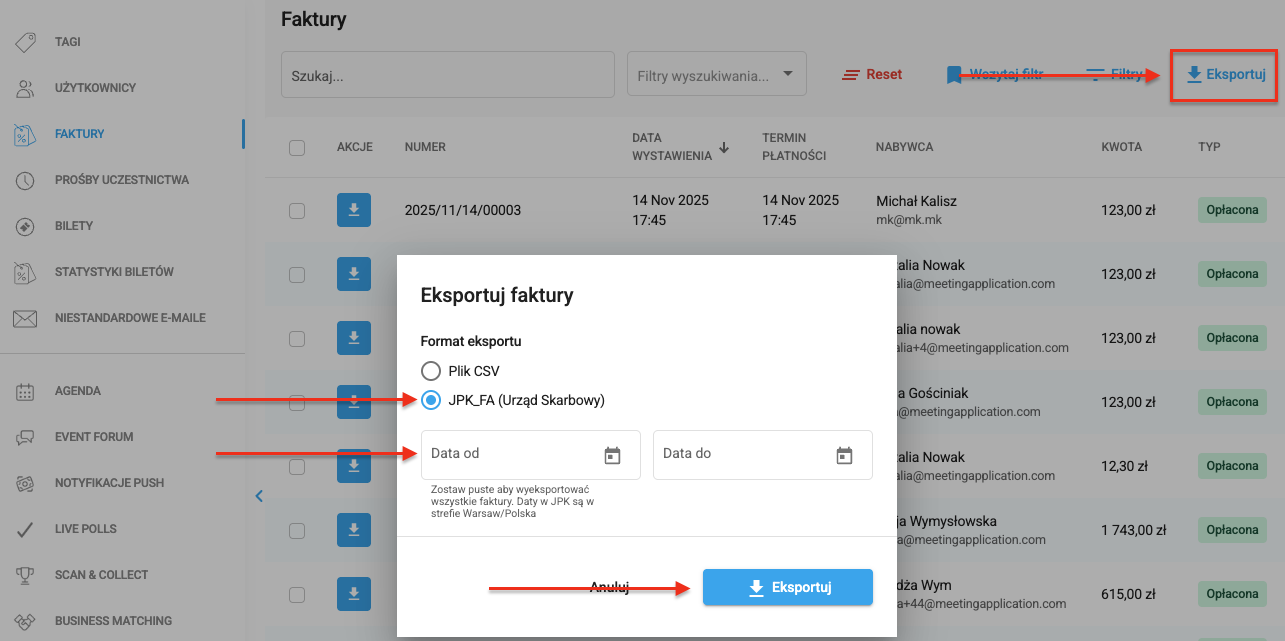
Based on these fields, the system will fill in the data in the JPK_FA file. You can export the ready file from the MANAGE → INVOICES tab.
Click Export in the top right corner, select the JPK_FA (Tax Office) format, optionally set the date range for which you want to generate the file and click Export again. Dates in the JPK_FA file are saved in the Warsaw/Poland time zone.
Have a great event with Meeting Application!
