Congrats! You’ve just created a new event and automatically became its Admin!  Now you can freely configure the look of the Mobile App and the Landing Page, add and edit content, and manage the participants of your event.
To successfully finish the setup and be able to publish the event, you need to fill in the Basic information, set access to the event, choose the components that will be displayed to specific participant groups, and fill in their content.
What’s good to prepare so the setup goes smoothly?
We know how valuable an Organizer’s time is, so we’ve prepared a list of information that’s worth gathering before you start the setup. Answer a few questions for yourself and enjoy an easy and pleasant process with Meeting Application.
Basic information about the event, meaning the name, description, website (if you don’t plan to use our Landing Page), location, and date.
In which languages will the Mobile App and the Landing Page for your event be available?
If the Visual Identity of the event is already ready, prepare:
Graphic materials – later in the article you’ll learn more about the files and formats that are worth preparing;
Colors that will be used in the Mobile App and on the Landing Page.
Deciding access to the event – is entry free, or do you need to buy a ticket?
If the event is ticketed, decide what types of tickets you’ll sell and at what price. Prepare ticket descriptions (what the participant gets with a given ticket) and – if there are any – available add-ons to the ticket (such as workshops, entry to the afterparty, festival merch sales, etc.);
If the event is free, decide whether it’s available to all Users or only to a specific group of people. If it’s an event for a narrow group, are you planning to send invitations from the system and do you have a ready list of email addresses? Will entry be possible after logging in with an address from a specific domain? Or maybe access to the event will be granted after entering an access code you’ve set?
Check out the list of available Components and think about which of them will help you communicate with Participants and smoothly manage the event on the Meeting Application platform.
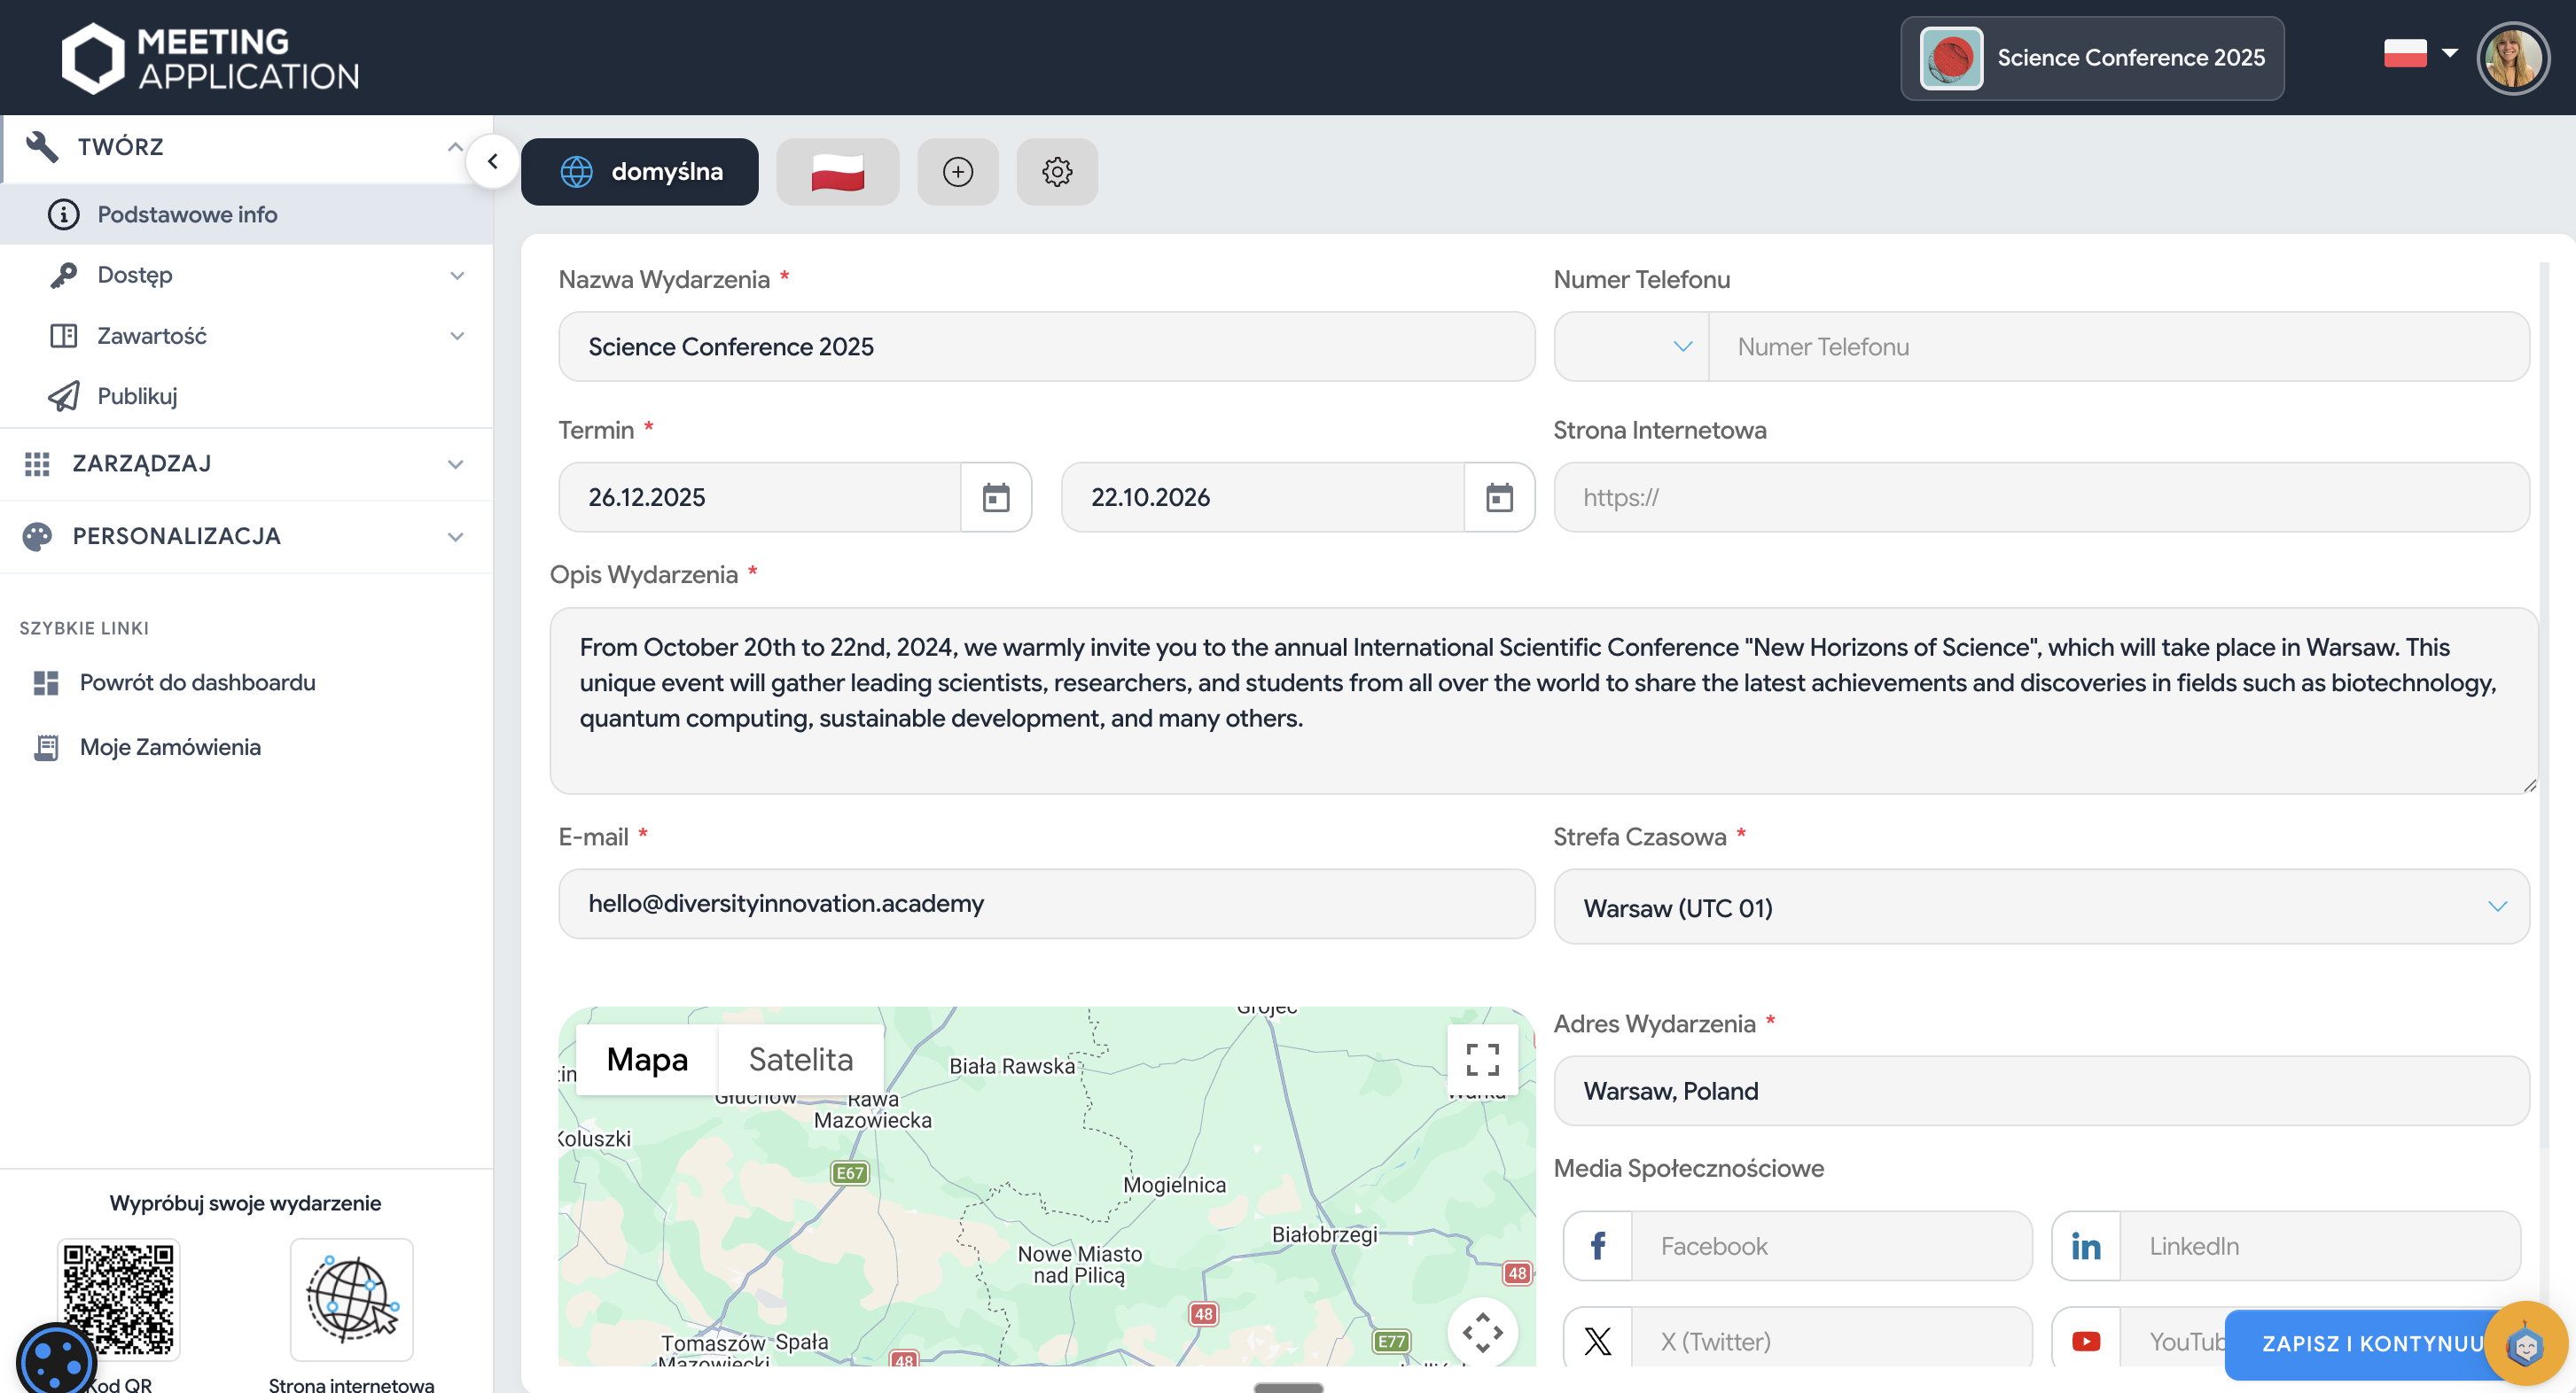
The default language layer in Meeting Application has to be set under the  icon.
icon.
If you plan to add content only in Polish – do it under the  icon.
icon.
If your app is going to be filled in multiple languages, for example in Polish and English:
 ENG (default) – globe
 PL (or another language layer) – chosen from the drop-down list (+)
You can choose additional language layers from the  drop-down list in the Create → Basic info tab.
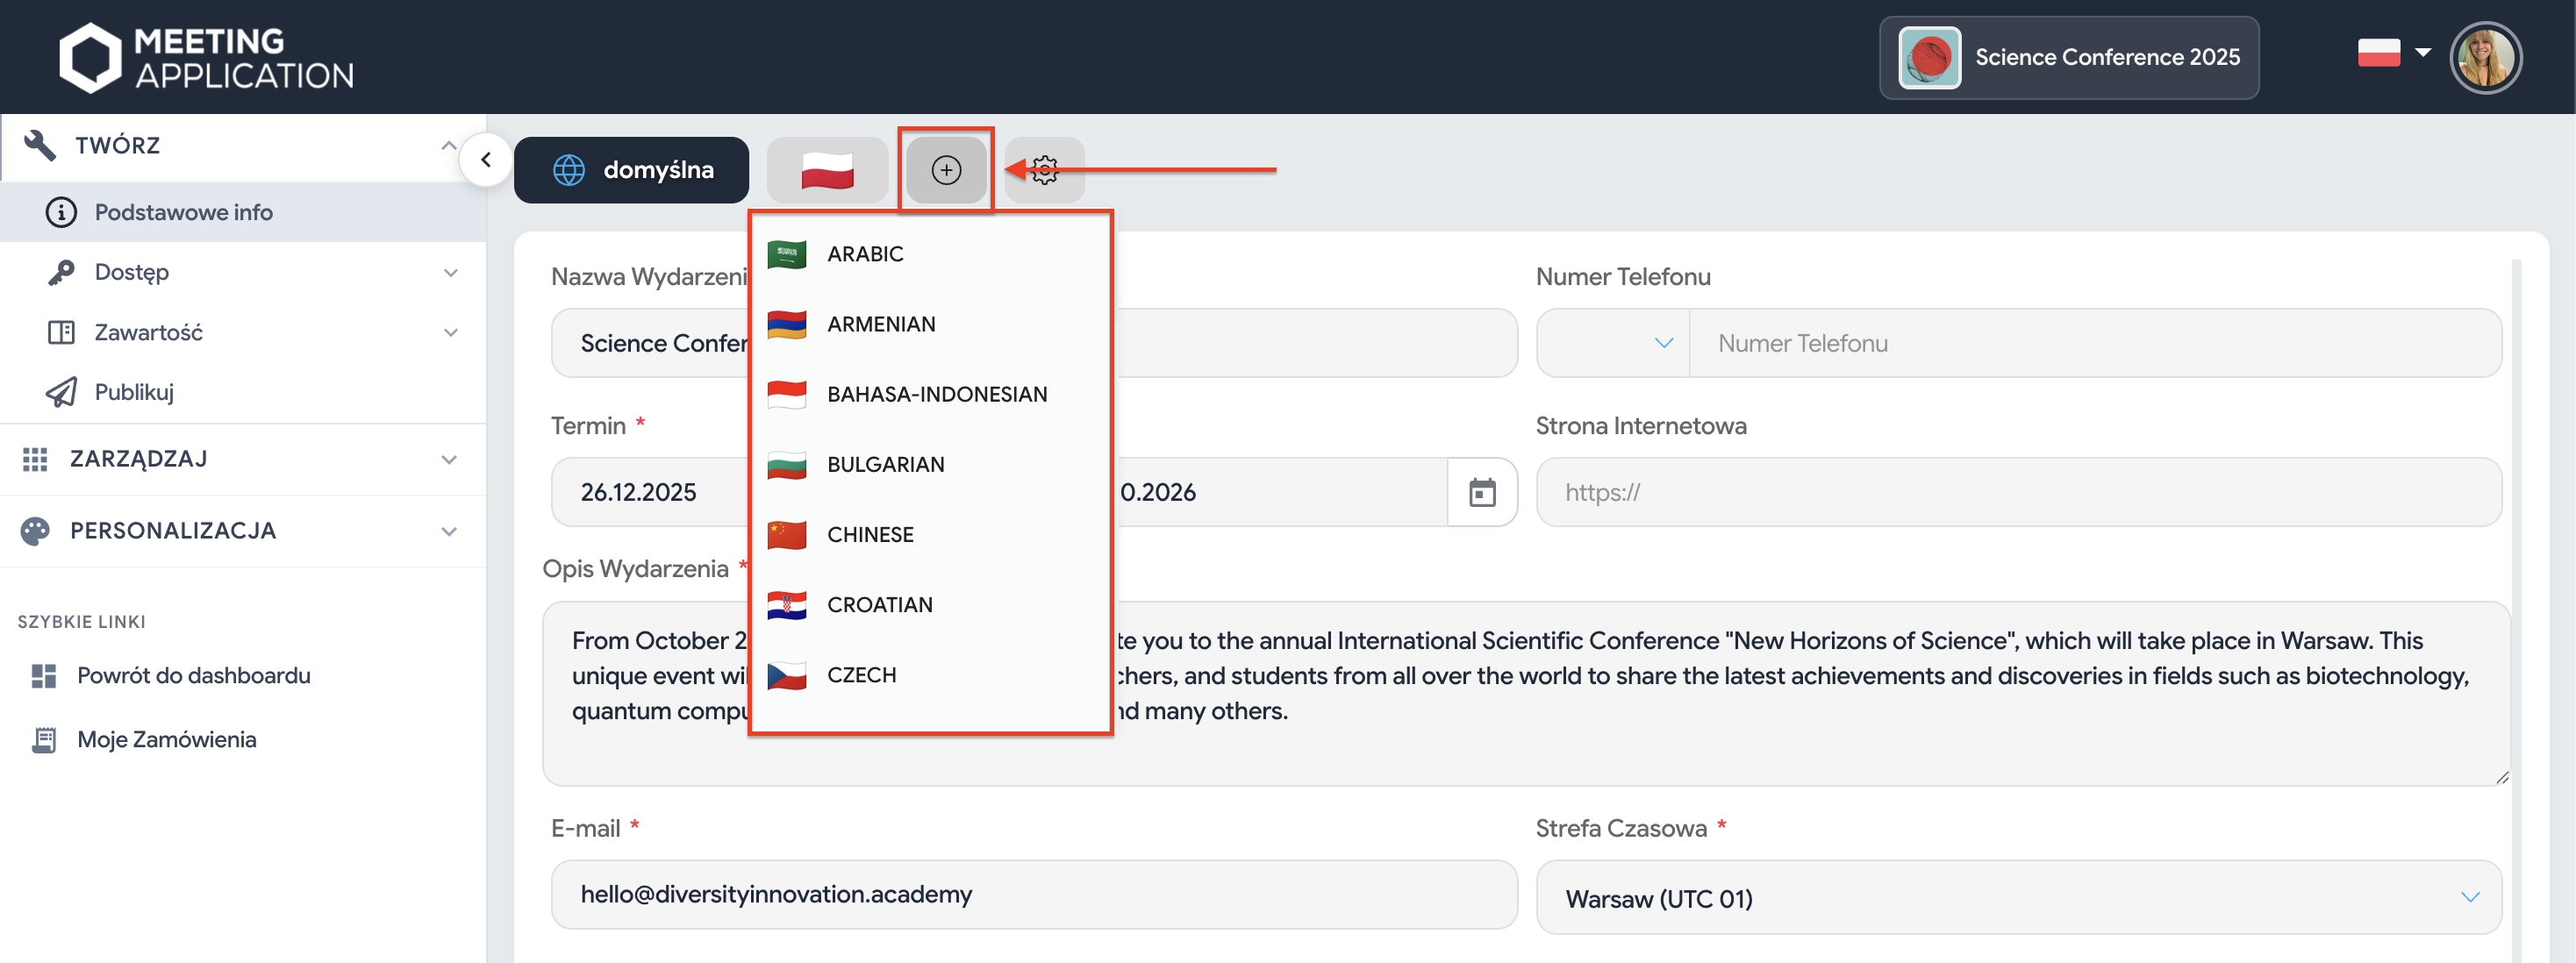
 you have English (if you’re using it).
 Note. If you enter information in different languages and one of them matches the default language set on the Participant’s phone, the system will automatically adjust to the smartphone settings.
However, if the App doesn’t include the language that the recipient has set as default on their phone, the system will display content from the main language layer (the one saved under  ).
).
Want to change the language of the technical content shown to you in the Admin Panel? Click the flag icon in the top right corner 
 .
.
Note: Remember that changing the language of the content visible to the Administrator in the Panel doesn’t affect the language of the App and Landing Page visible to Participants!

The next step to creating the App and Landing Page for your event is entering basic data such as the name, description, location, date and time zone*. This content will be visible in the Event info module, which you can choose to be opened by default when entering the Mobile App.
*choosing the correct time zone will ensure the proper functioning of the agenda, PUSH notifications, and other time-based and time-dependent features.
Note: If you selected more than one language layer, make sure the content you enter is in the correct tabs!
Pro tip: The system only requires the organizer to fill in the mandatory fields marked with an asterisk. However, it’s worth using the full potential of the Meeting Application and filling the App with the maximum amount of information your event participants will later draw from 
All content entered in the Admin Panel can be freely edited and expanded at a later stage of work – even after publication in the Google Play and App Store! This also applies to the basic information, so if you don’t have all the data yet – no worries! You can come back to this step at any time.
All basic information filled in? Awesome!  Save and continue by clicking the button at the bottom of the page.
Do you want to see what the event page and the app currently look like? In the admin panel, in the LIVE PREVIEW sliding out from the left side, you’ll find a link to the Landing Page and a QR code that takes you to your event in the Mobile App.
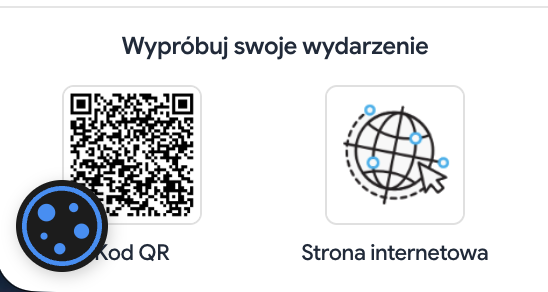
Download the Meeting Application app from the Play Store/App Store; log in; click the QR code icon in the top right corner and scan the QR code from the admin panel from the Live Preview tab.
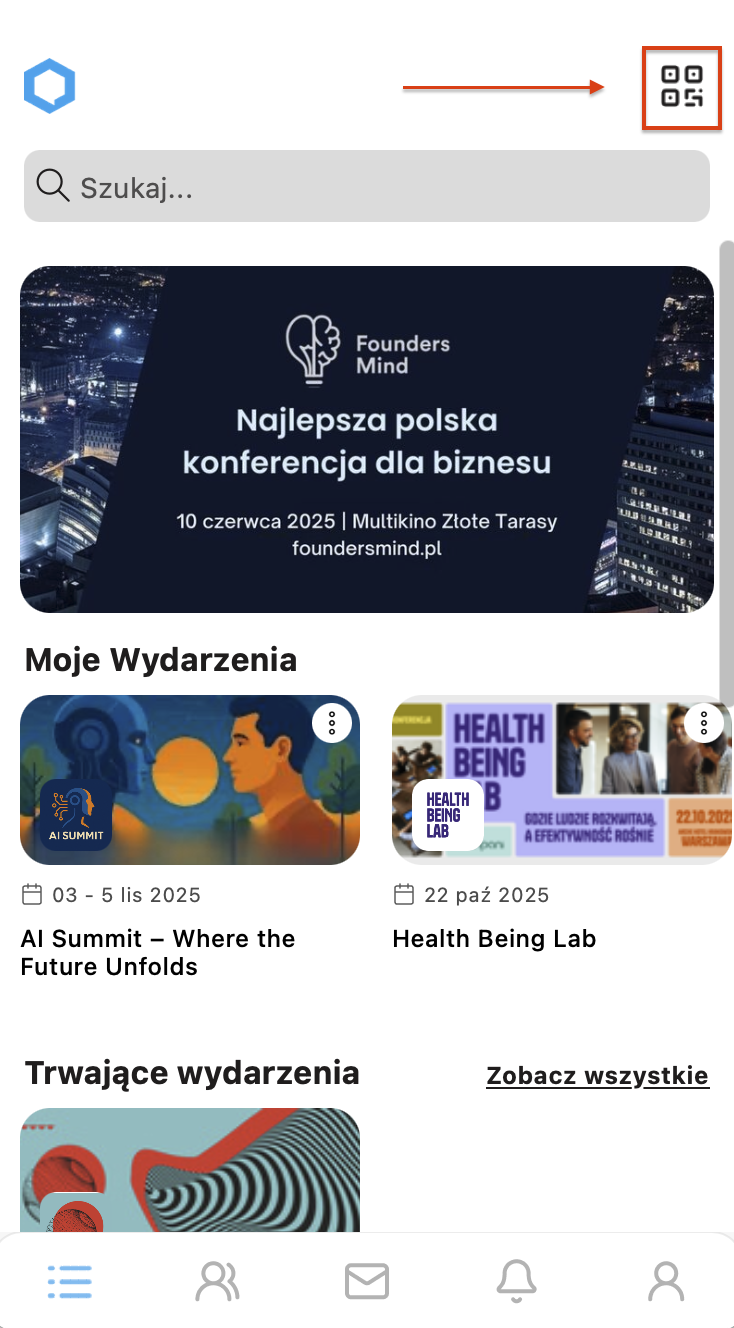
Until the event is published there is a limit of app/website visits – up to 5 people. You can check how many people have already joined the demo event in the MANAGE → USERS tab.
After the event is published, the page URL and QR code won’t change (does not apply to the dedicated app!).
The next step is to decide who will be able to view the content in your event. In the Create → Access section, set up access rules by choosing the right security level – from open to fully closed.
Regardless of the selected access option (ticketed, requiring login), you can set an access code – a password that, once entered, lets the User access the content in the App and on the Landing Page.
To learn more about the available options, read the article about  Access settings.
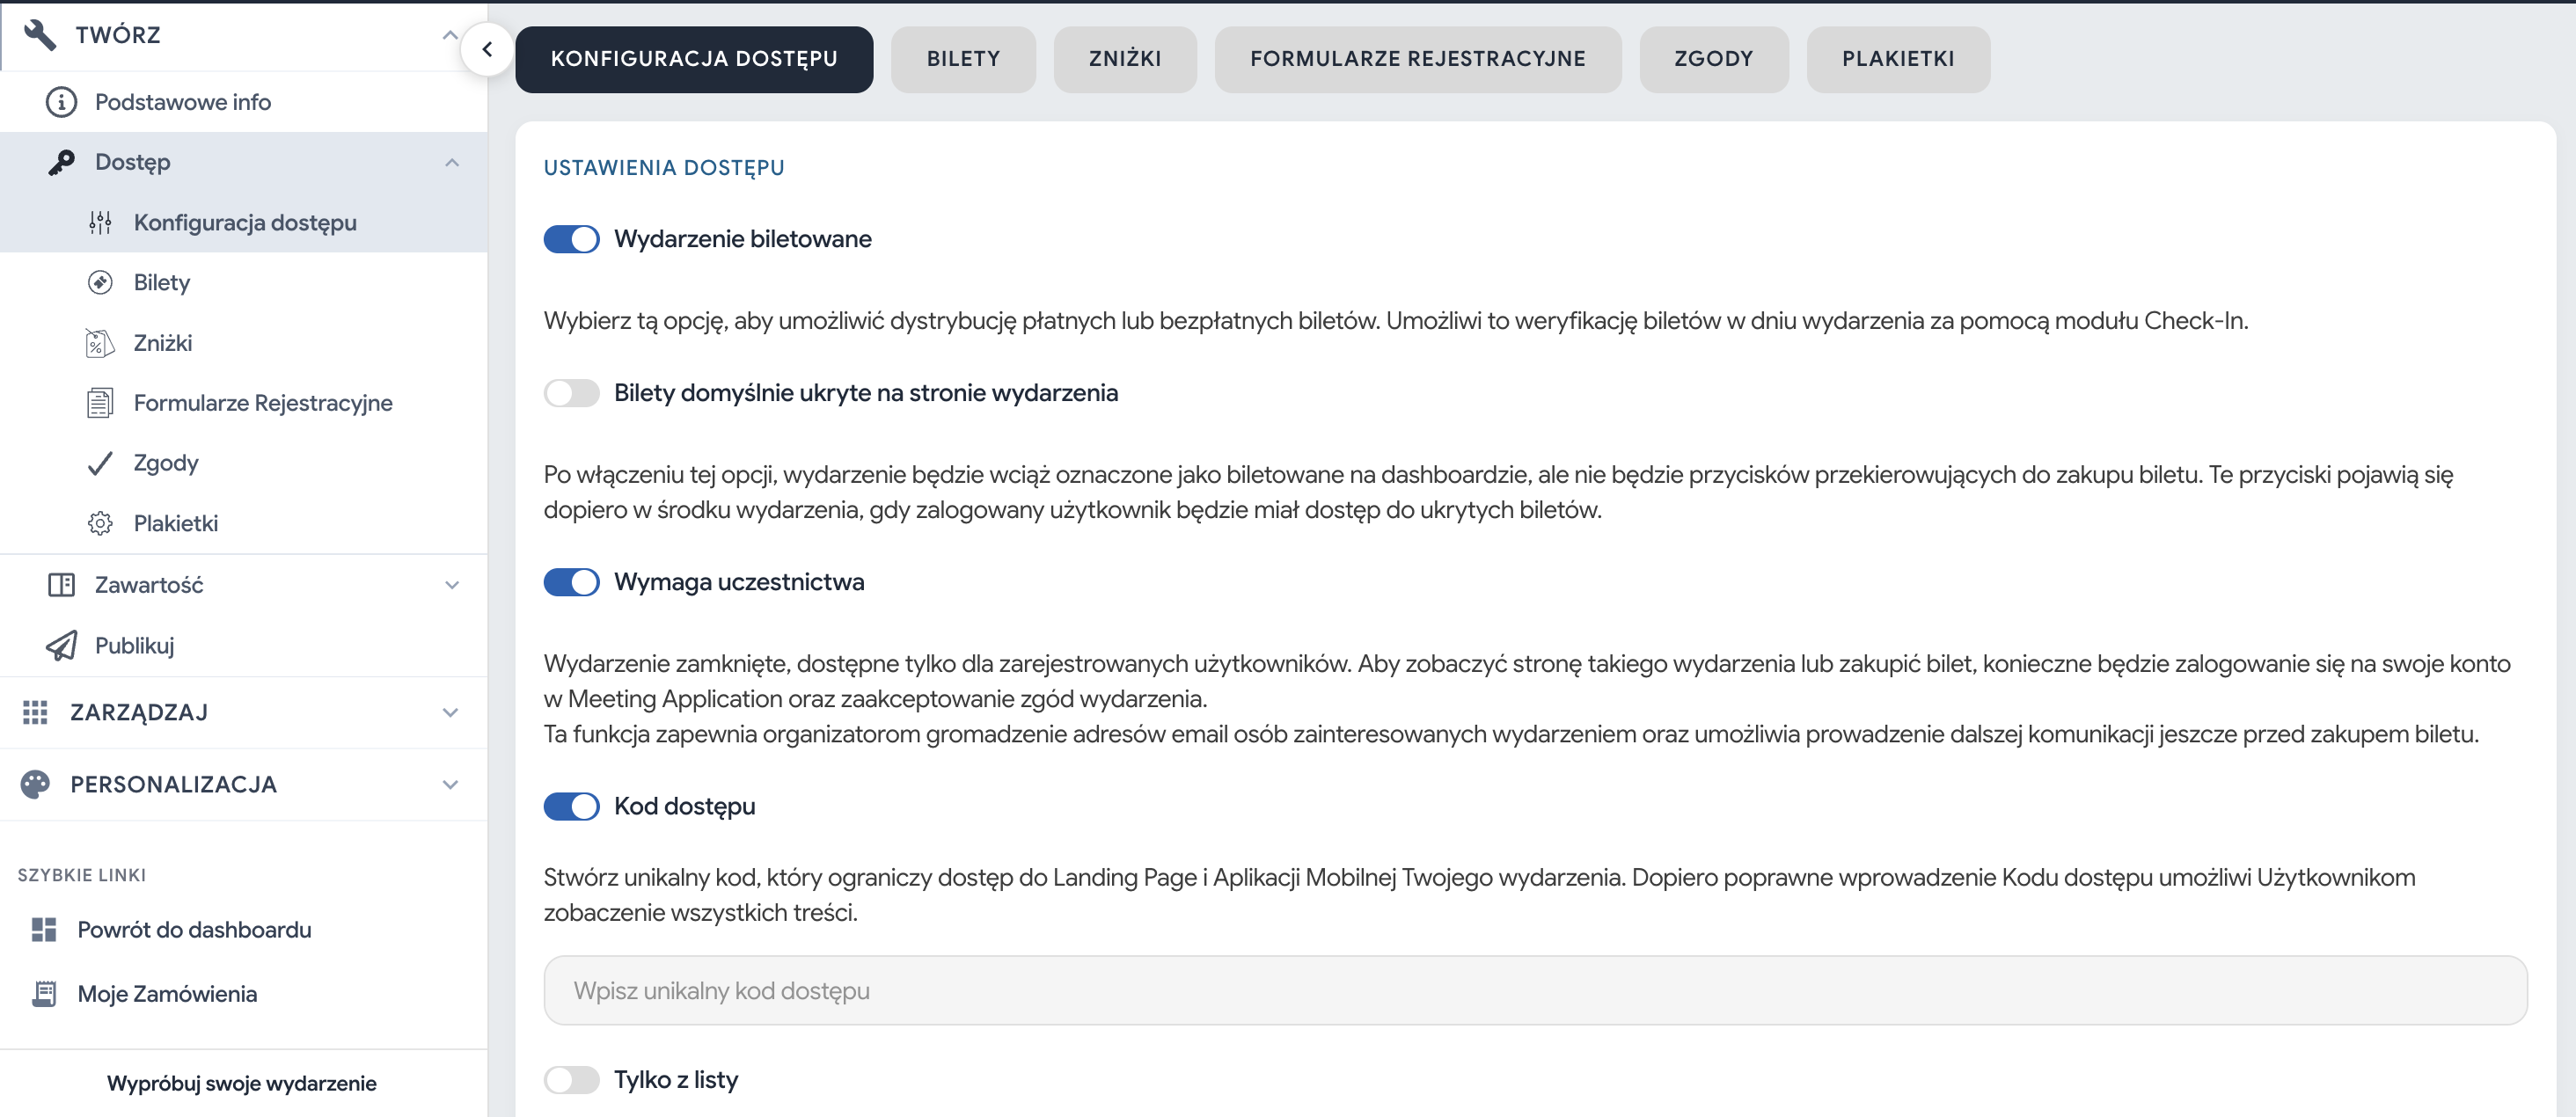
In the Create → Access section, in the Tickets tab, you can freely configure the types of tickets whose purchase (or acquisition in the case of free events) will allow participation in the event or in its selected parts.
Our configurator lets Organizers freely customize ticket types, discounts, set price change dates, create data collection forms, or sell goods and services as add-ons to the main ticket. The sky's the limit!  so don’t hold back and make full use of all the options the Meeting Application ticketing system gives you! You can find detailed configuration instructions in the article
  Tickets.
Make sure it has a unique look. Meeting Application lets you fully personalize the Mobile App and Landing Page so they match the full visual identity of your event. The easy-to-use configurator in the Admin Panel lets you:
Adjust the color scheme of selected elements,
Add an event banner,
Place your event logo.
Personalization makes the app gain a one-of-a-kind character and become an integral part of your event – give your attendees a consistent and visually pleasing knowledge base!
Use ready-made color suggestions or create your own color palette tailored to your needs.
To customize the look, choose which element you want to edit and enter the color number in hexadecimal notation (HEX code), e.g. #000000 for black or #FFFFFF for white. Then confirm the changes and see how your app comes to life with color 
Pro tip: You can generate HEX codes for any colors here.
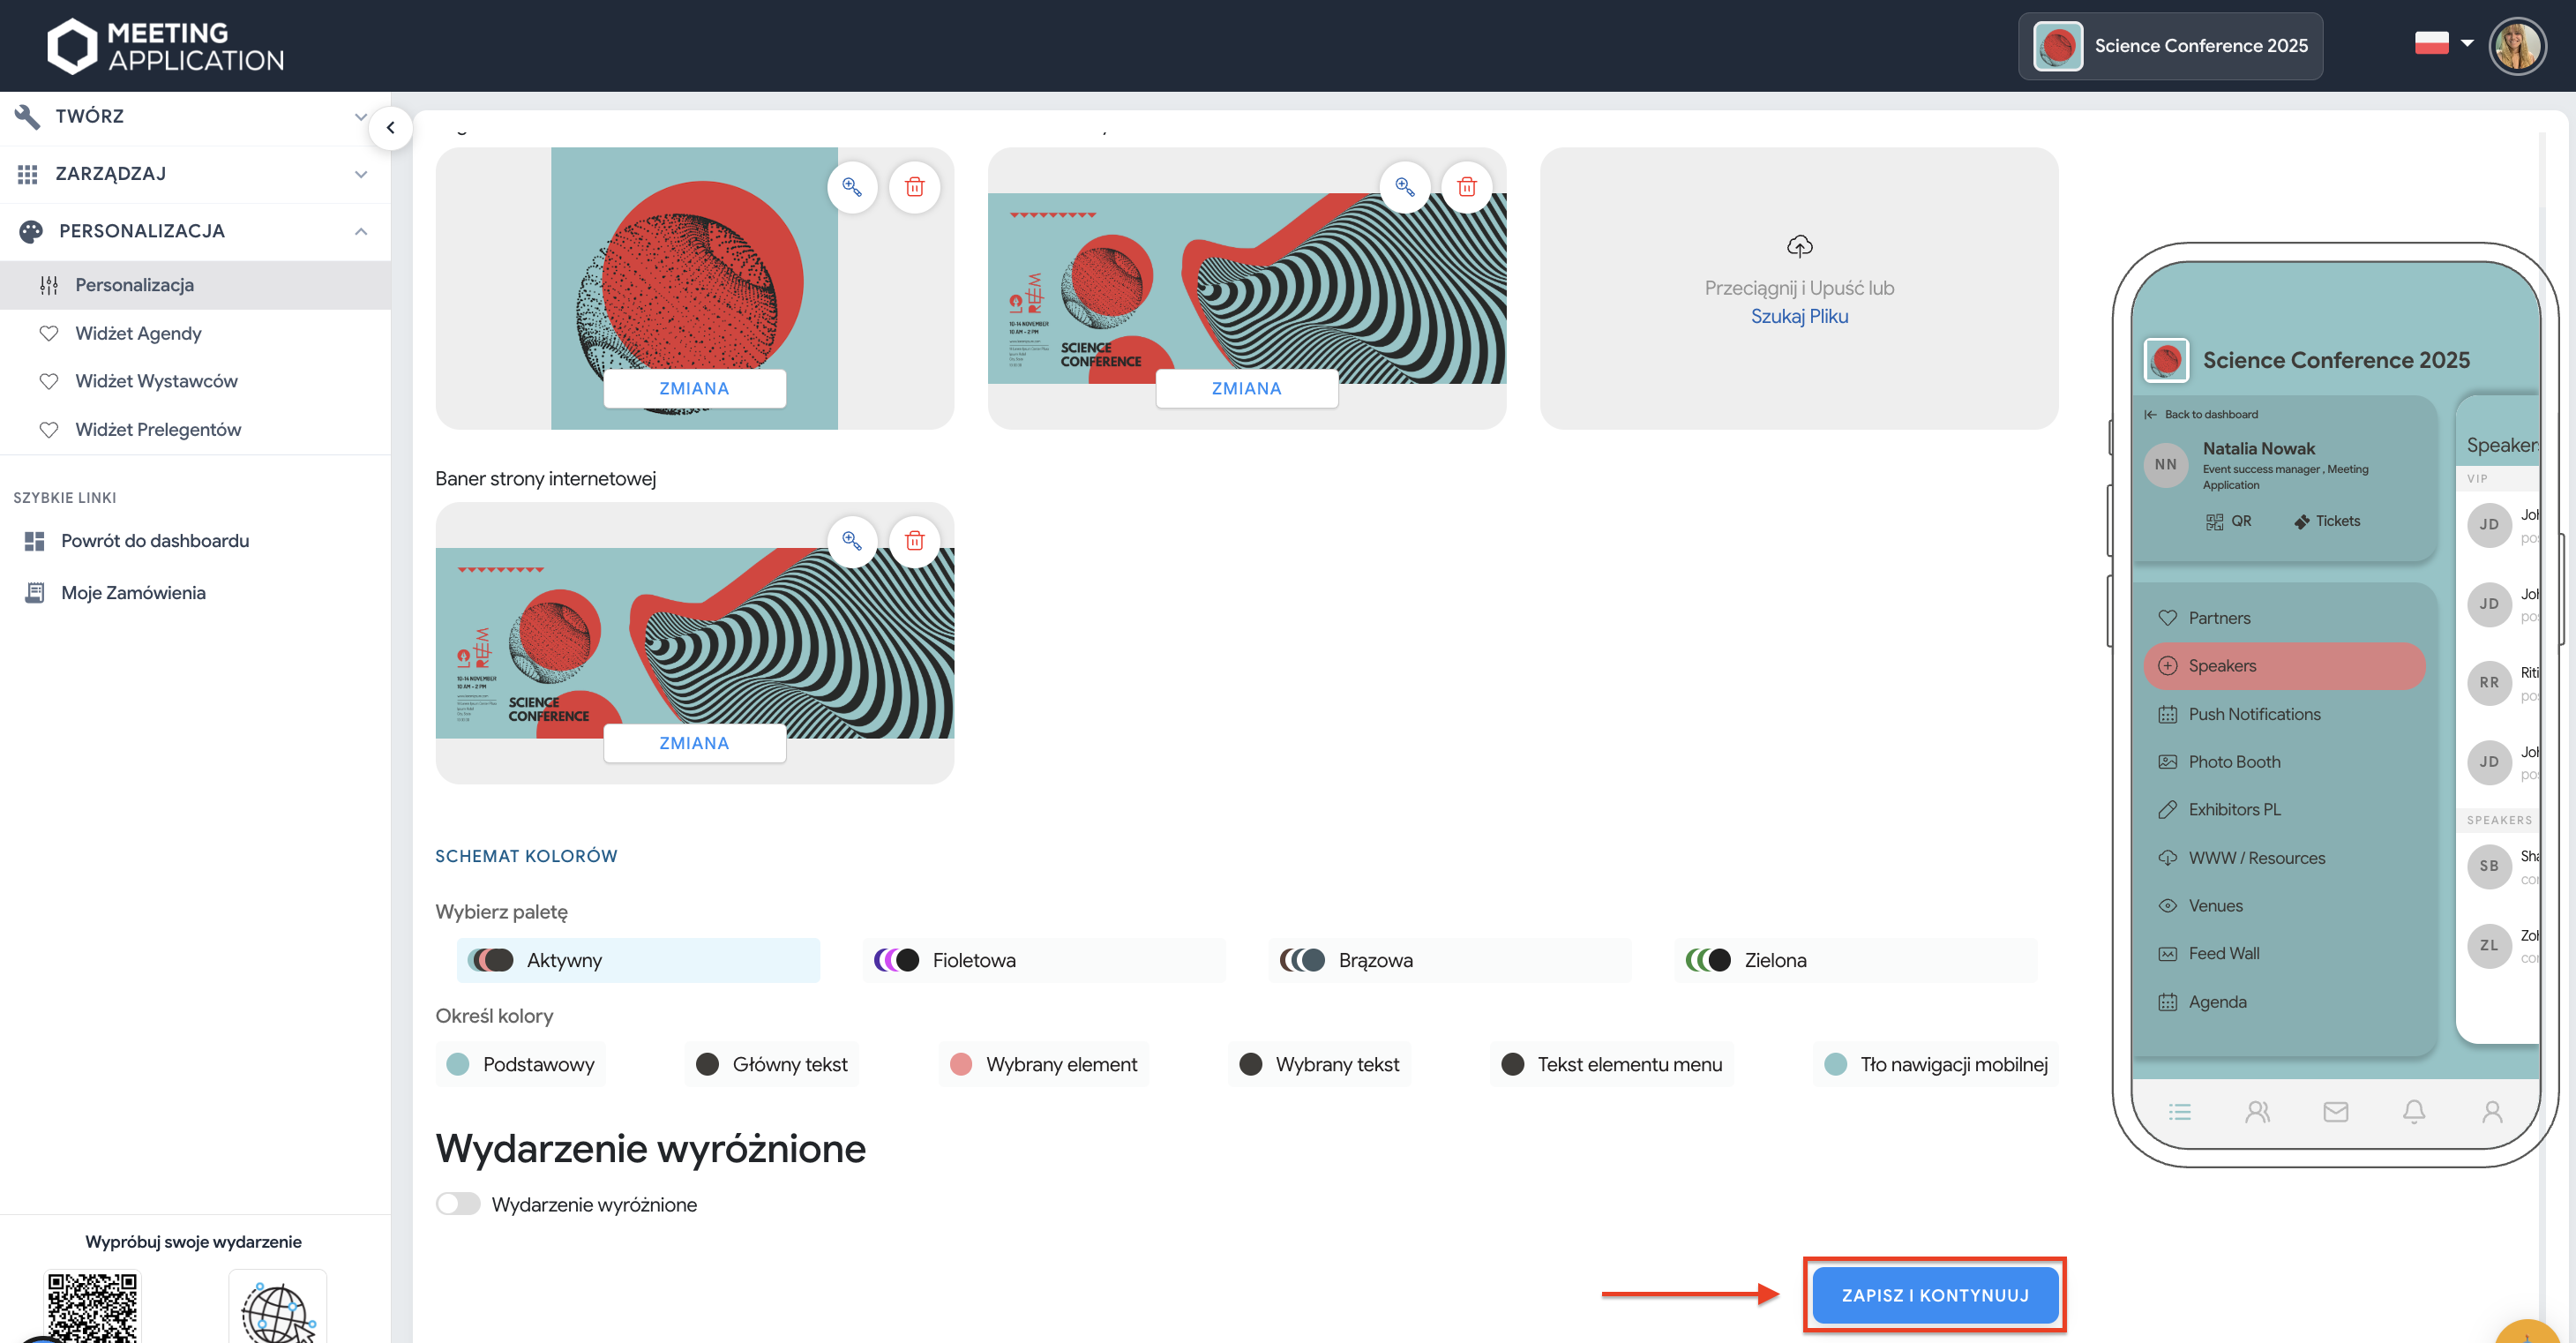
Customize the Mobile App and Landing Page by adding:
The logo of your event or company
Banners, which will give it a unique look
Menu background (optional) – choose a subtle graphic so the module names stay easy to read
To add files click Browse for file or drag an image from your computer into the dedicated field. And you’re done! 
Event logo – once added, it’s displayed in a square. A properly prepared file should meet the following conditions:
aspect ratio 1:1 (square),
min. file size 1024×1024 px,
JPG or PNG format,
file size max 1MB.
Pro tip: If you decide to insert a logo in PNG format with a transparent background, keep in mind that in the App menu the main event color will be visible under the logo. If you want to keep the logotype readable, make sure this is the effect you’re going for.

Mobile banner – displayed in the app as the background for the Event Info module. When designing it, remember:
Side proportions 2:1 (horizontal frame),
Minimum dimensions 1000×500 px,
Format JPG or PNG,
Maximum file size 2 MB.
Website banner – nothing stands in the way of using the same file as for the mobile banner, but to ensure optimal aesthetics and readability of the content we recommend preparing the file in a higher resolution.
Design guidelines:
side proportion 2:1,
recommended file size 1900×800 px,
format JPG or PNG,
file size max 2MB.
You can find more information about graphic design guidelines in the article Graphic Specifications.
After filling in the basic information, personalizing the look of your App and setting up event access, you can move on to adding modules.
Go to the Create → Components tab, select all the modules you’re interested in and add them to your app by clicking the plus. You can find information about all components available in our system HERE.
The added modules will automatically appear in the section on the right side of the screen as a menu, which will later be displayed to Mobile App participants. To change the display order, drag and swap the components.
Pro tip: add any number of modules and change their names so they match their functionality as closely as possible. Remember that some of them can be used multiple times for different purposes.
Before you start filling the modules with content, add tags that will make the further process of creating and configuring the App easier.
Select Tag Database and add User Groups, User Label, Agenda Venues, Agenda Path and Exhibitor Tags – depending on your needs and added modules.

You can learn more about adding tags in the article Tag Database – managing App content.
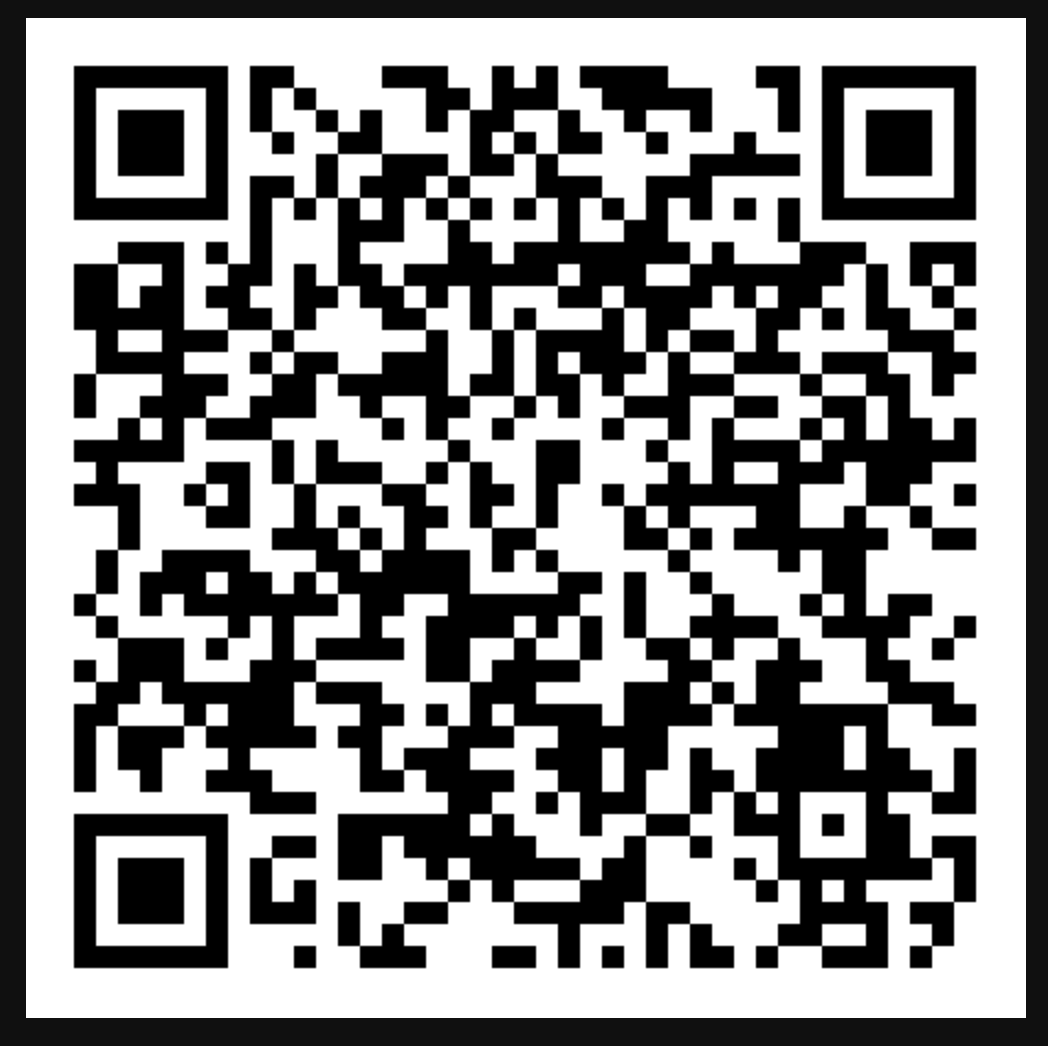
If you want to see what the App and the Landing Page of your event can look like, check our demo event. You’ll find filled-in individual modules there, which will help you properly prepare the content for your App. Scan the QR code below in the Meeting Application mobile App and also check the Landing Page:
Have a great event with Meeting Application!