An exhibitor moderator is a person whom the event administrator grants the right to independently fill in content in the company profile. This way, company representatives can update their company business cards shown in the mobile app and on the event Landing Page by themselves.
For the organizer, this means they don't have to collect and enter all the data for exhibitors – they just need to approve changes submitted by moderators.
To assign a moderator:
Make sure you have added the Exhibitors component.
Add the Exhibitor Moderator / coupons component and select the user group that should be able to see it.
Create company profiles that should appear in the app and on the event page (company name alone is enough).
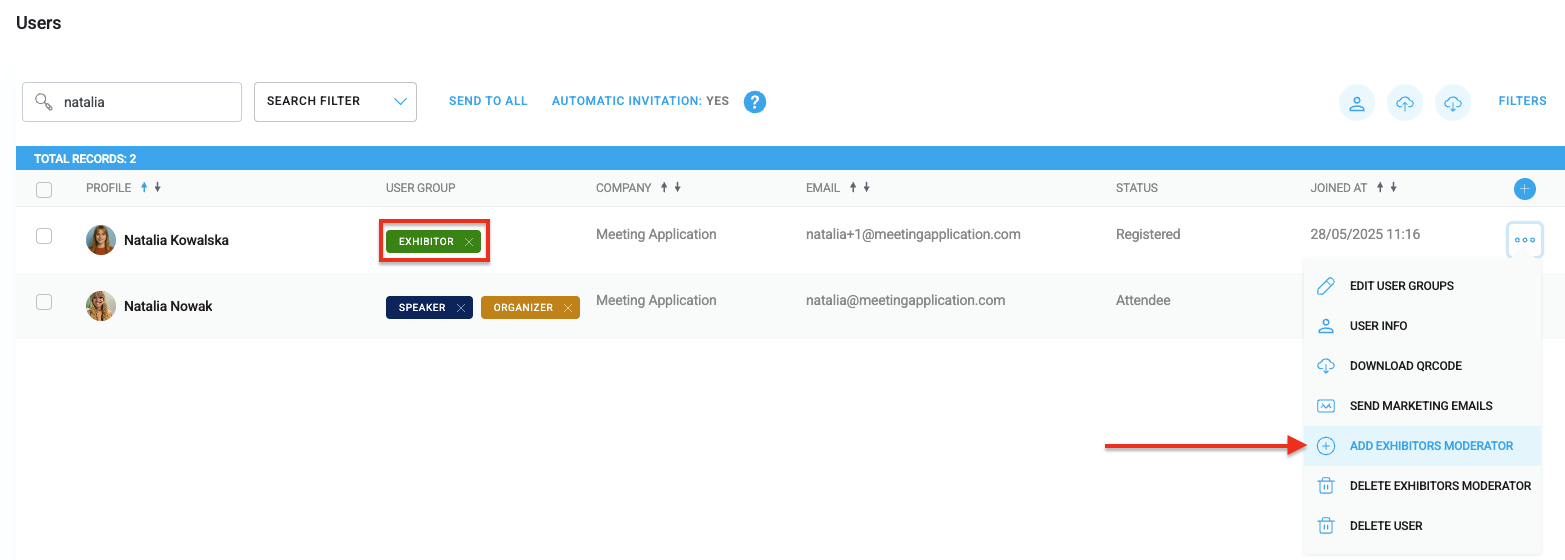
Go to the Manage > Users panel.
Select an existing user from the list (who joined on their own or was imported from a CSV file), or click the “person” icon to add a new person to your event.
Make sure this person is assigned to the same user group that is linked to the Exhibitor Moderator / coupons
Assign permissions:
click the three dots icon next to the selected user,
choose Add exhibitors to moderation,
from the dropdown, pick the company you want this person to moderate.
Save – the moderator will get an automatic email invite with a link to your event’s Landing Page.

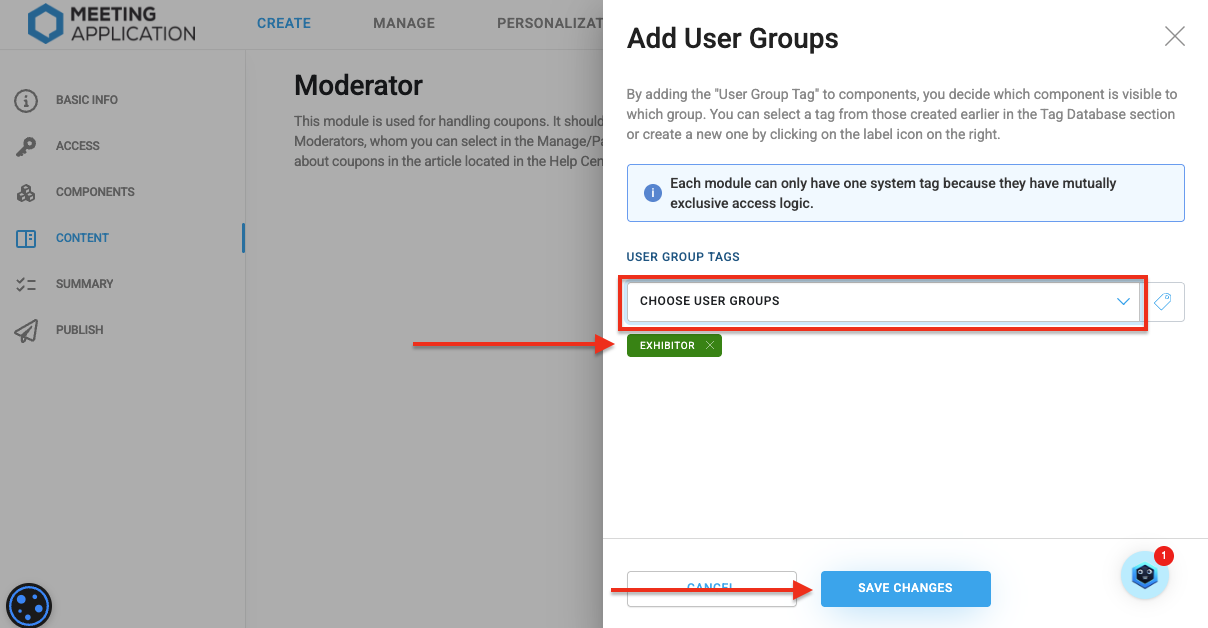
The “Exhibitor Moderator” module after being added in the admin panel doesn't have a user group assigned by default. To add a user group to the component, click the three dots by the module in the CREATE → CONTENT tab, and then assign the selected user groups.
The same user groups must be assigned to the exhibitor moderators so the feature is visible for them in the App (coupon management) and on the Landing Page (profile moderation). We recommend adding the user group to moderators already at the CSV import stage. Thanks to this:
in the mobile app they'll see the Moderation and Scanning module,
on the Landing Page, the option to edit the company profile will appear.
Without this step, the function won't work correctly.

You can find out more about system emails in THIS ARTICLE.
📌 Snippet in the email responsible for the organizer's contact: {{event_email}}
The moderator gets an email inviting them to fill in the content.
The email contains a button that leads directly to the event page.
To get started, log in to the account linked to the email address where the invitation was sent.

Click the button in the email.
Log in with the email address that got the invitation.
Click your avatar in the top right corner of the page.
Select the My company tab.
Click Manage next to the company name you want to edit.
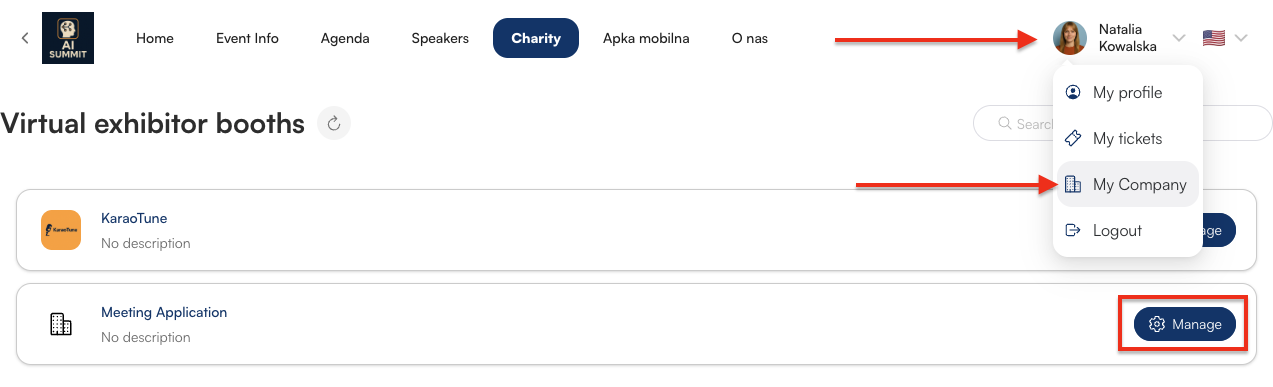
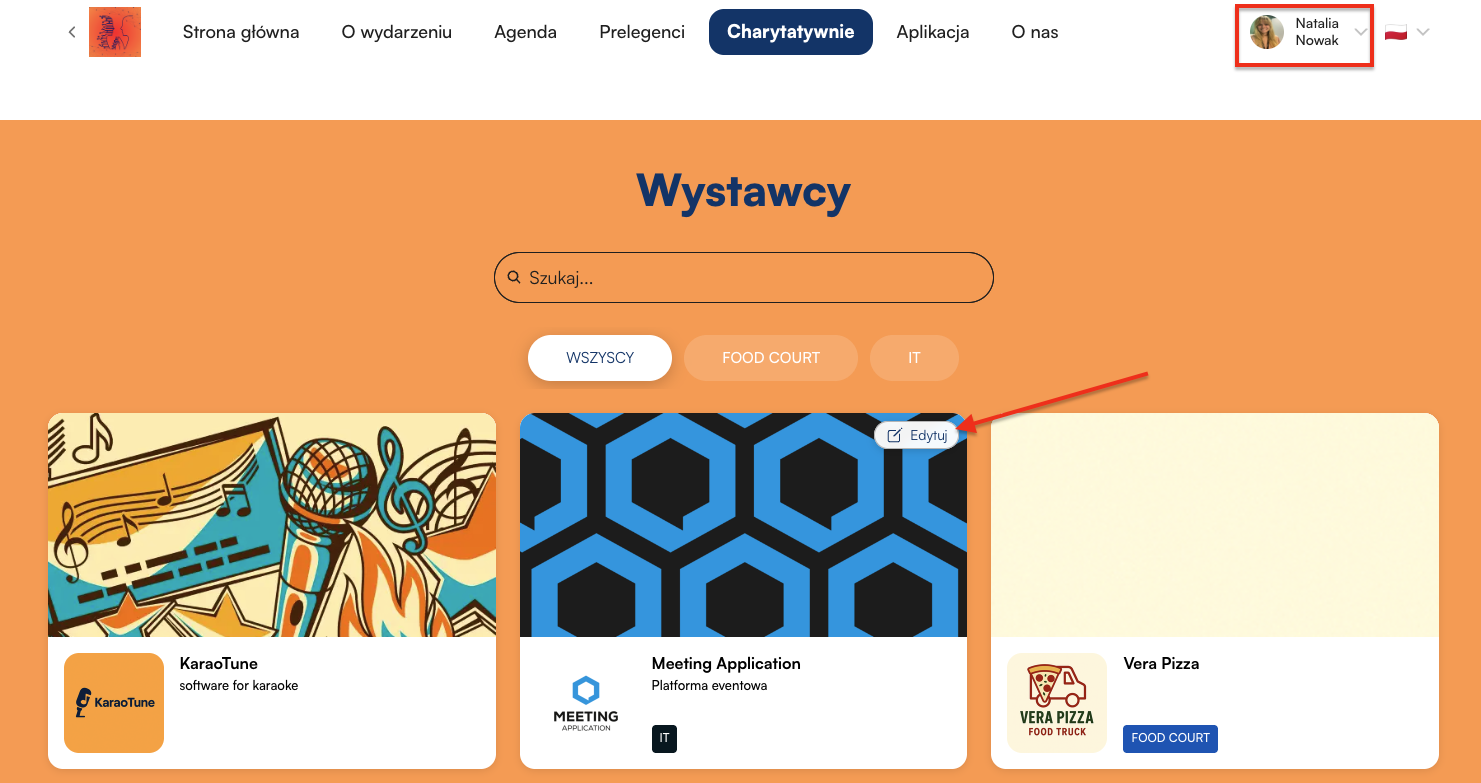
or click “edit” right from the Landing Page:
A moderator can only access their own company profile and can edit:
company name,
industry / area of activity,
description,
logo and banner,
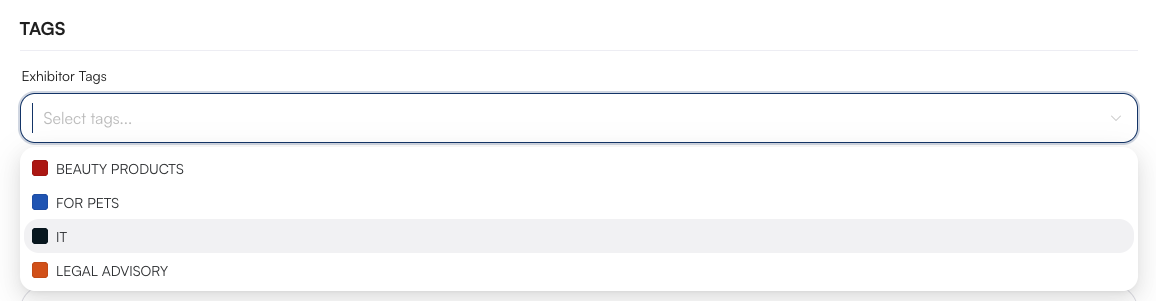
exhibitor tags (from a list created earlier by the admin),
links (website, social media, promo materials, streaming),
contact details (email, phone),
extra materials to download,
photo gallery,
contact persons (e.g. sales rep),
comment for the admin (helpful info when approving the content).
send the completed content for organizer approval by clicking SAVE at the bottom of the page.

Click Preview in the top right corner and check how the info you entered will look on the event page.

After you confirm your changes, you'll get redirected to the changelog screen for that company's profile. From here you can edit the info you added, check the note left for the system admin, see the last update date, and you also get an option to delete the data you entered.
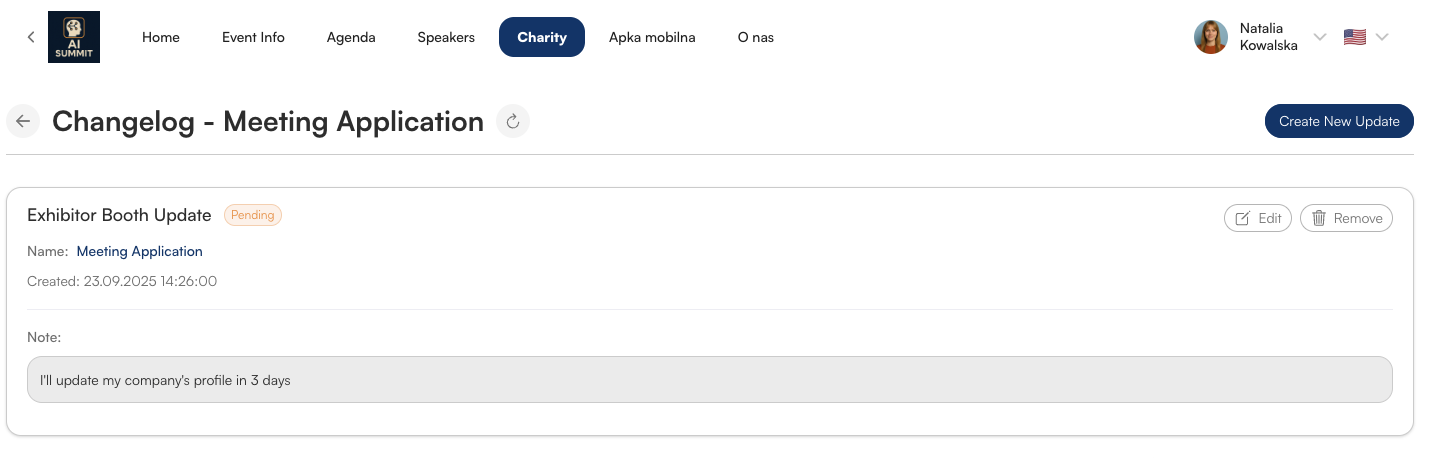
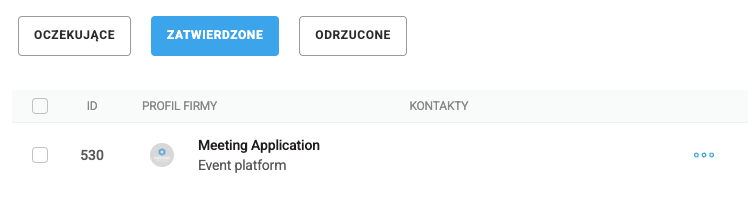
Every change sent by a moderator gets the status Pending.
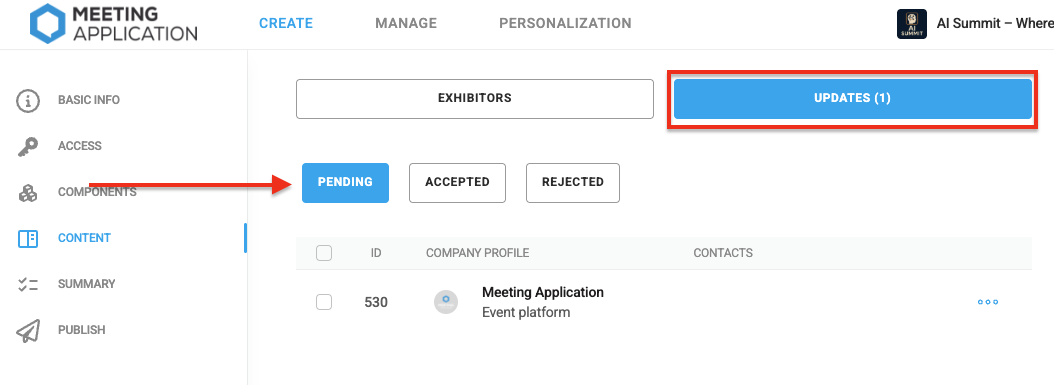
Go to the admin panel, to the CREATE tab, module Exhibitors > Changes.
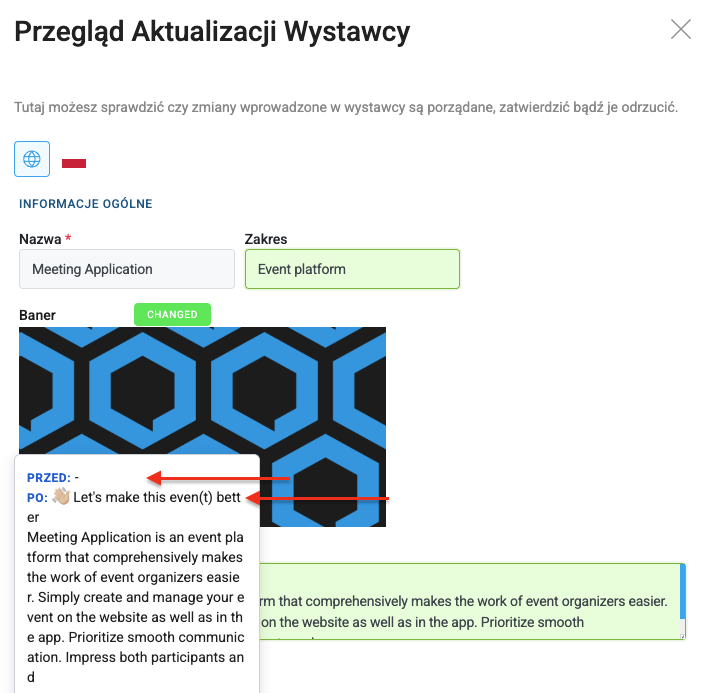
Click the three dots → Show changes, to see the details.
Modified items are highlighted to make review easier.
At the bottom of the page, click Accept to have the content appear in the app and on the site.
Thanks to this process, the admin keeps full control over publication, while not having to enter the data manually.
After reviewing the content, you can approve or reject the submission.
after clicking APPROVE the content will automatically go to the event page and to the mobile app.
you'll find approved content in the APPROVED tab
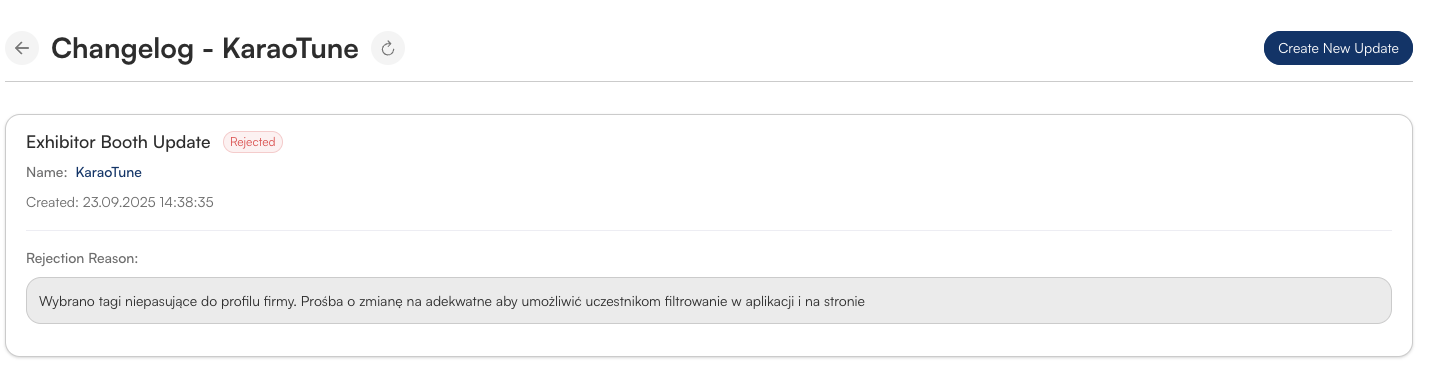
Remember that when you reject a submission, leave a note for the Moderator explaining your decision.
When the Moderator goes to Landing Page → Company profile management, they'll see what needs to be fixed and will be able to fill in the info as needed.
In the mobile app and on the event page, the participant will see:
completed company profile,
contact details,
downloadable materials and links,
photo gallery,
people representing the booth.
You can find out more about how the module looks in THIS ARTICLE.
An exhibitor moderator, apart from being able to edit the company profile on the Landing Page, can also manage coupons assigned to their company.
👉 You can find detailed instructions in THIS ARTICLE.
The exhibitor moderator function lets organizers offload work on company profiles and makes communication easier. Exhibitors take care of their business cards on their own, and the admin has only one job – approve the changes.
